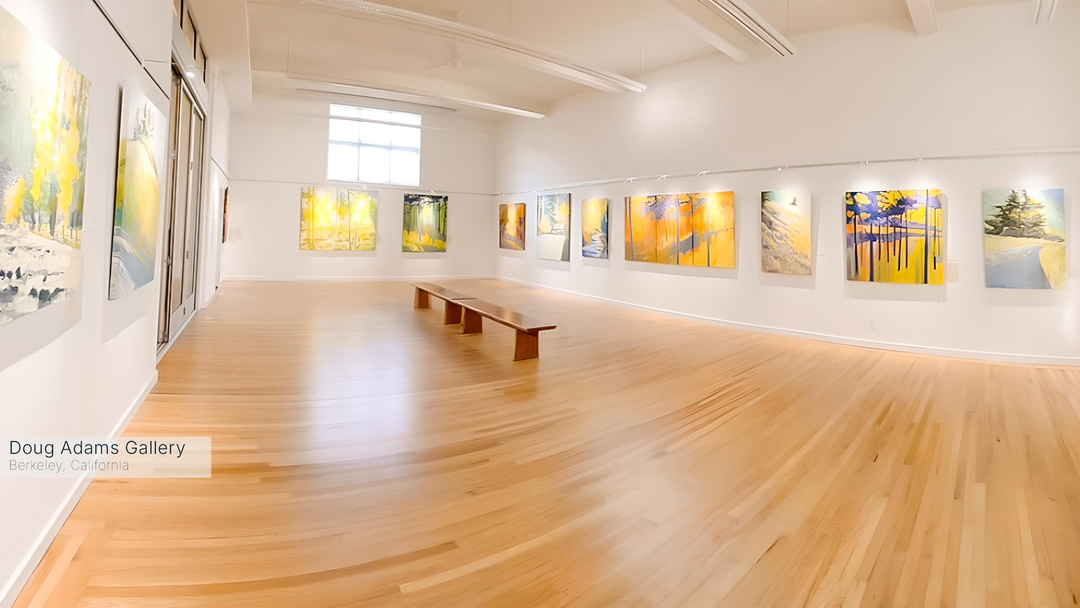


grouped artworks can be more engaging than single pieces
Gallery Hanging Techniques: Creating Effective Groups
Gallery hanging professionals know that, when showing artworks, it’s important to create intriguing displays that catch the eye and engage the mind.
Arranging works into groups can help accomplish this, as it lets you mix and match images and create a combined work that’s greater than the sum of its parts. Many artists like to work in series that feature a common subject or theme; this can lend itself to a cluster of related images, as in the accompanying photos of picture hanging approaches.
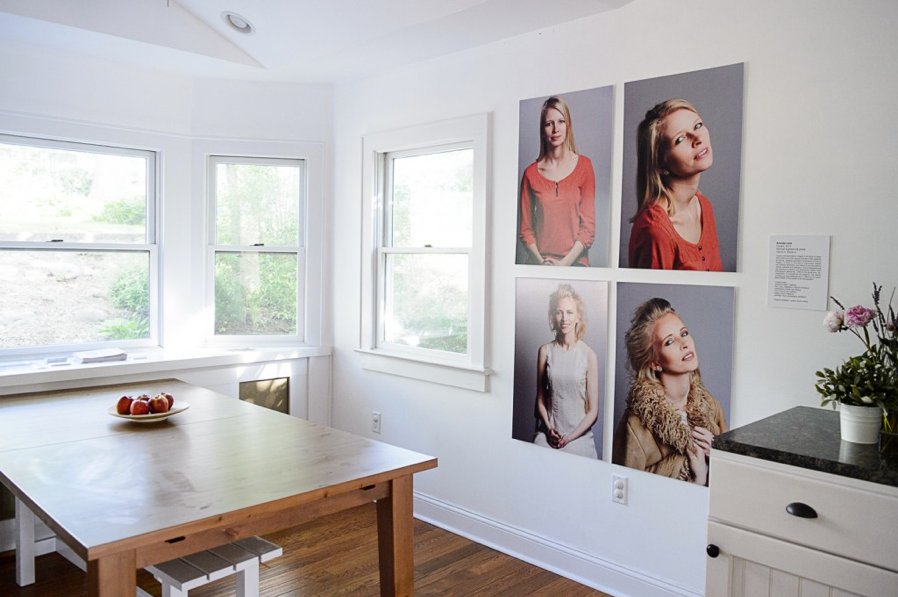
This four-portrait array by photographer and author Ananda Lima creates a sort of meta-portrait, showing multiple aspects of a person.
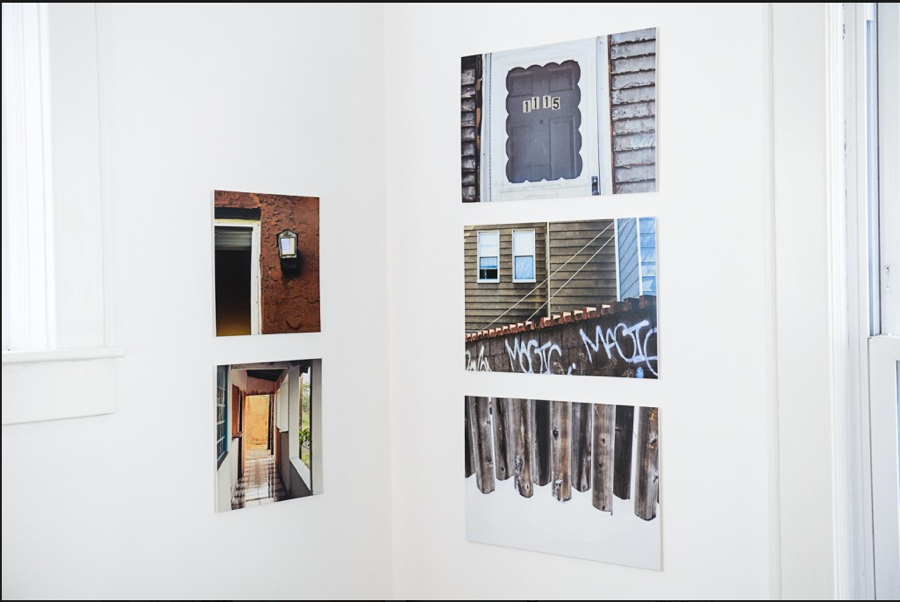
Lima also demonstrates the power of less-obvious connections in the elegant cluster shown below, which makes a virtue out of a tight corner.
The images of doors, windows, corridors and fences combine into a comment on space and dimension, barriers and openings. The asymmetrical picture hanging arrangement creates a strong vertical line in the right-hand column, with the square prints on the left adding visual punctuation.
Even relatively small prints like these can, when grouped skillfully, create the feel of a big piece.
Lima says she generally begins by mentally visualizing a grouping, and perhaps making a rough sketch, especially when multiple walls are involved.
Considerations include “how the pieces look together in terms of color and composition, how they interact visually and conceptually, how the grouping will direct the gaze. I like having repeating patterns or lines or colors across the pieces. It’s great if the space itself can participate, by having lines going towards the images, or framing them as a group.”
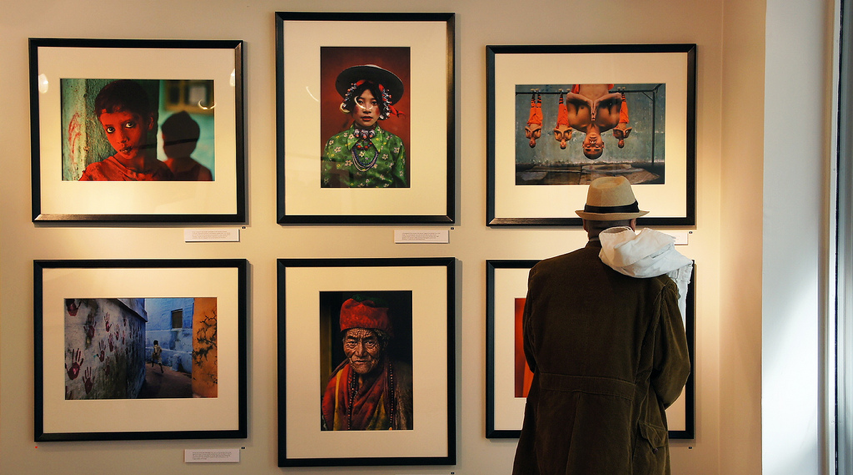
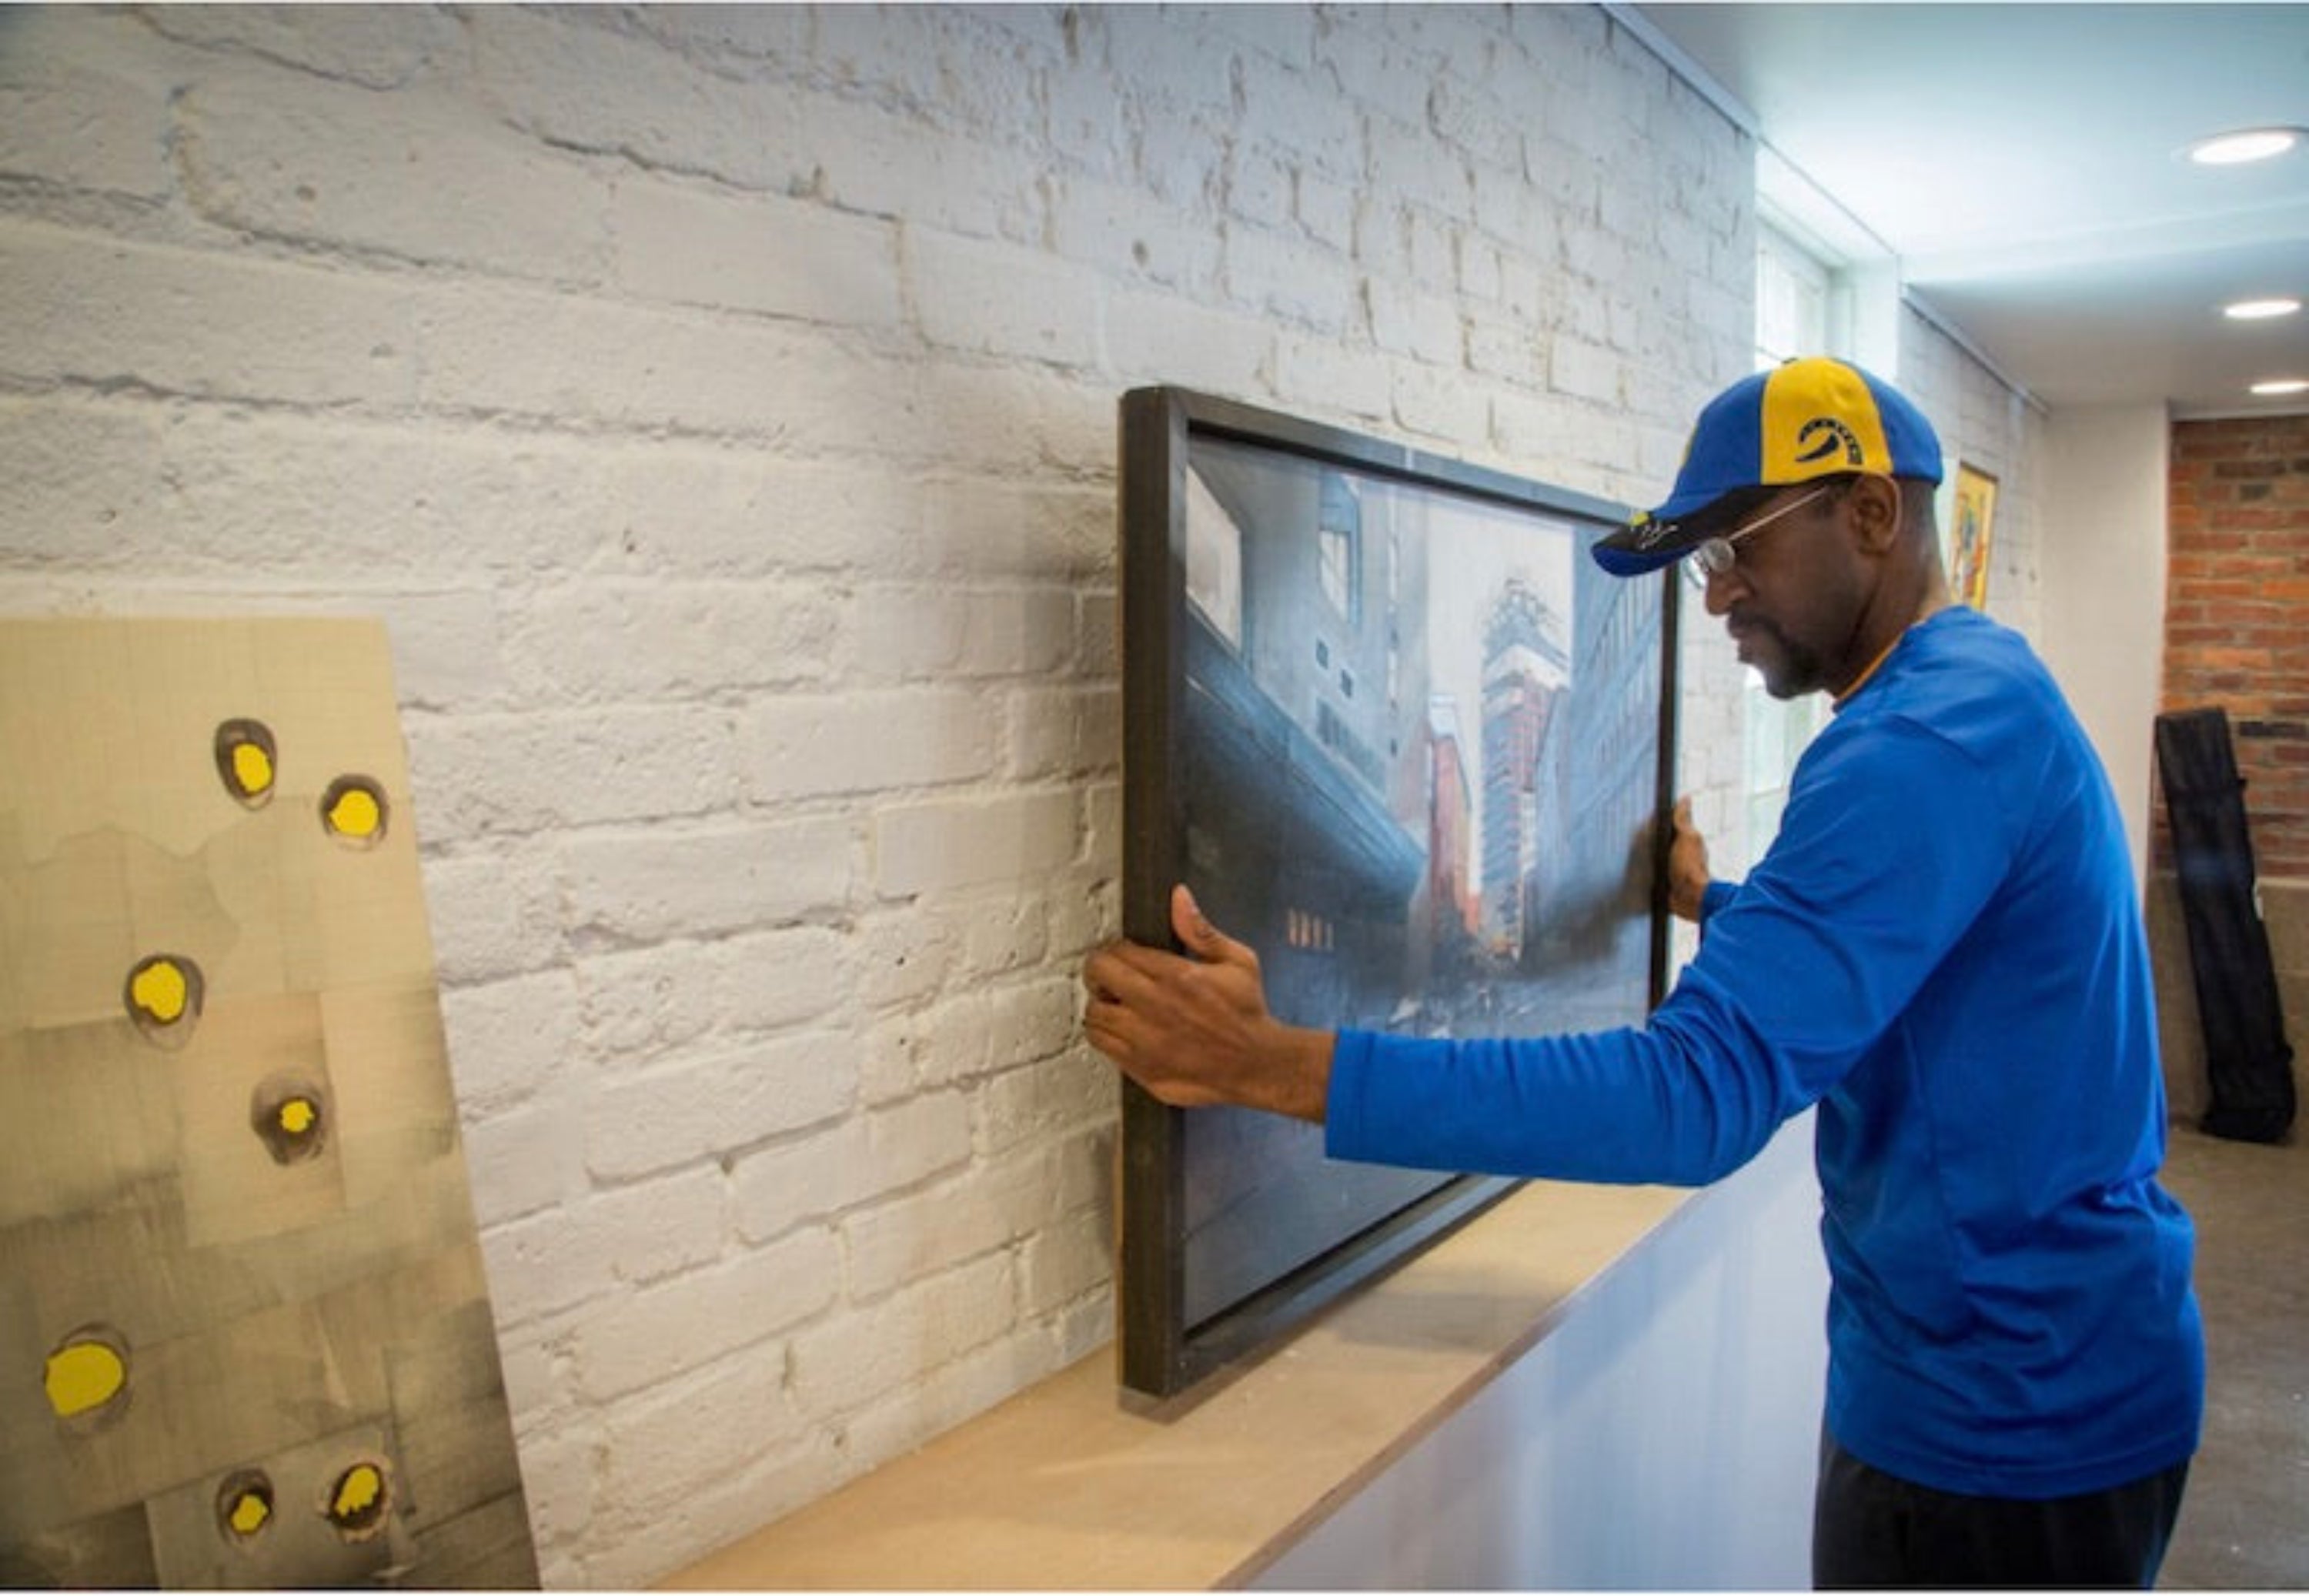
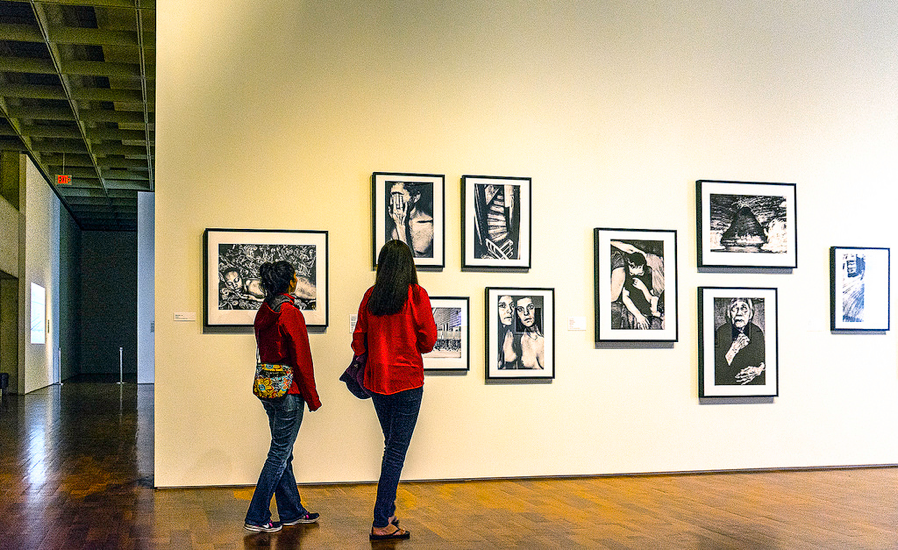
This designer’s-eye approach to gallery hanging was clearly also used in the exhibit seen at left.
The traditionally composed central portraits command immediate attention, while the offbeat flanking images (in contrasting horizontal format) reward the viewer who lingers.
Photo by Steve Evans, used under Creative Commons
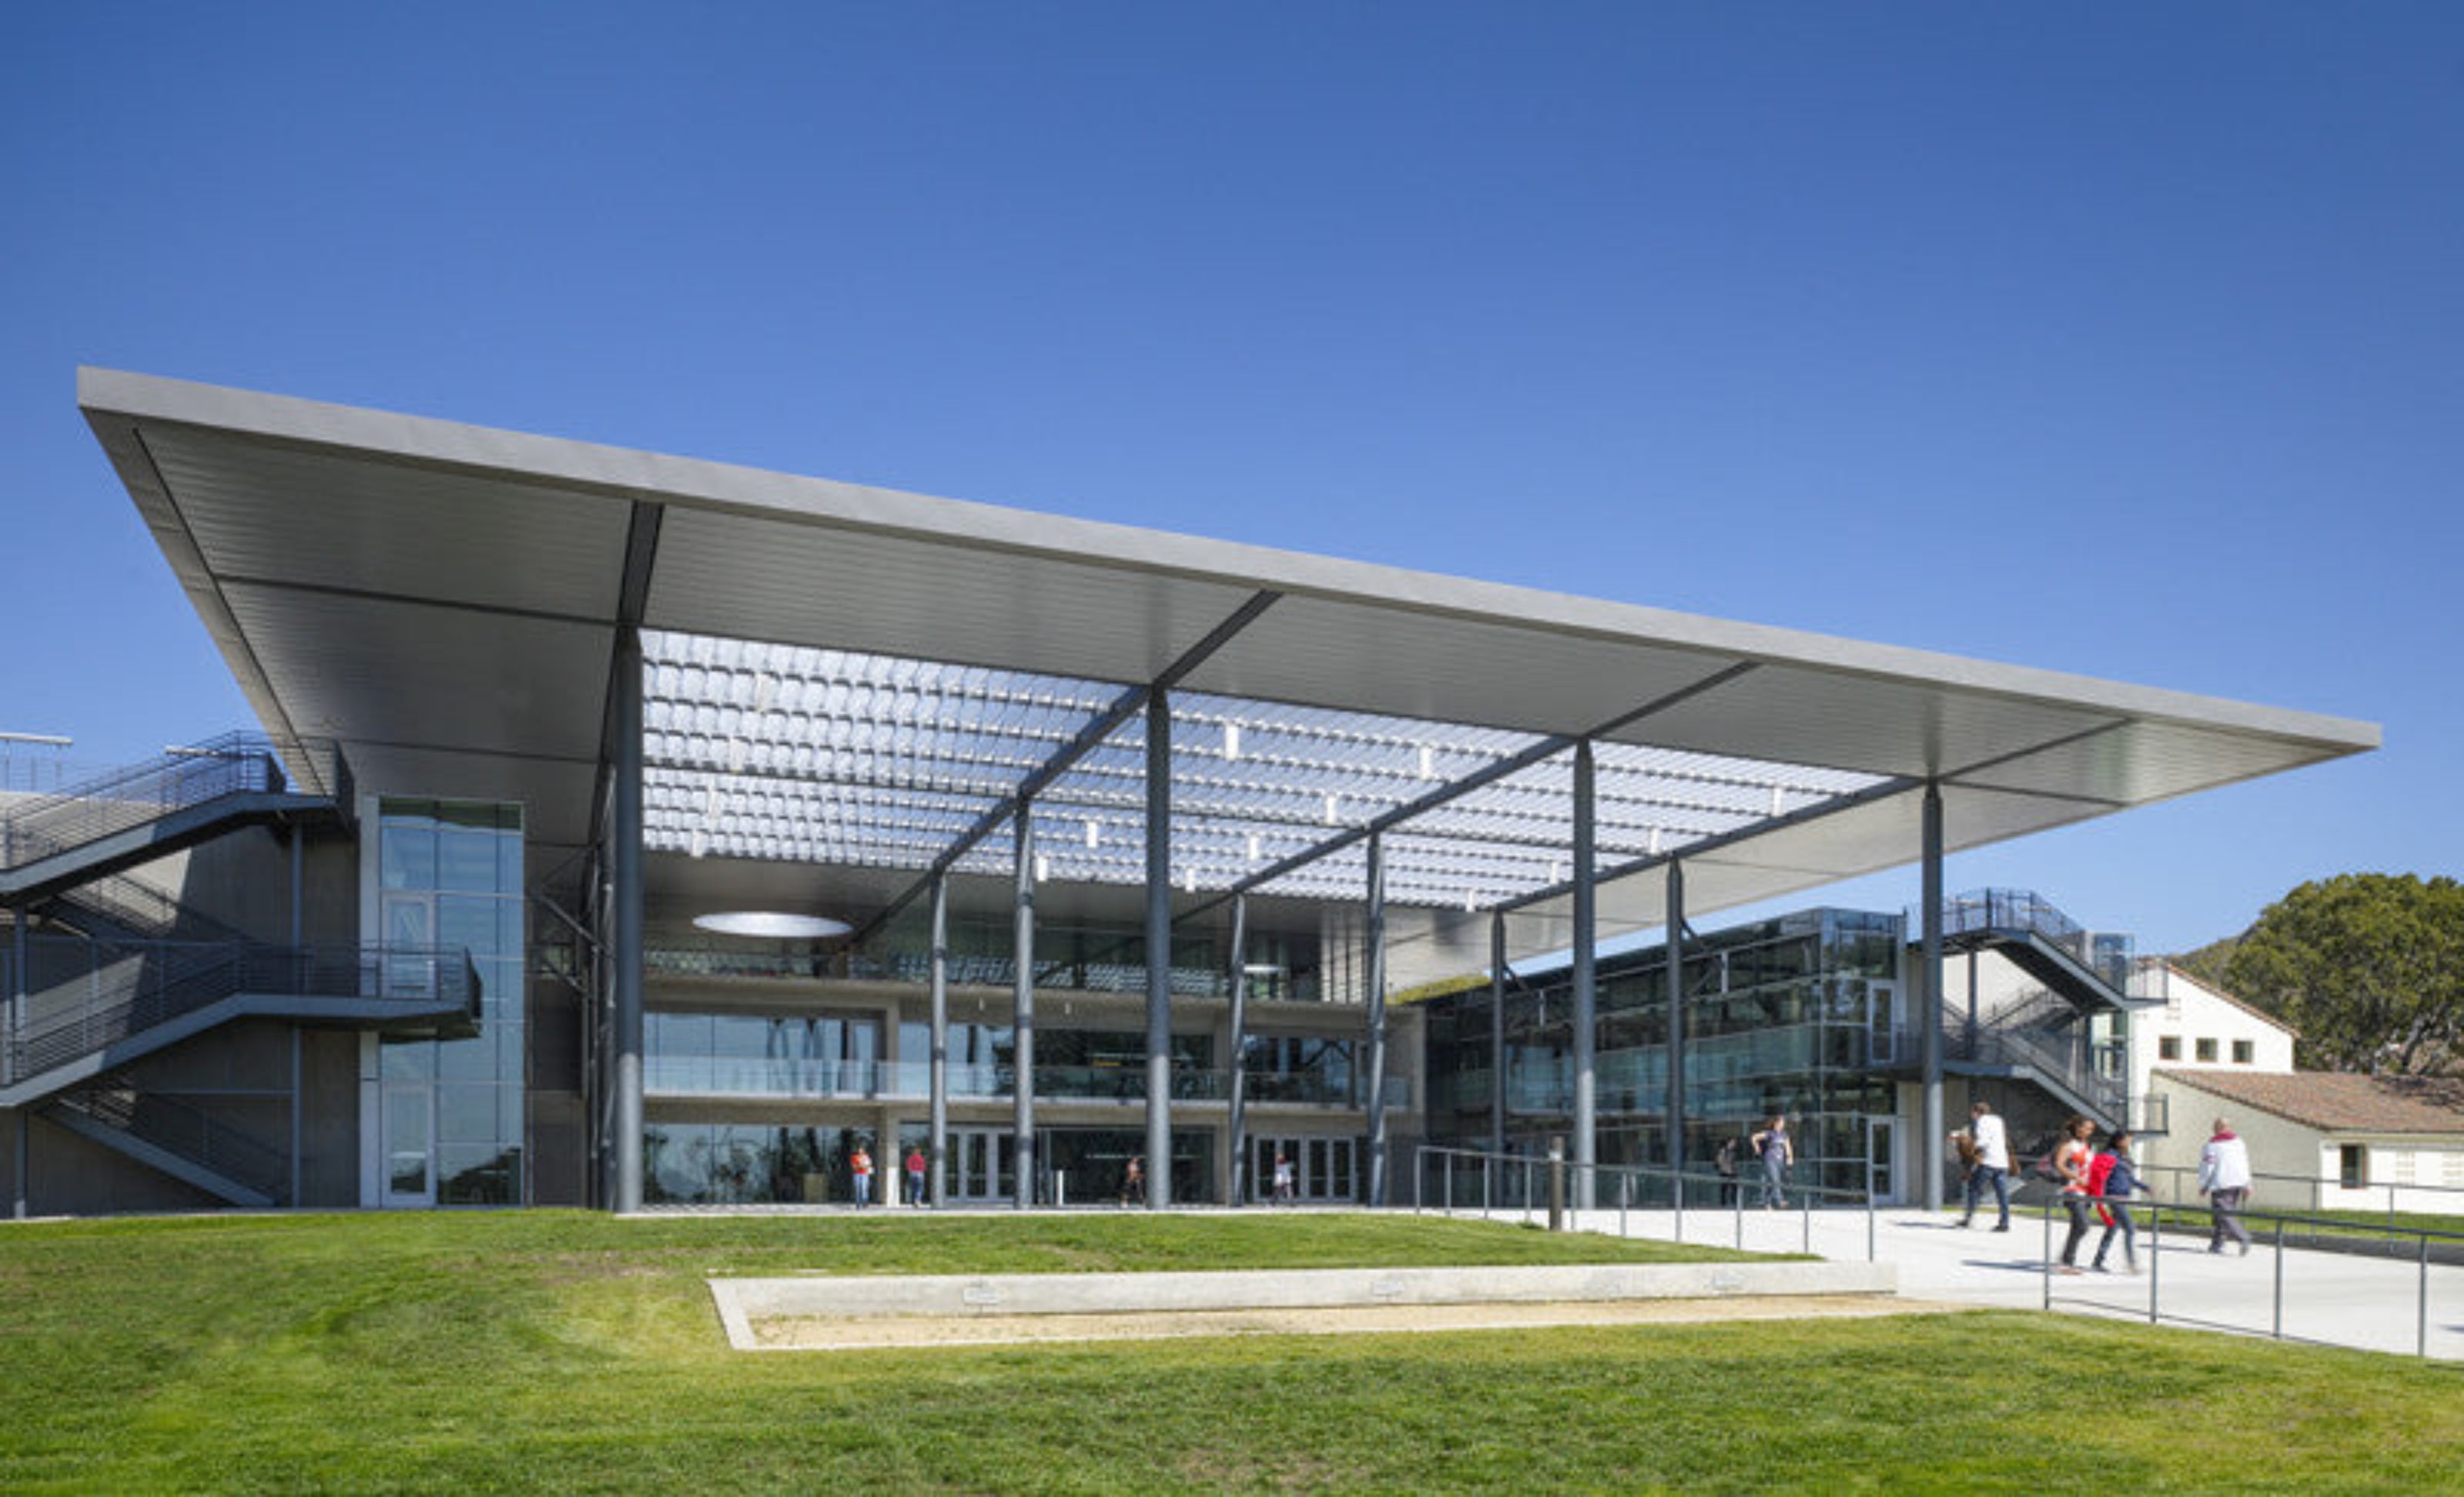
Grids are often effective, but don’t feel bound to them – the sequence shown at right has a dynamic flow that draws the viewer into the gallery and along the line of images.
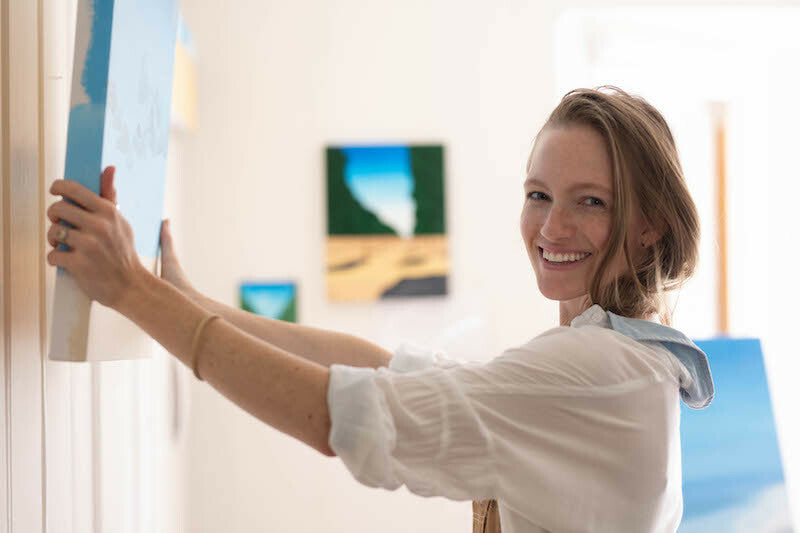
Lima creates her compositions by placing photos under consideration near the space where they will hang, and testing arrangements on the floor or a table to see if they gel as a unified whole. “Finally, I place them on the wall, which is the most telling part of the process,” she says. “Each step usually results in rearranging, or even rejection of certain pieces.”
Photo by David Meyer, used under Creative Commons
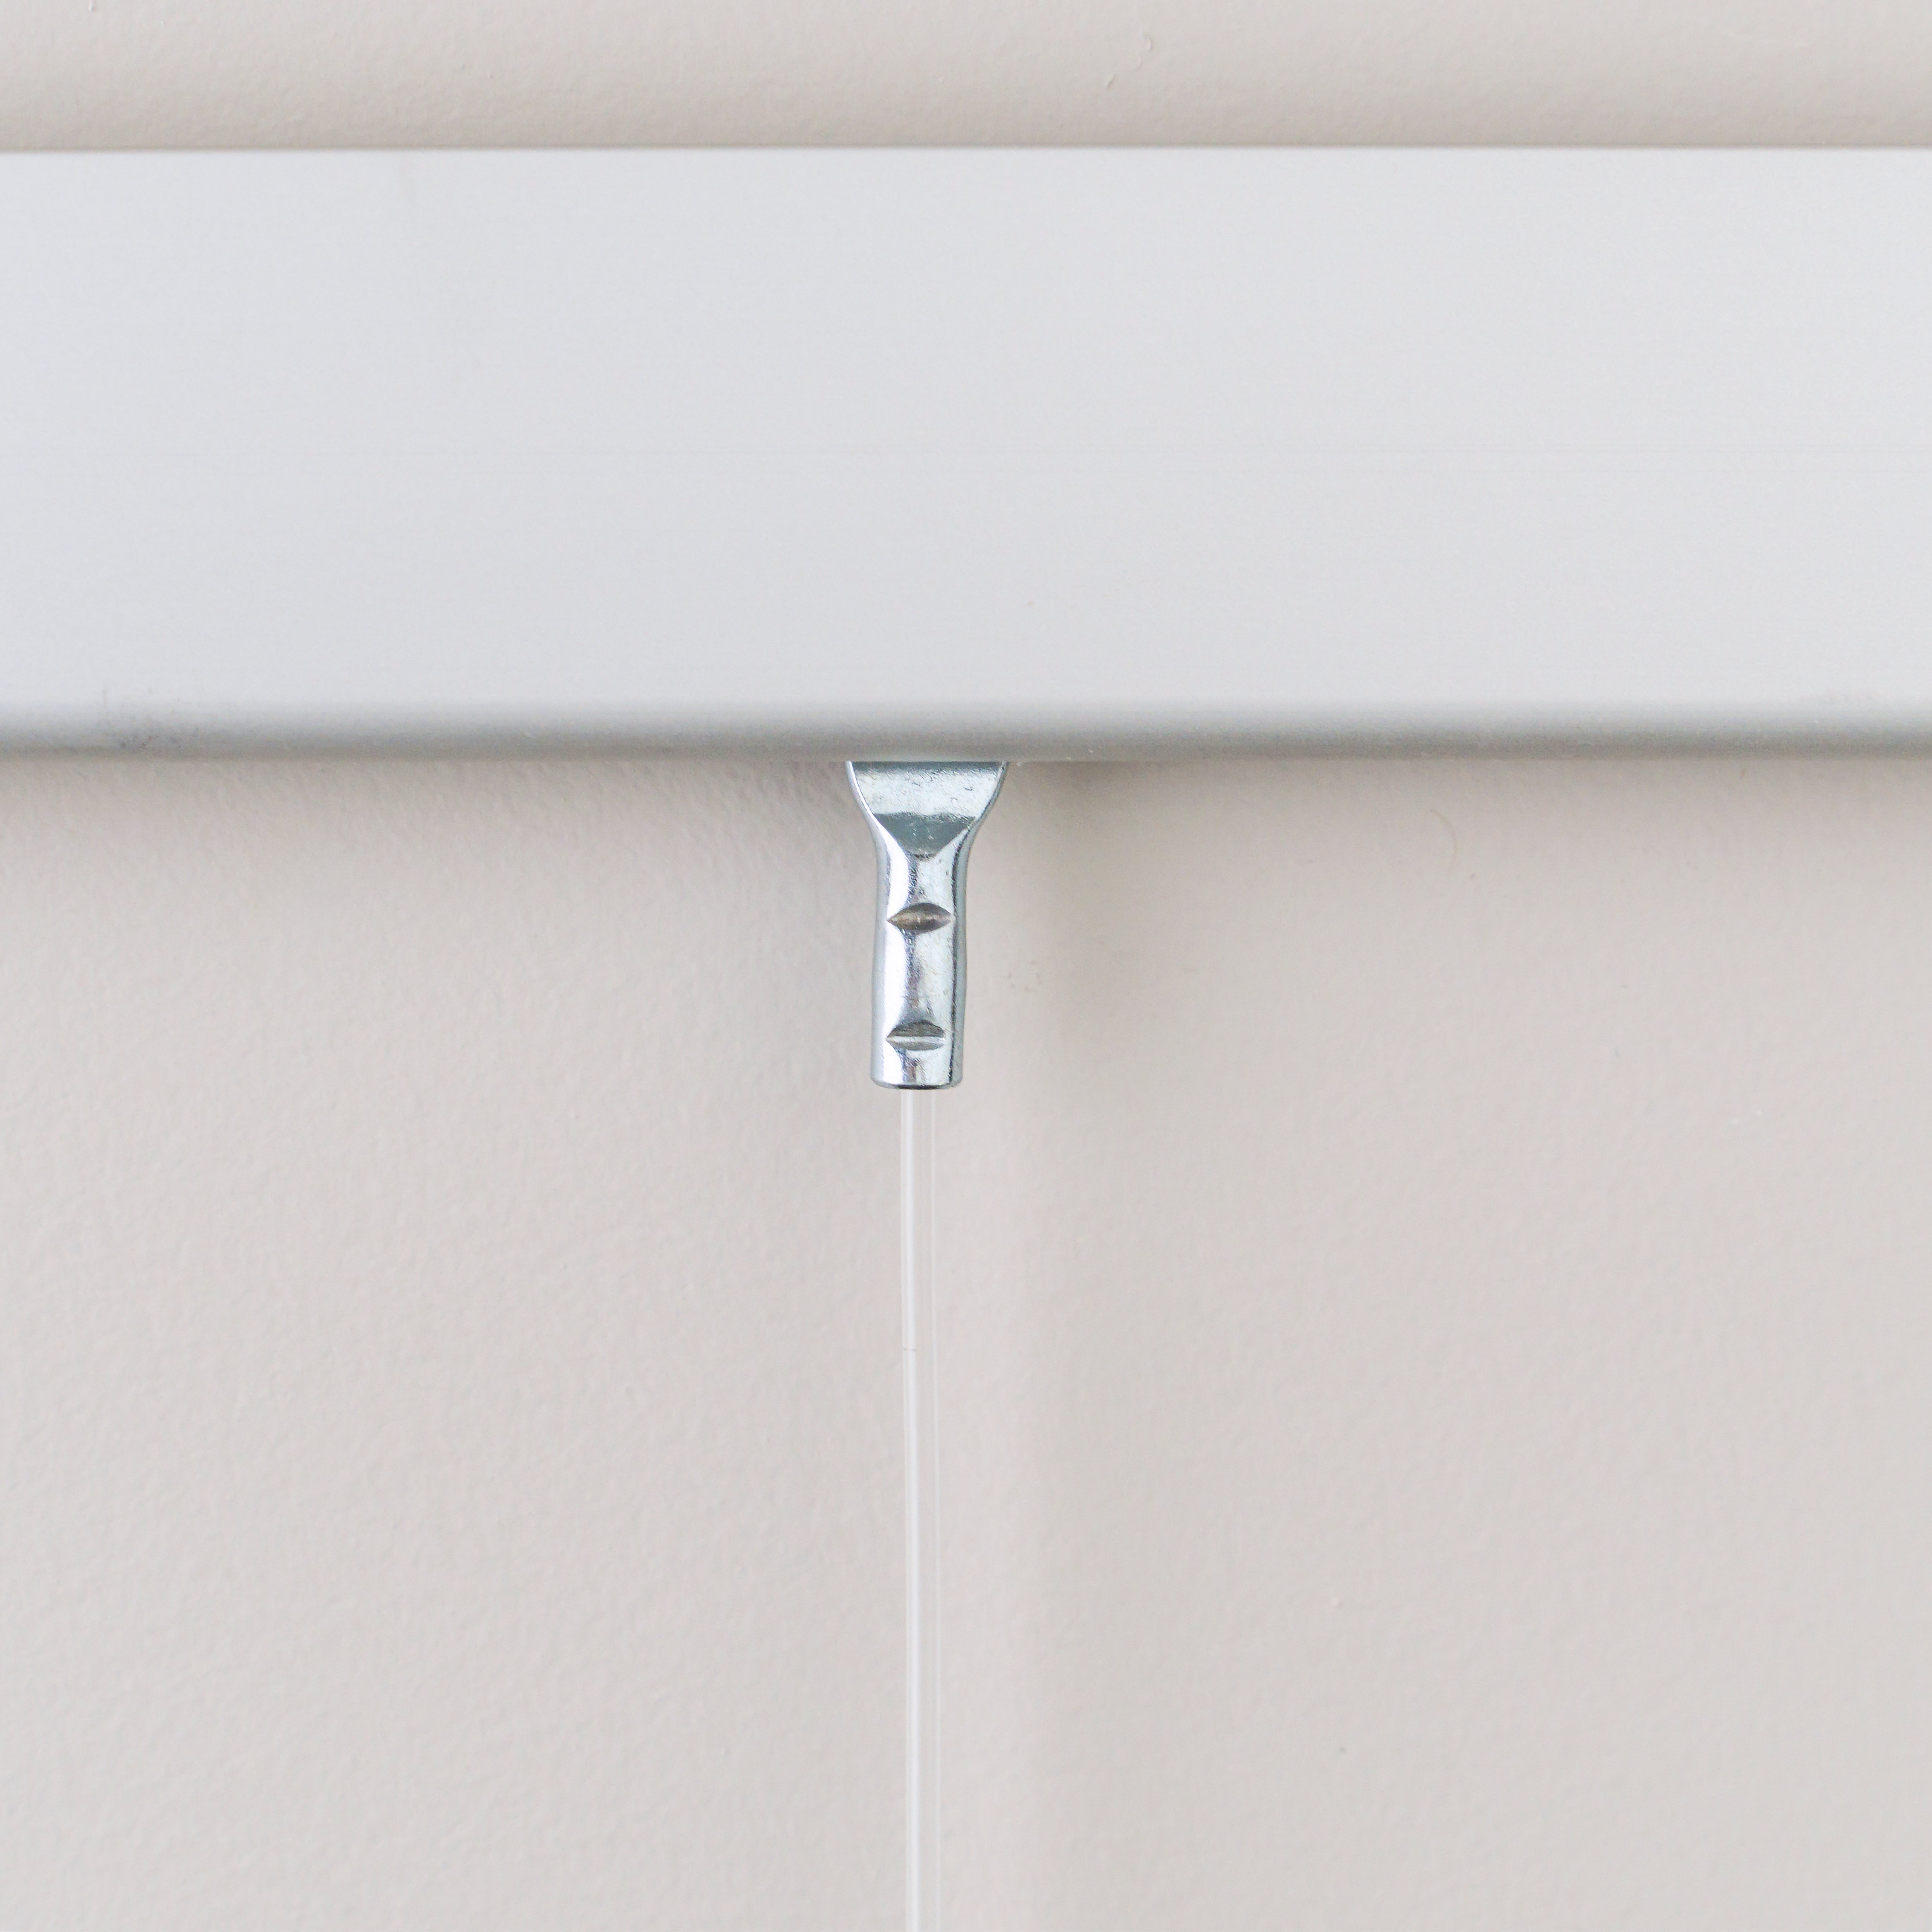
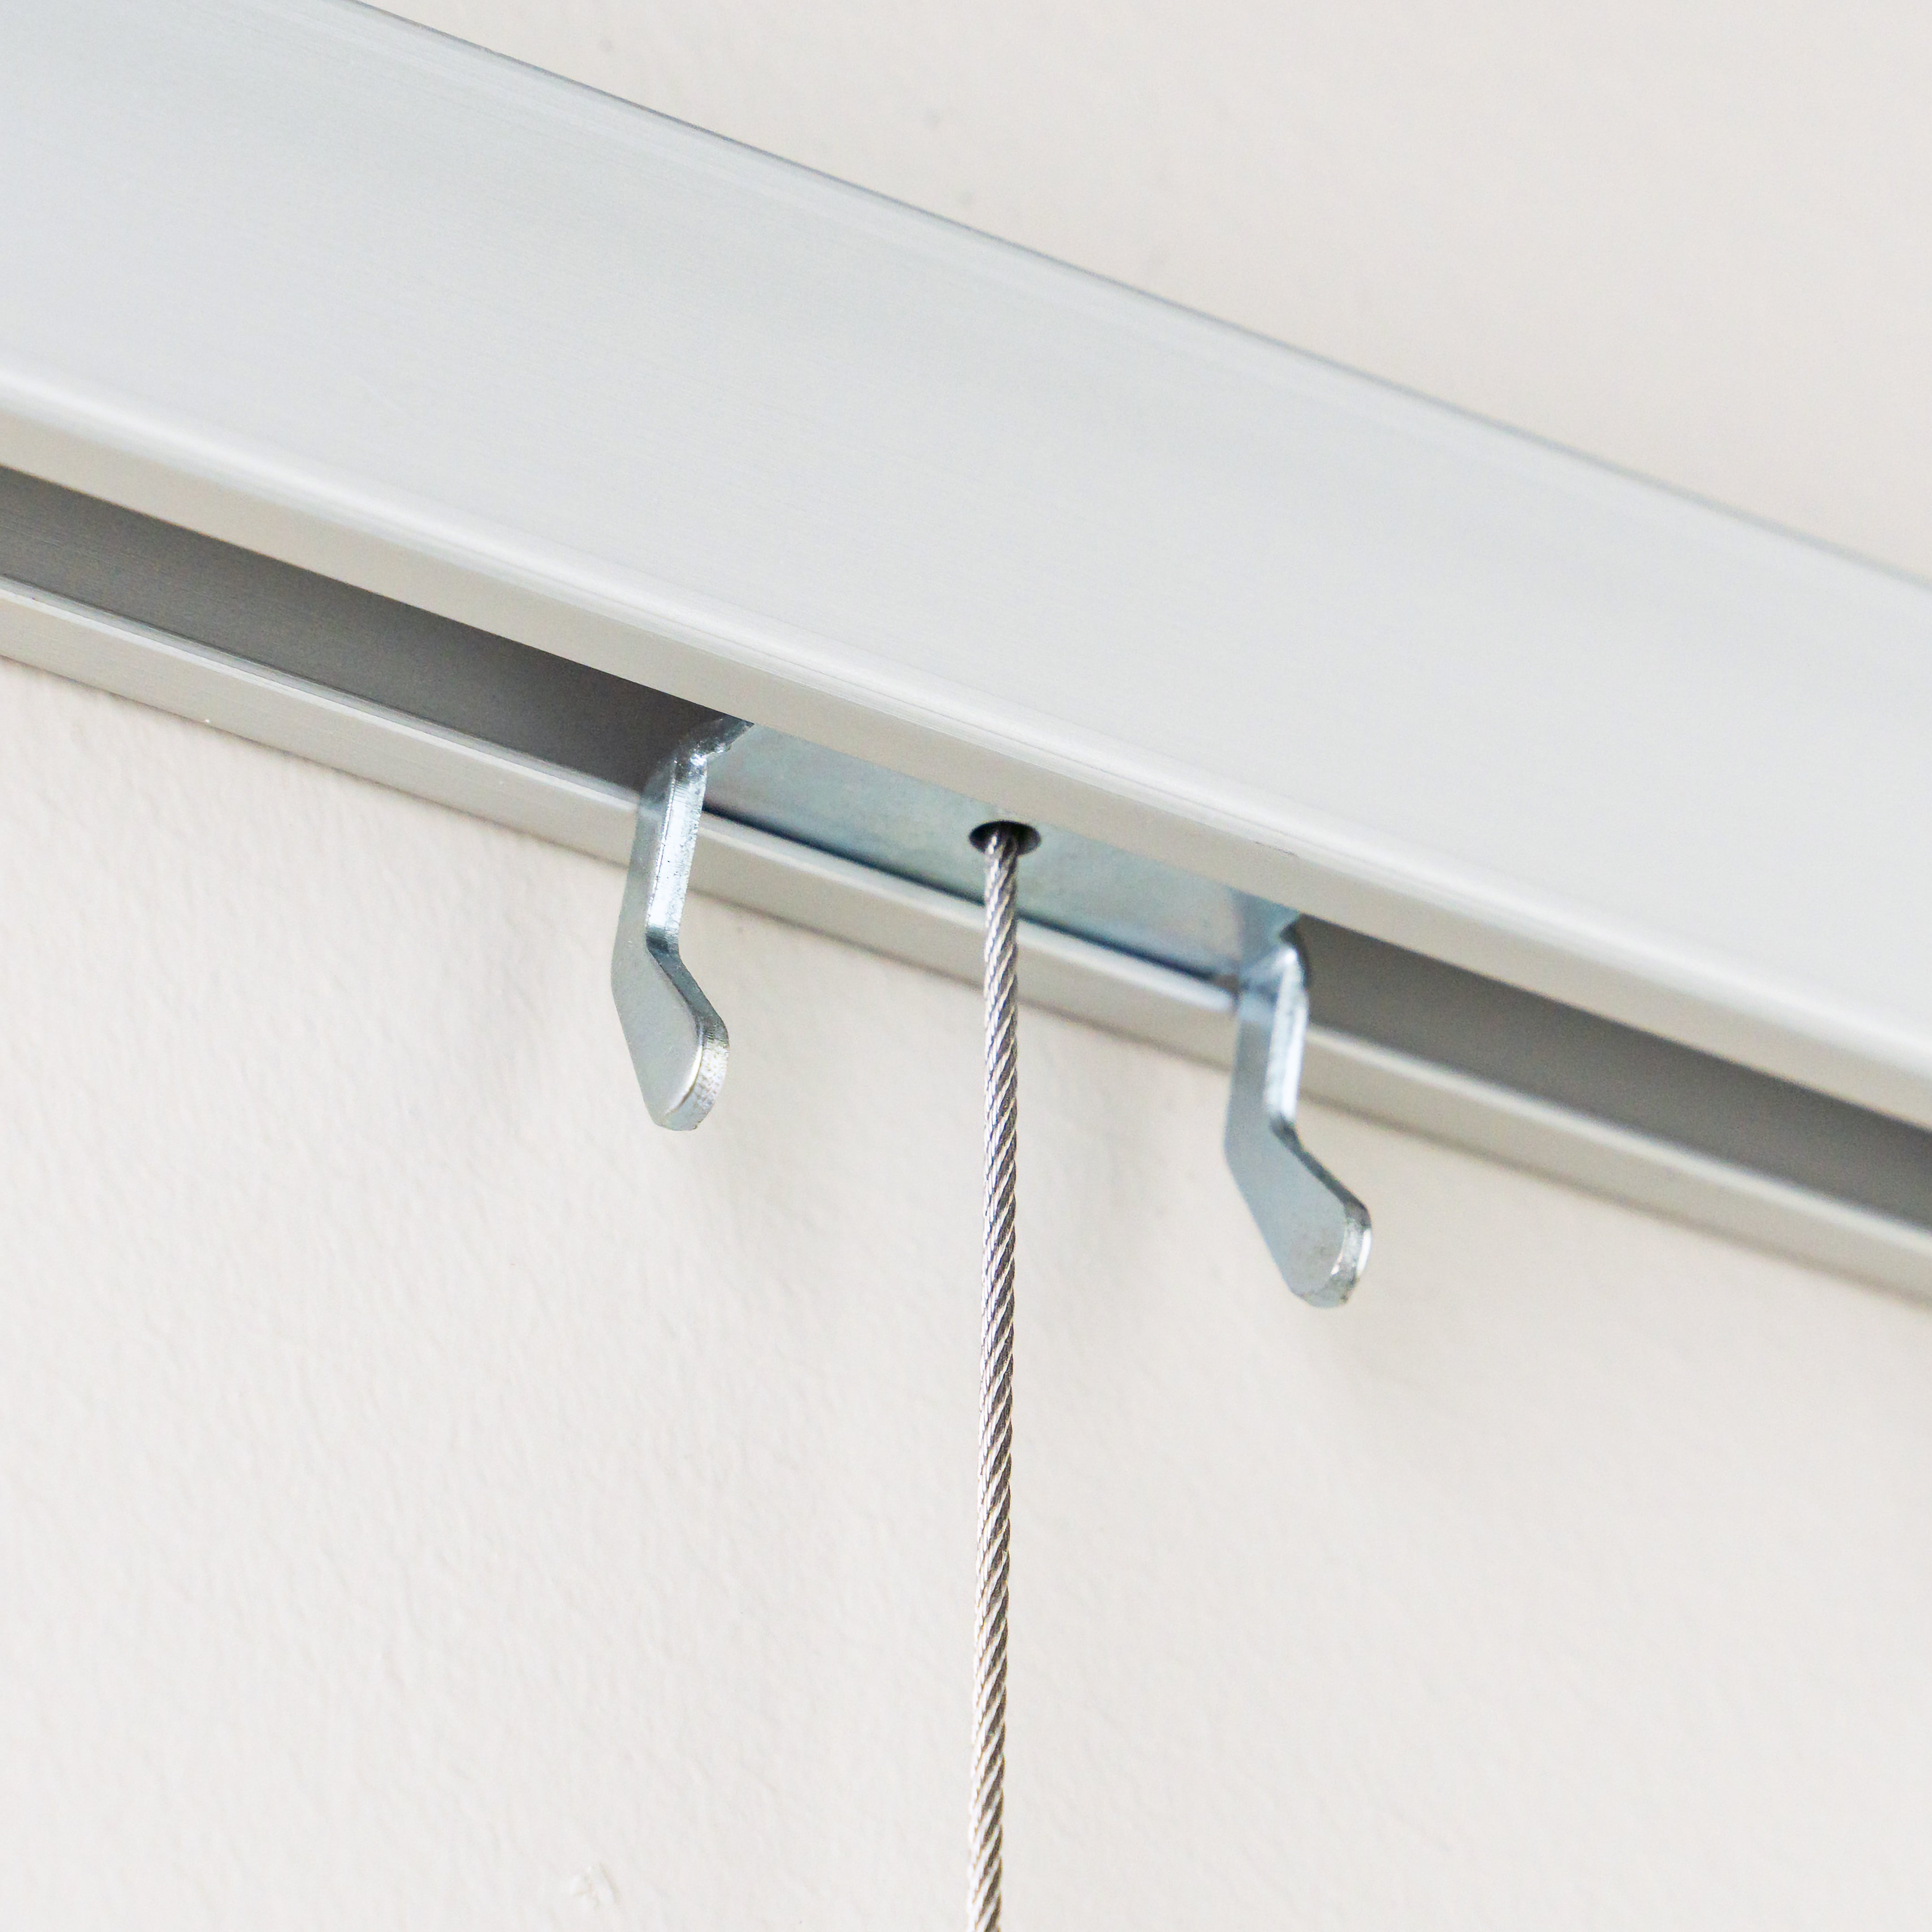
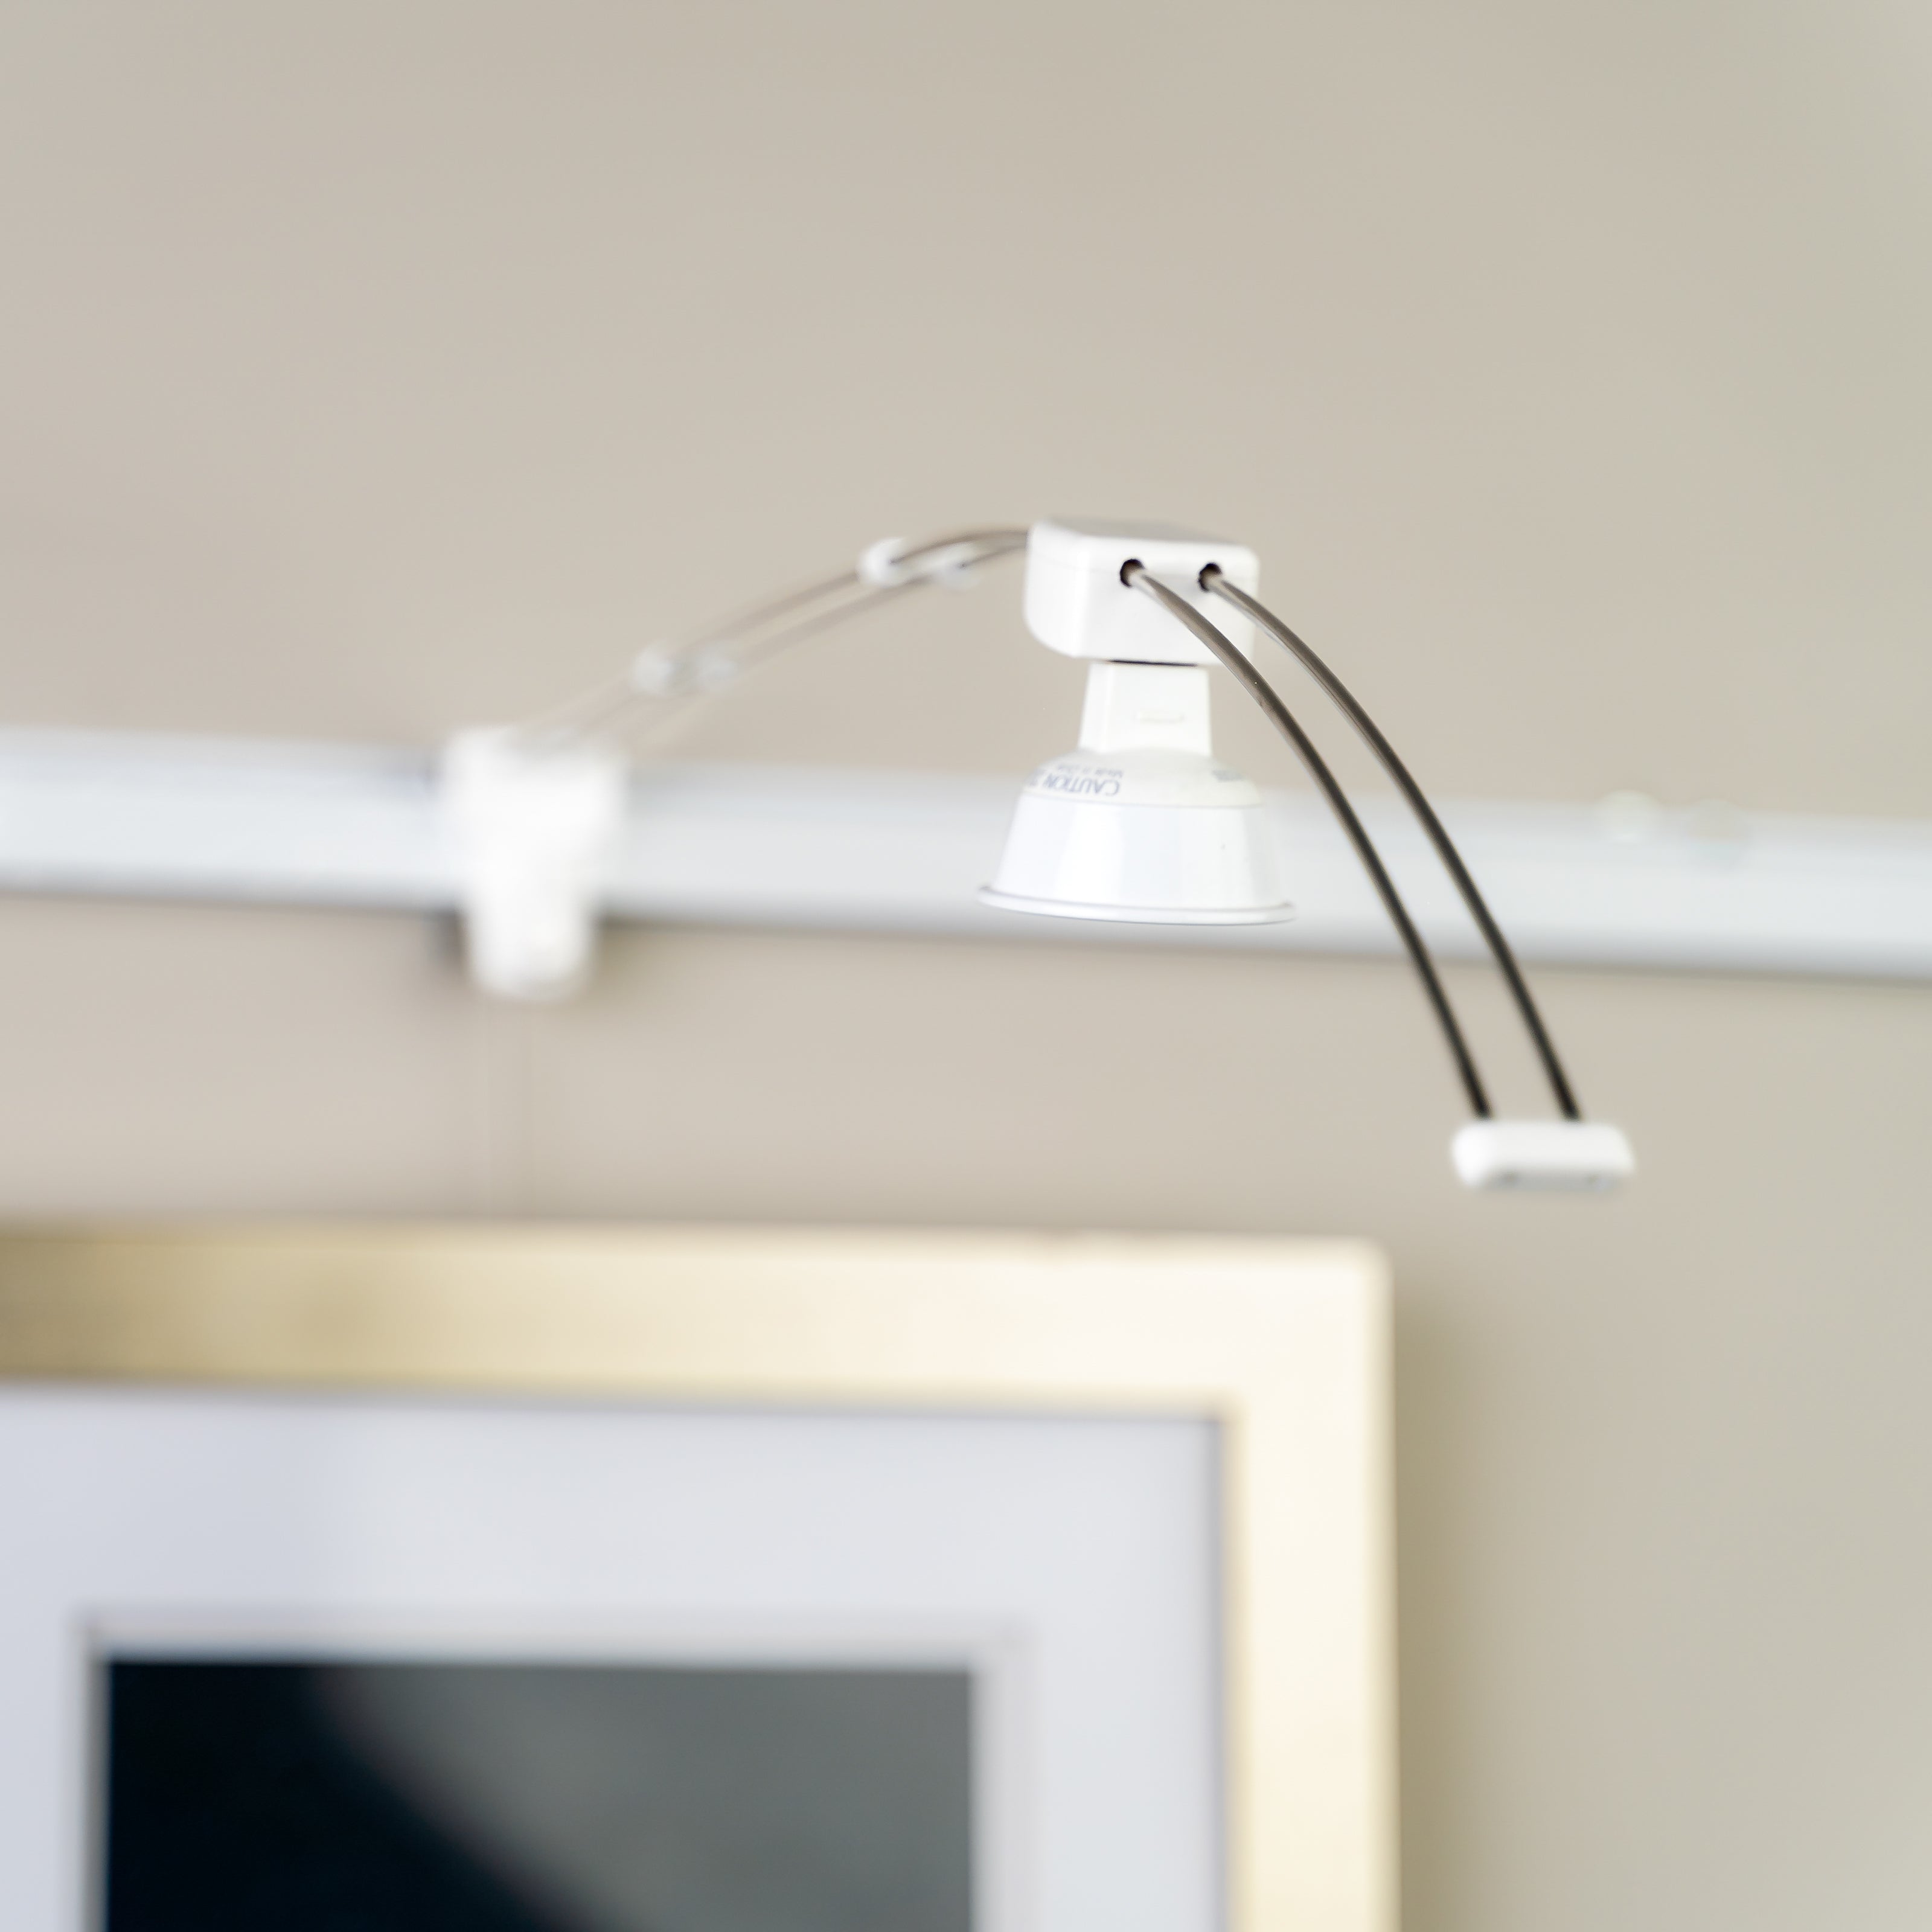
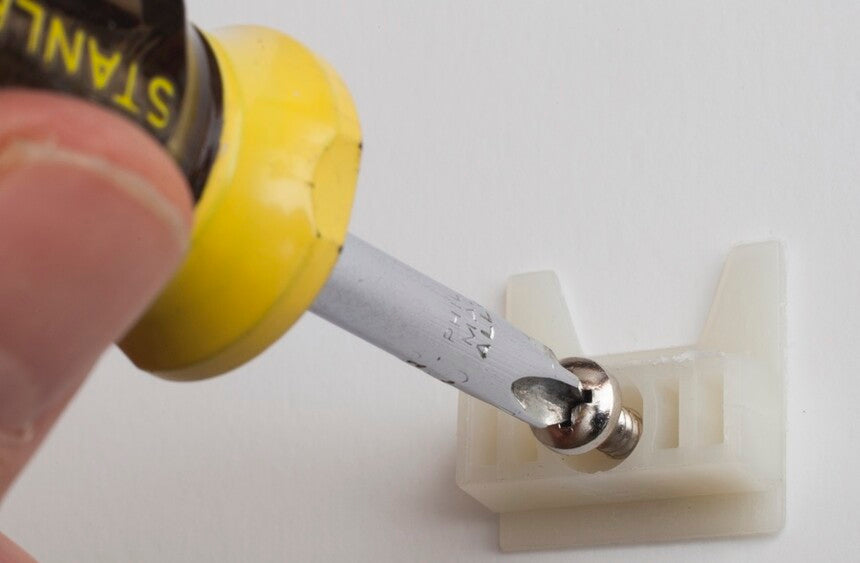
Careful picture hanging is essential, especially for grids. A crooked or out-of-line image will distract the viewer and undermine the effect. Lima and many other artists and gallery hanging professionals find that a wall-mounted art hanging system, like Gallery System’s Original Gallery System and GalleryOne, greatly simplifies the process, and facilitates in-place experimentation.
Enjoy the process of creating your groupings – it’s a great chance to look at your work with a fresh eye, and perhaps discover some themes that you might not have noticed.
A version of this article originally appeared on the DontTakePictures.com blog, an excellent site for photographers and photography lovers.
Photos of Ananda Lima groups by Ananda Lima
Create your Custom Gallery System
It's never been easier to start hanging like a pro.