


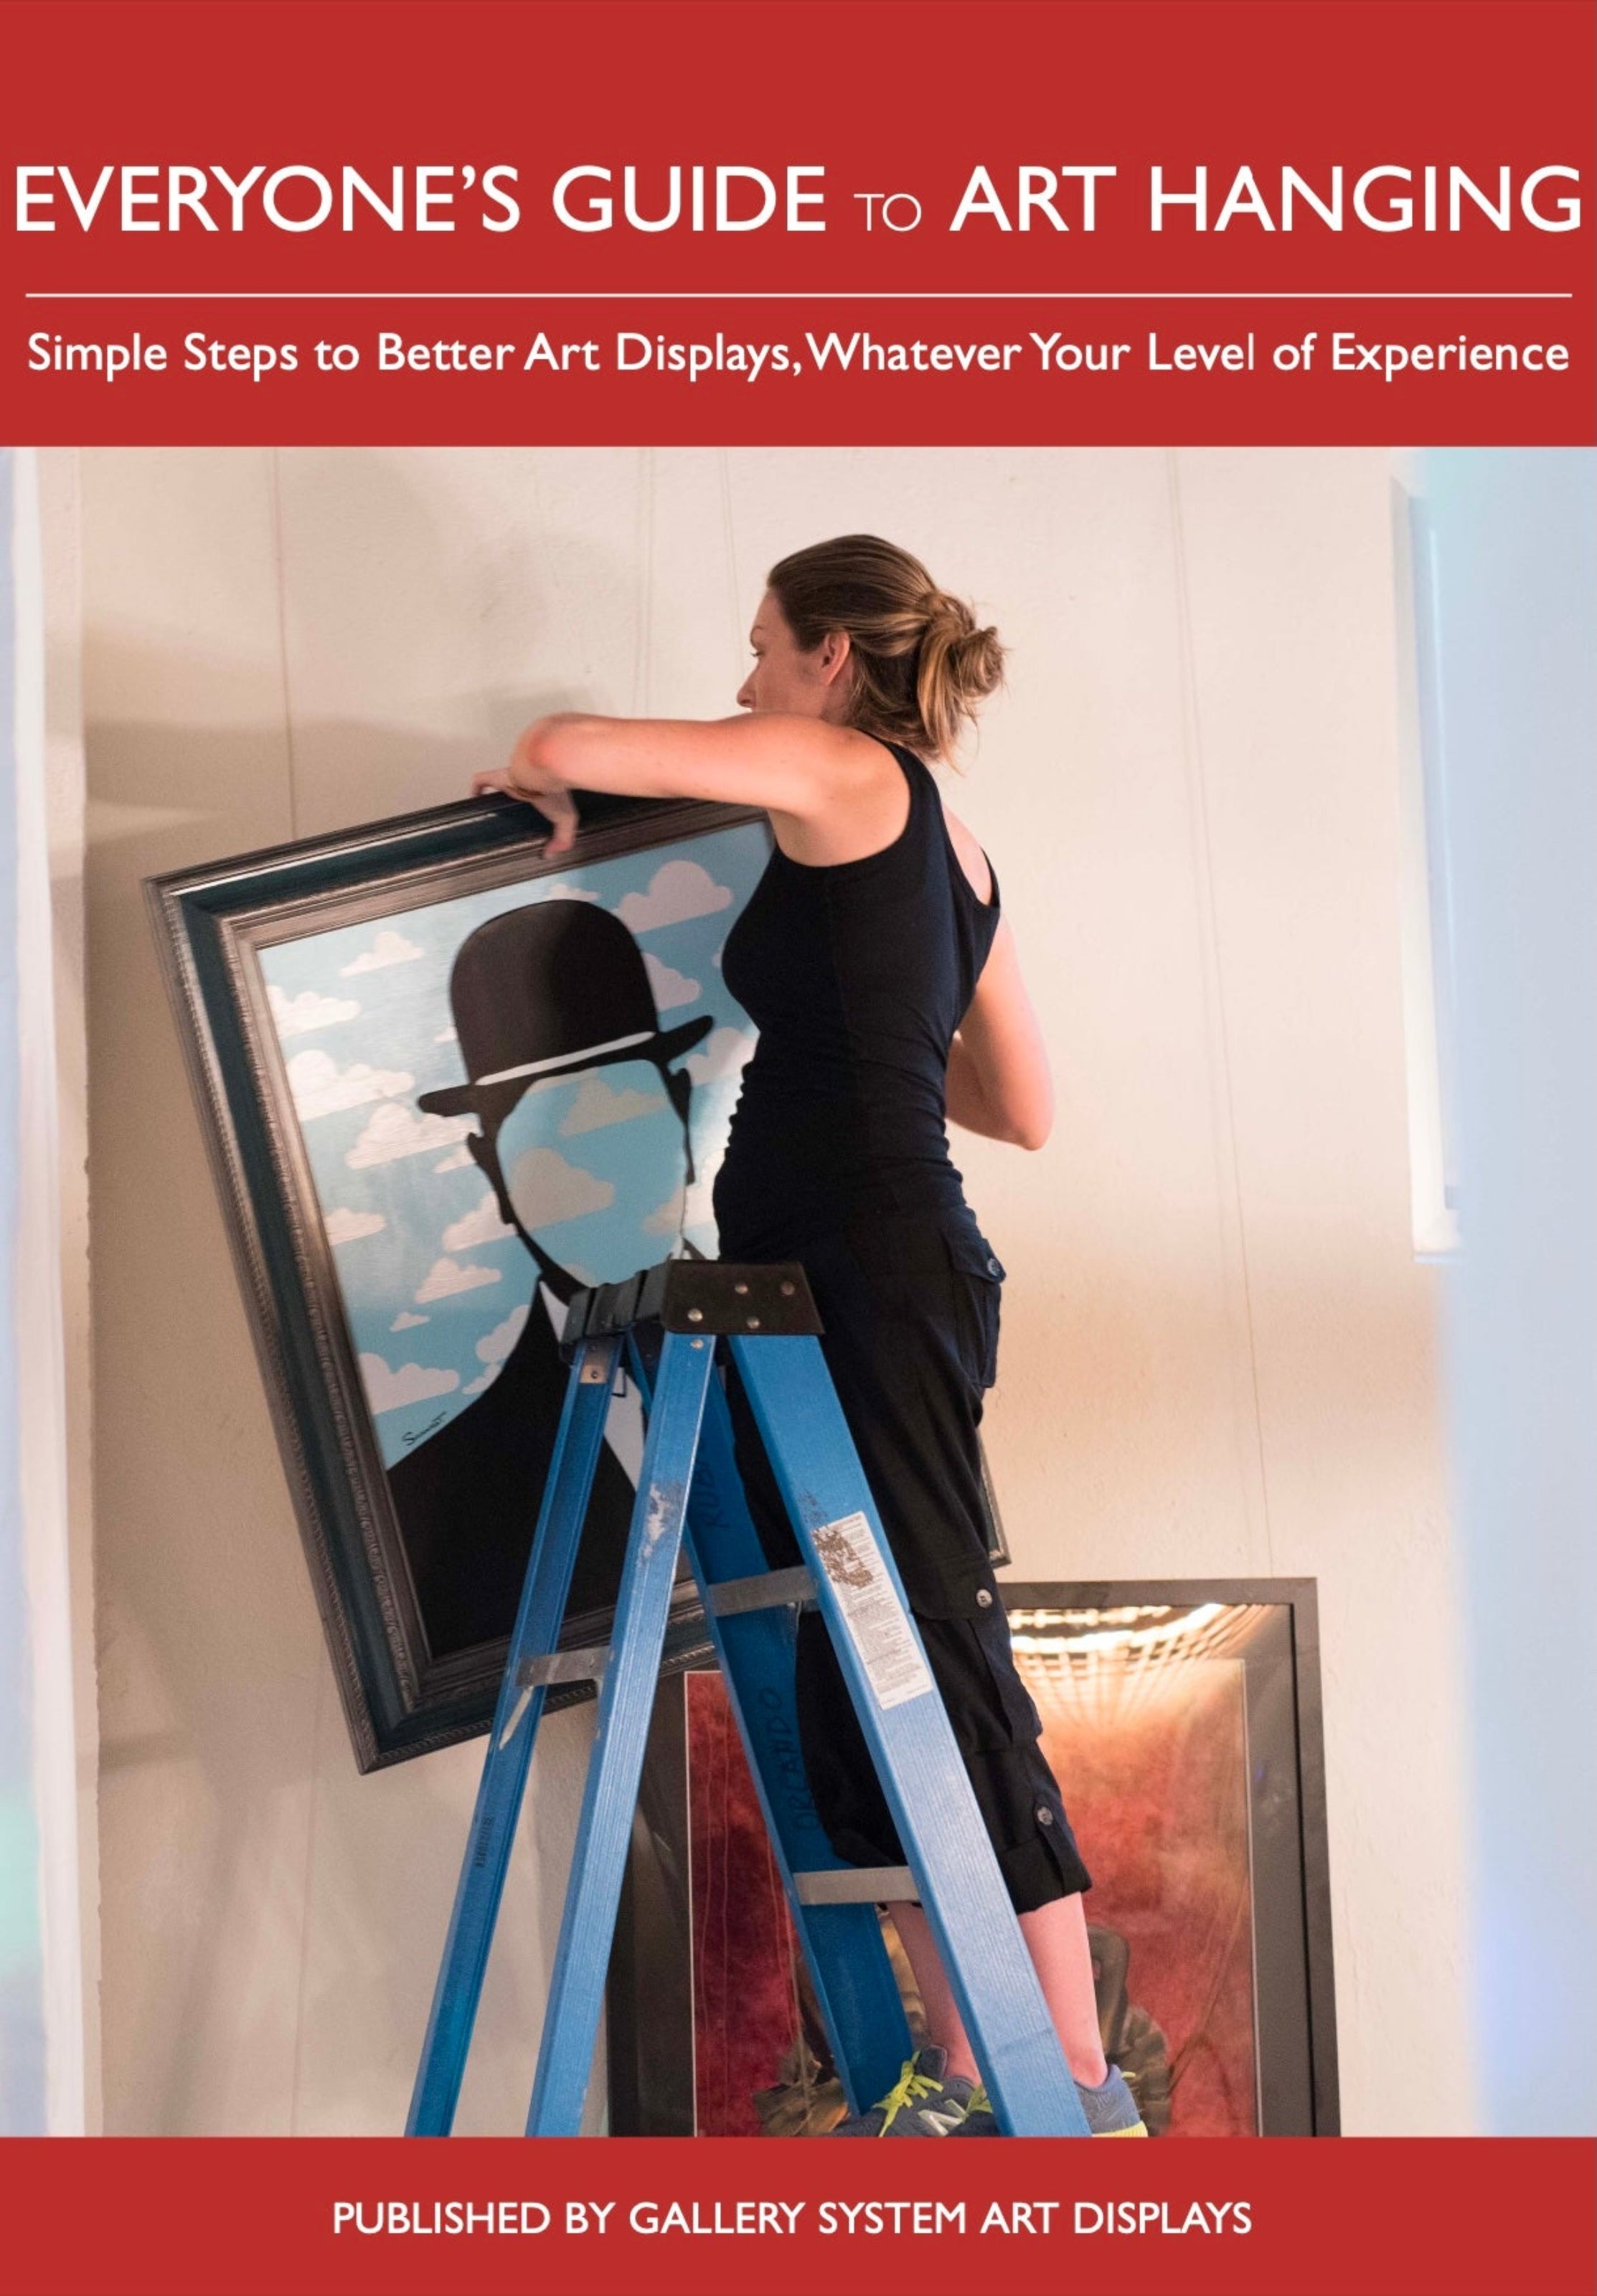
Art Hanging Systems for Every Wall
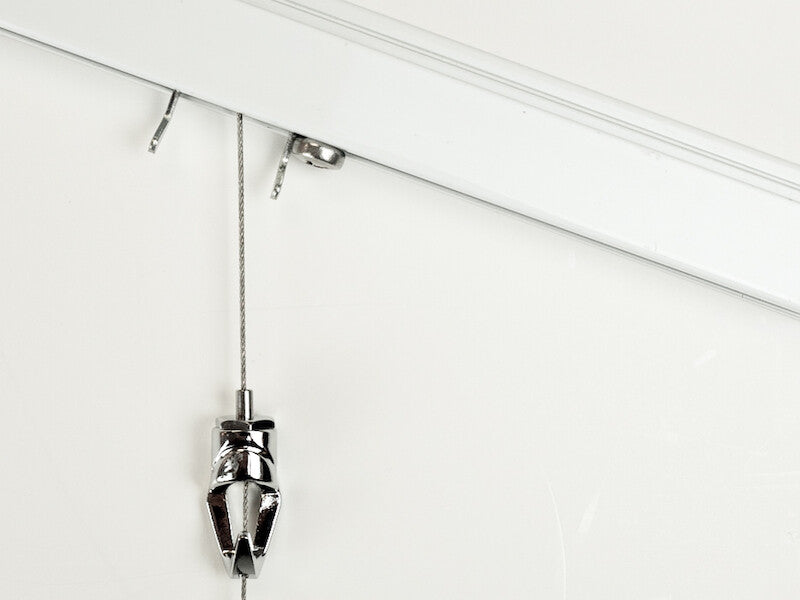
Whether you're hanging art in a gallery, home, studio, or business, our gallery hanging systems can help you do it better — with quicker setup, instant adjustment, and damage-free changeover
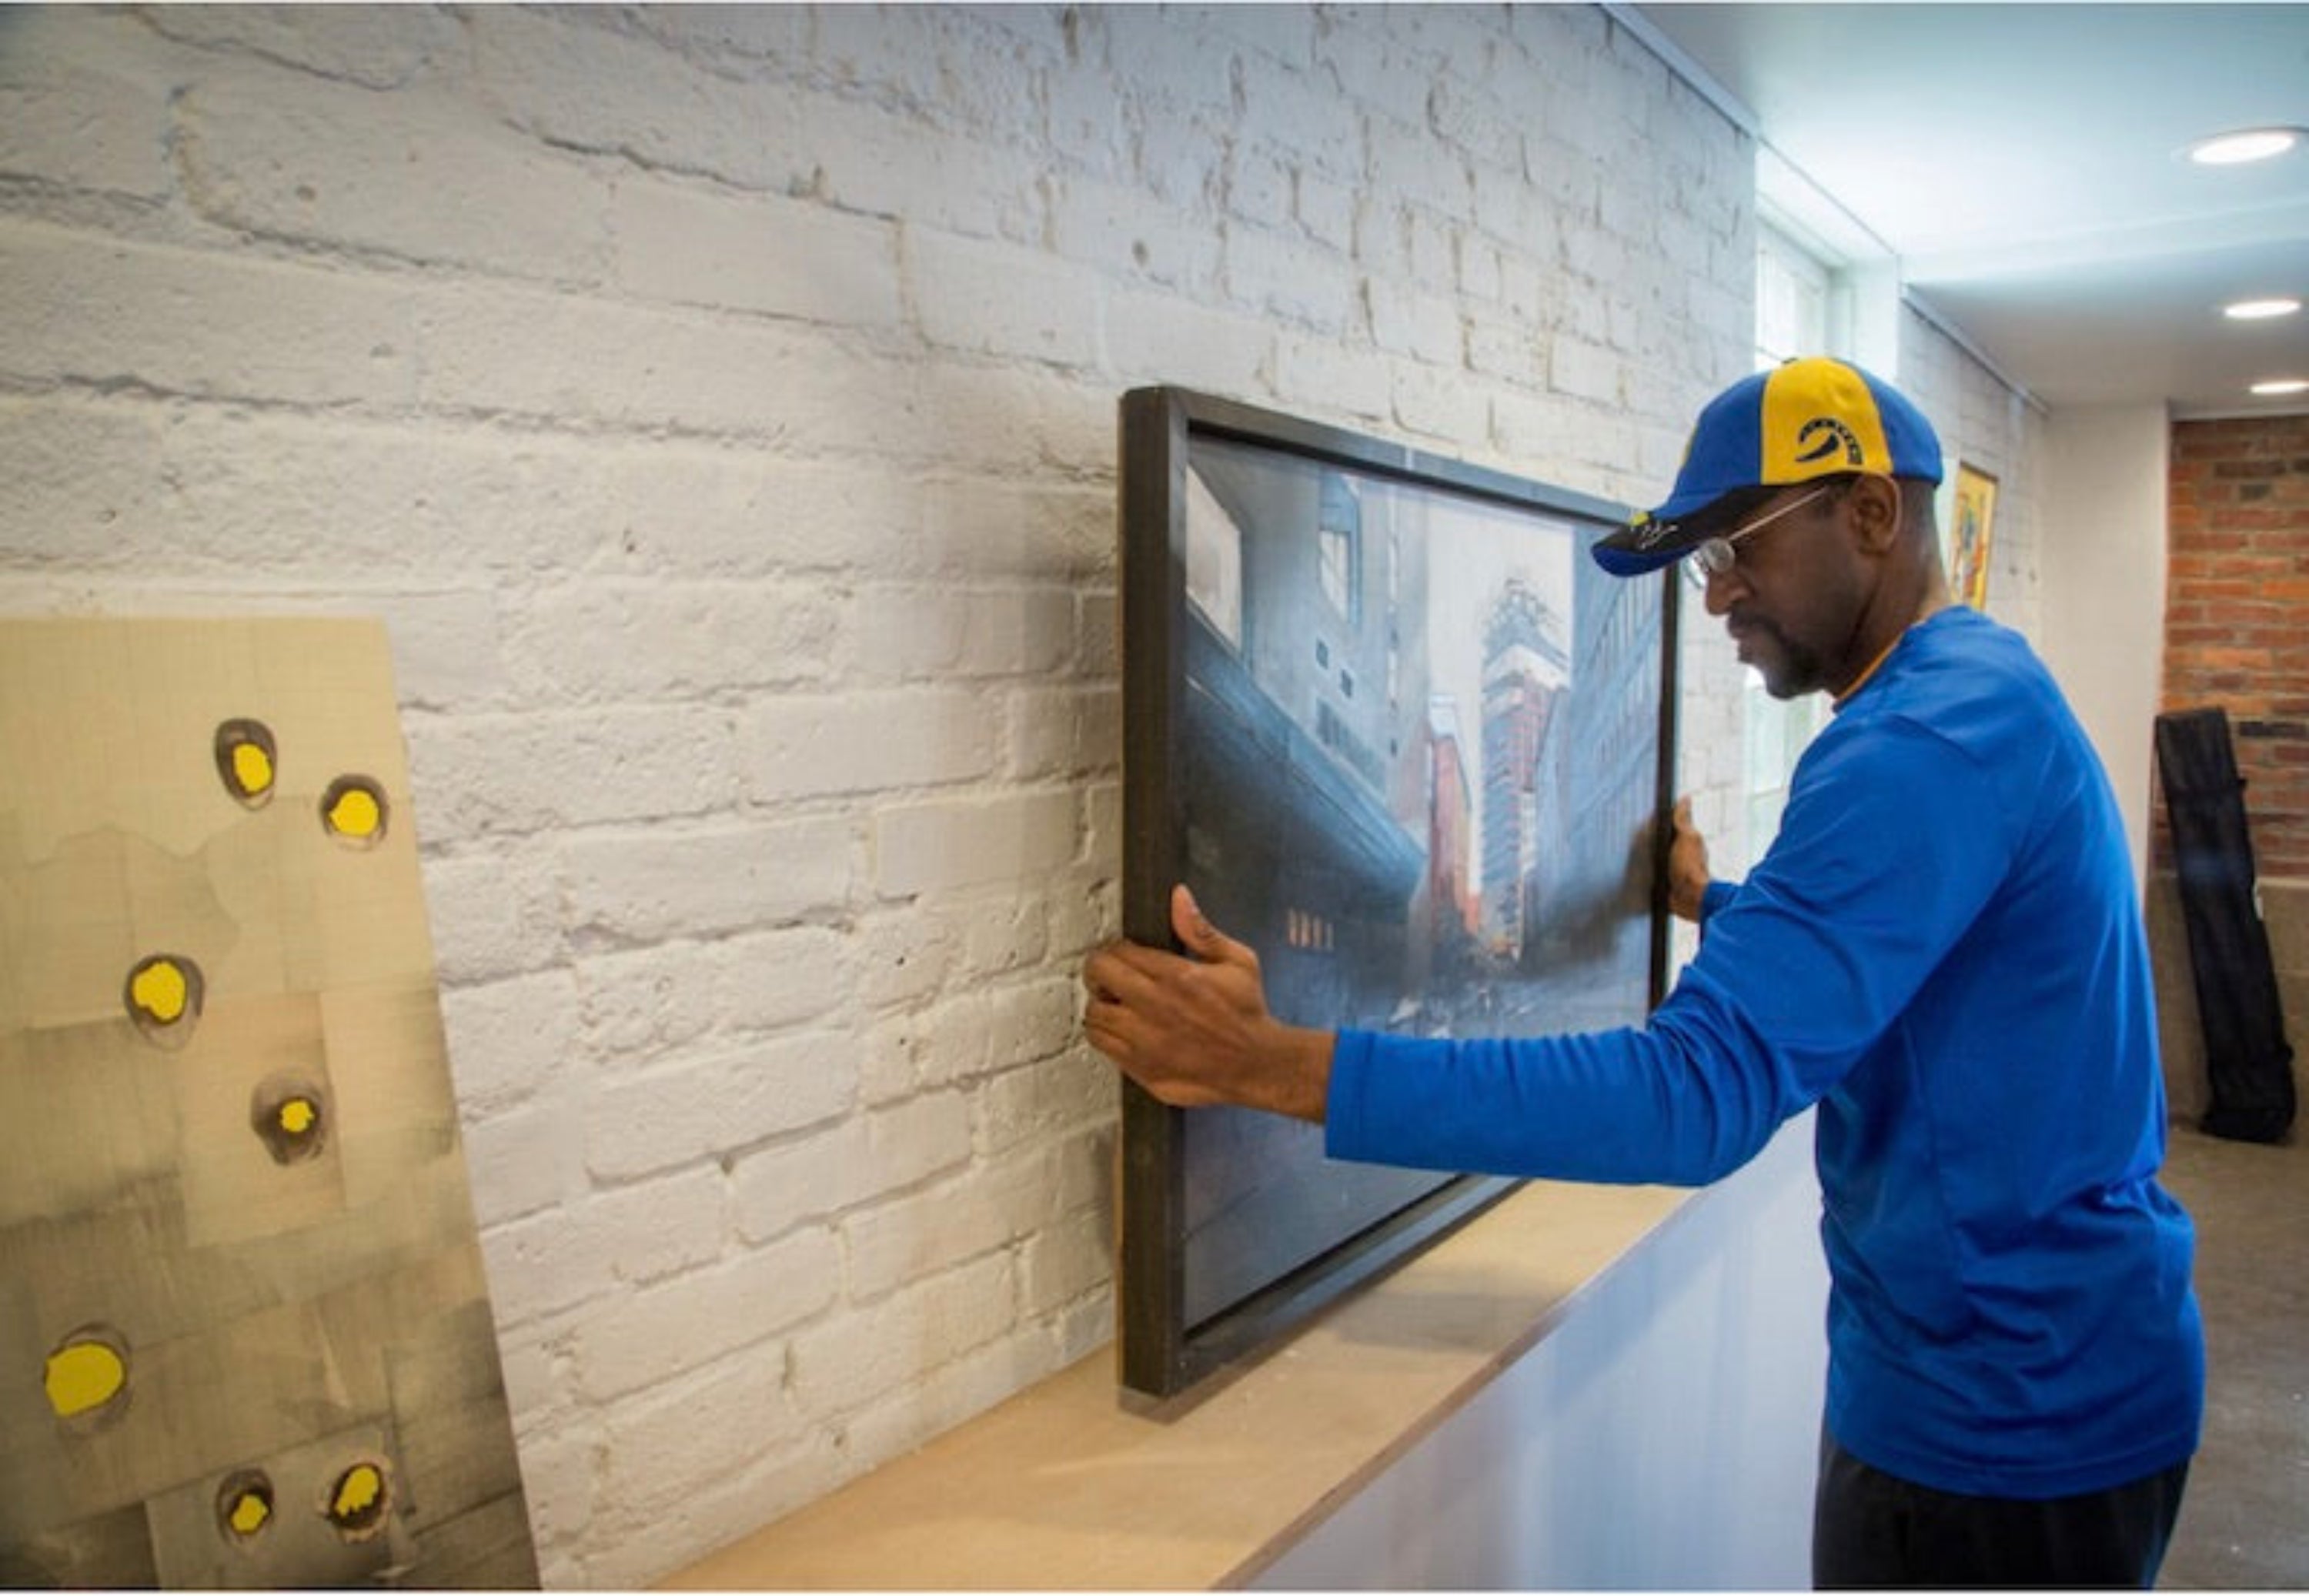
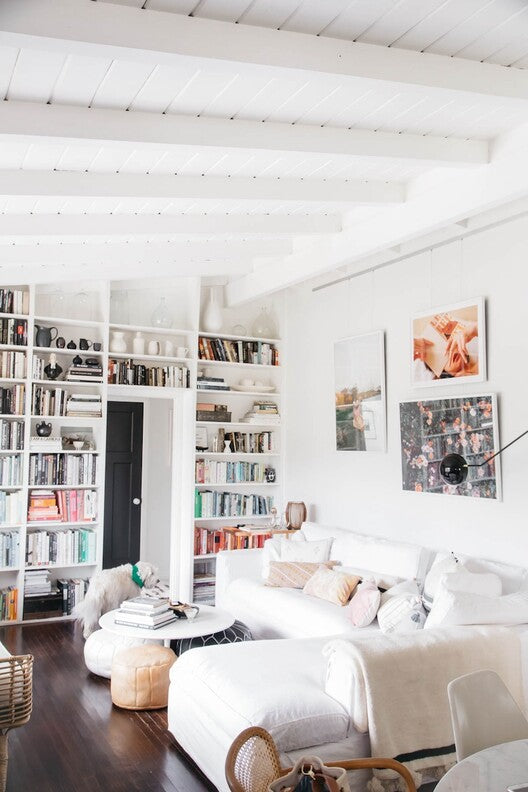
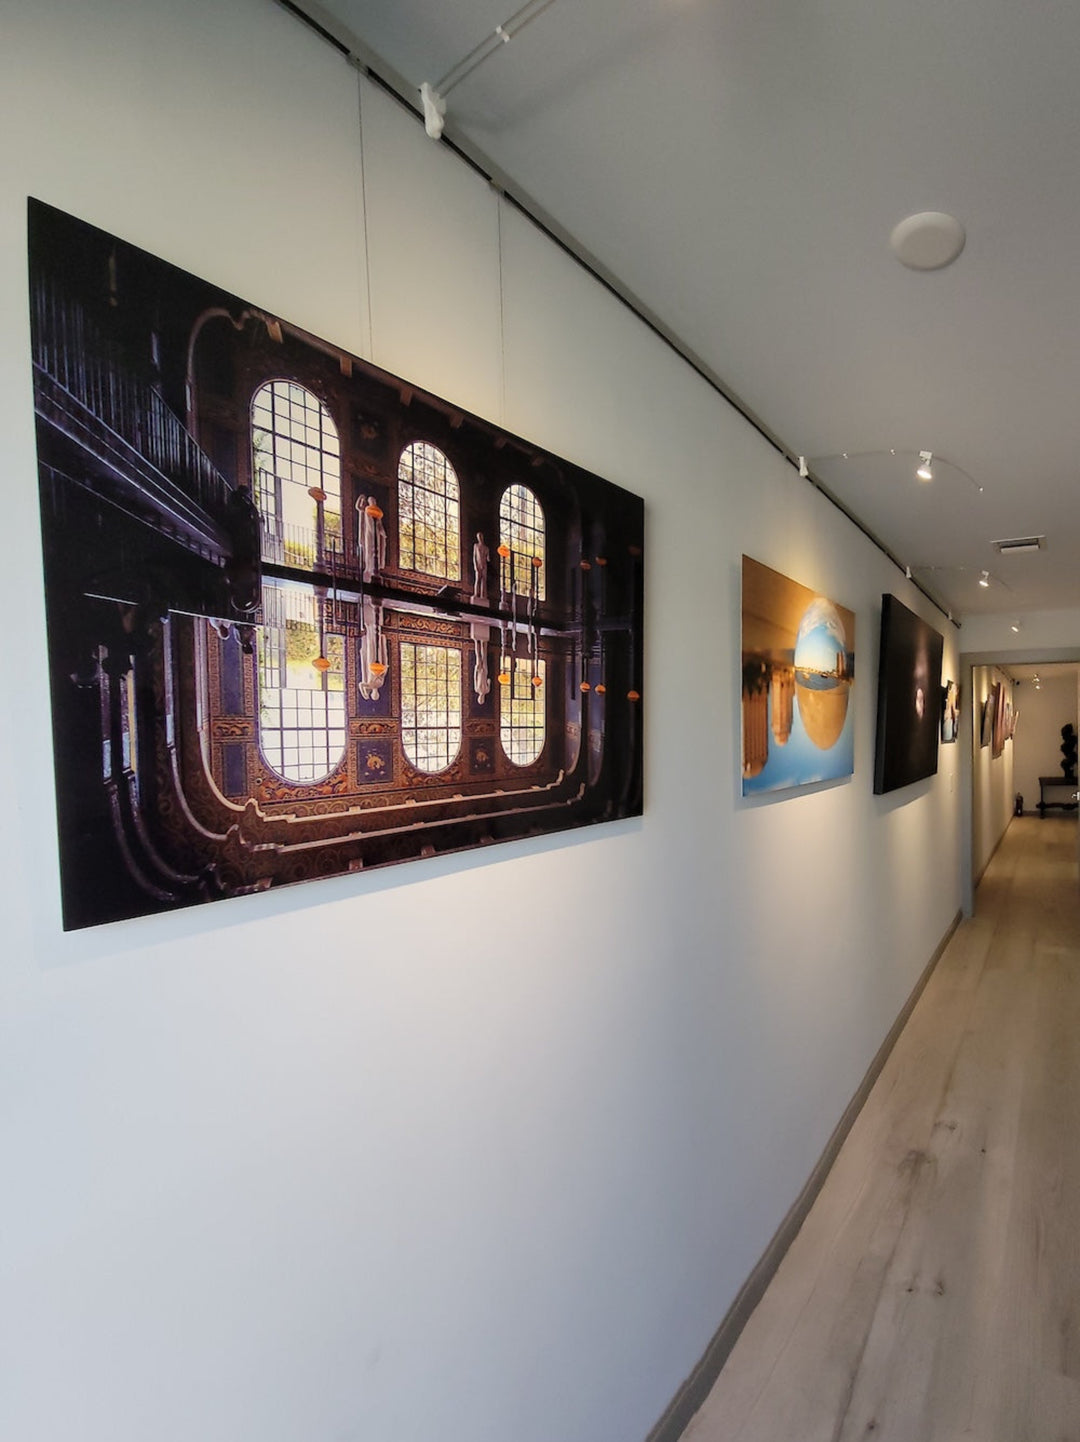
Gallery & Studio Walls

Three Creative Benefits of Art Hanging Systems
Our art hanging systems make art displays easier — and they help engage your audience
Helping Gallery Owners Keep Focused on the Show
When the logistics of art hanging are simplified, you get more time to spend on the aesthetics
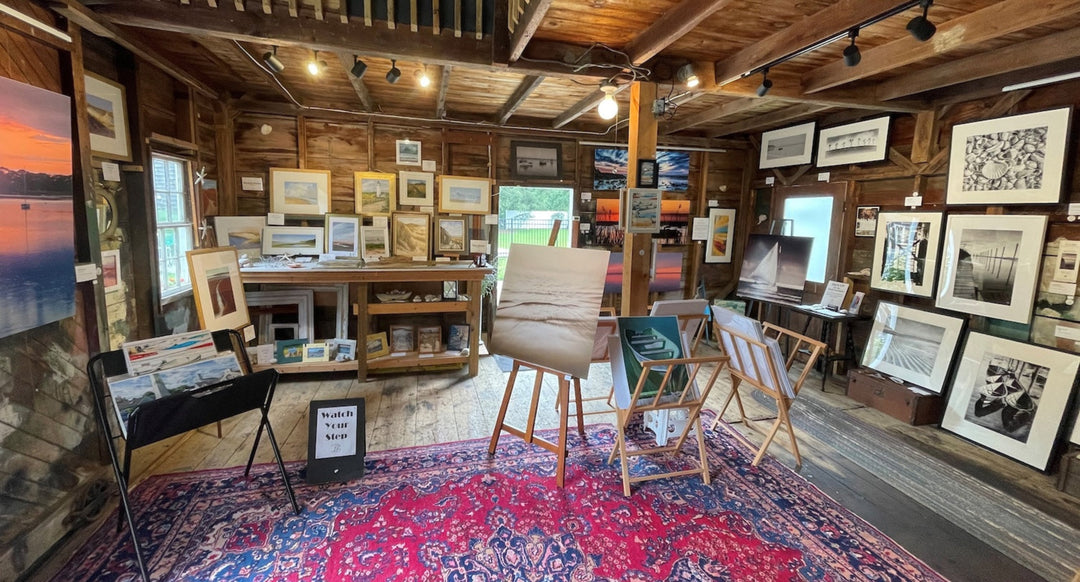
Case Study: Bobby Baker Gallery's Rustic Art Barn
Unfinished barn walls become a thriving gallery with the help of our hanging systems
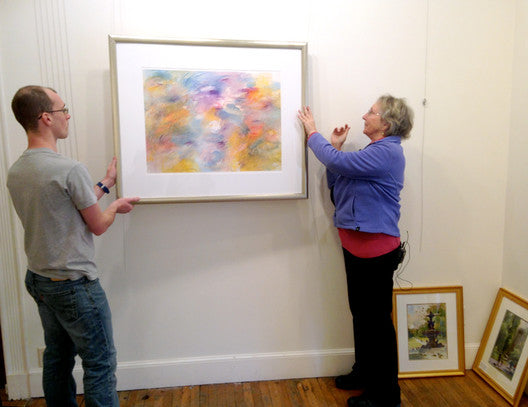
Home Walls

An Artist's Great Exhibitions Start at Home
Award-winning California landscape artist Haley Coleman relies on her home gallery hanging system for visual insights
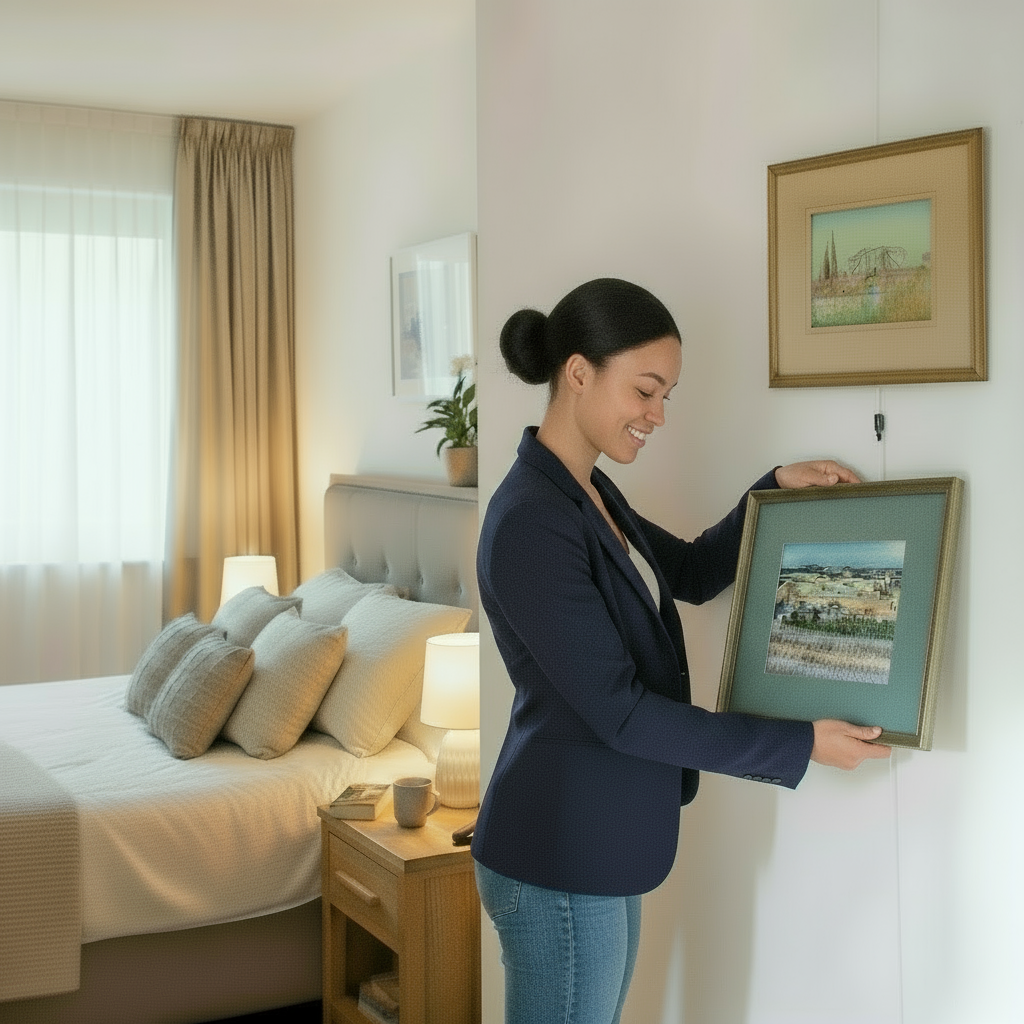
Why Renters (and Landlords) Love Picture Hanging Systems
Rental properties with picture rail or art hanging systems let tenants hang art freely, leaving landlords' walls undamaged
Make Your Stairway a Space for Art Hanging
With an easy modification, our Original Gallery System makes art hanging under angled ceilings convenient
Updating Your Home Art Displays Is Good for You
Swapping your art is an easy, economical path to refresh a room, showcase personal growth, or get pieces you like out of storage
Business & Institution Walls
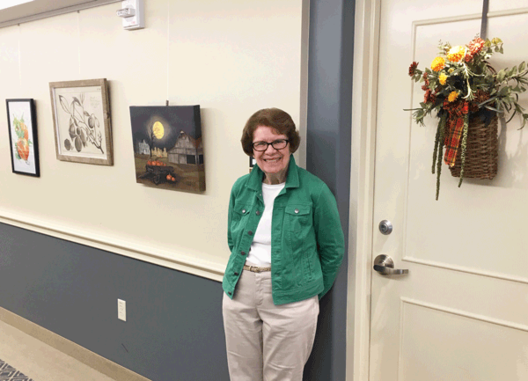
Art Displays Help Personalize Senior Living
Senior living resident satisfaction and enjoyment can be boosted with simple, low-cost art hanging systems
Case Study: A Law Firm's Art-Rich Environment
An in-office gallery creates a "boutique environment" for clients, connections with local art communities

Art in the Library: Hanging System Pays Off
The hub of a California college campus hosts exhibitions, seminars, events, and so much more
See More Installations in our Community Gallery
View all

