


How to Stop Pictures from Tilting, Twisting
Smaller and lighter-weight artworks sometimes tilt or pivot awkwardly when hung. Fortunately, there are easy ways to stop pictures from tilting.
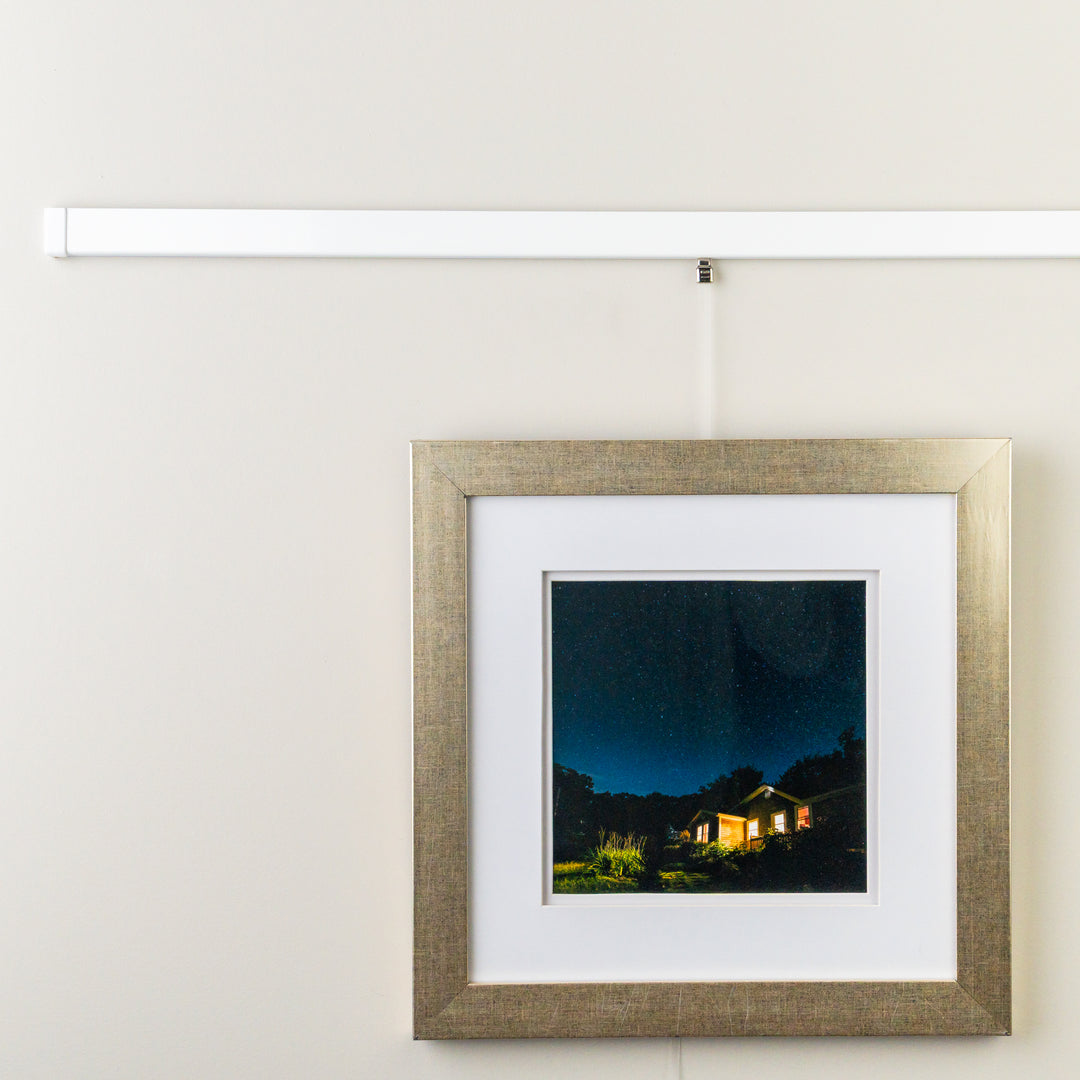
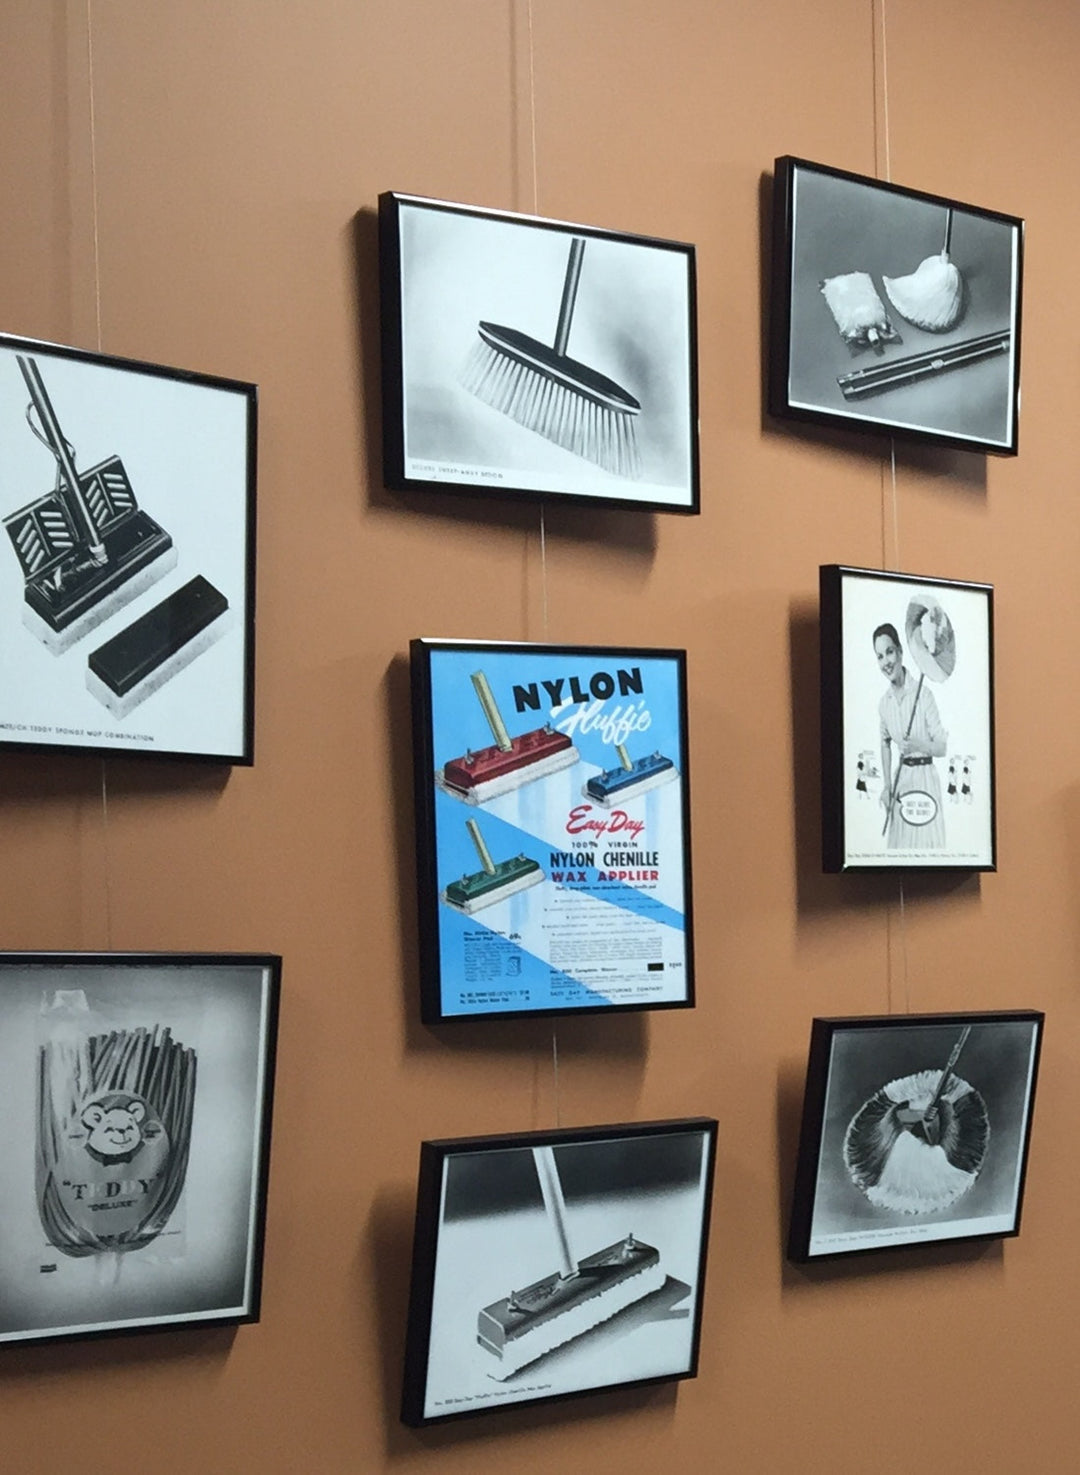
When showing artworks, especially in salon style hanging or gallery wall displays that feature groupings of smaller or lighter-weight pieces, there can sometimes be issues with images tilting to the left or right, or leaning away from the wall and pivoting to one side. This is illustrated below, where the landscape-format images in the top row are tilted, while the square images in the bottom row have pivoted.
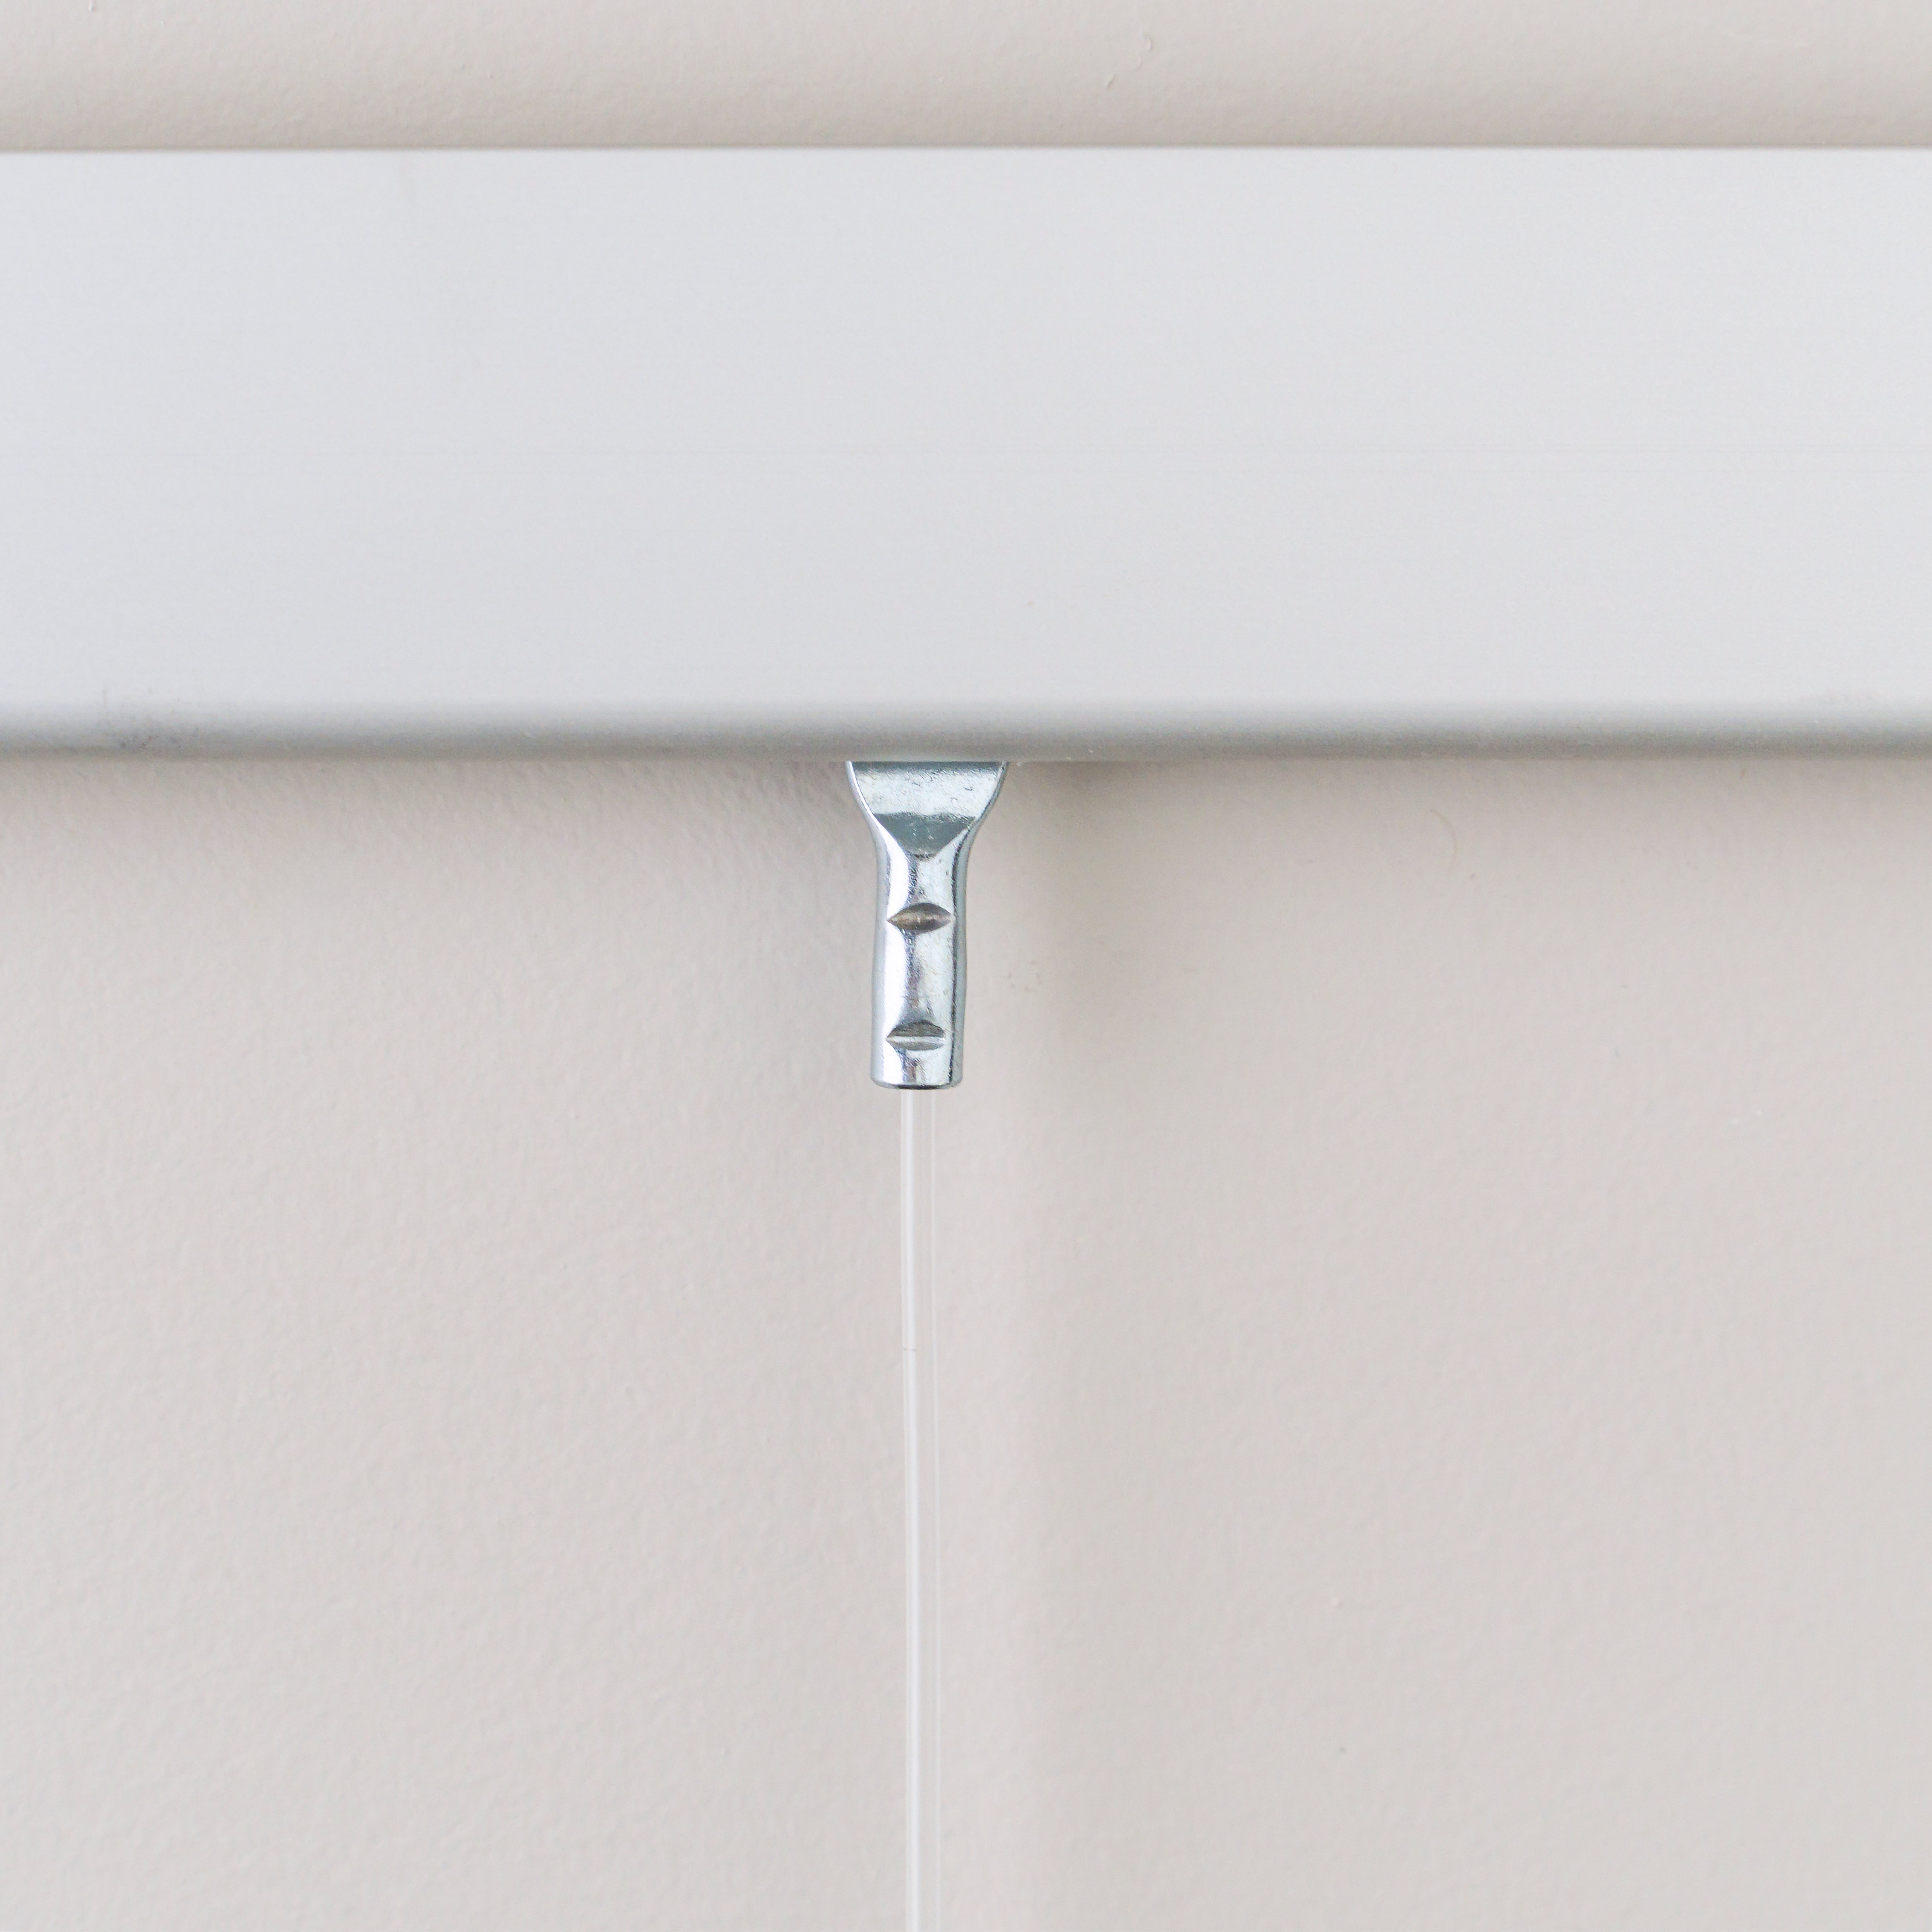
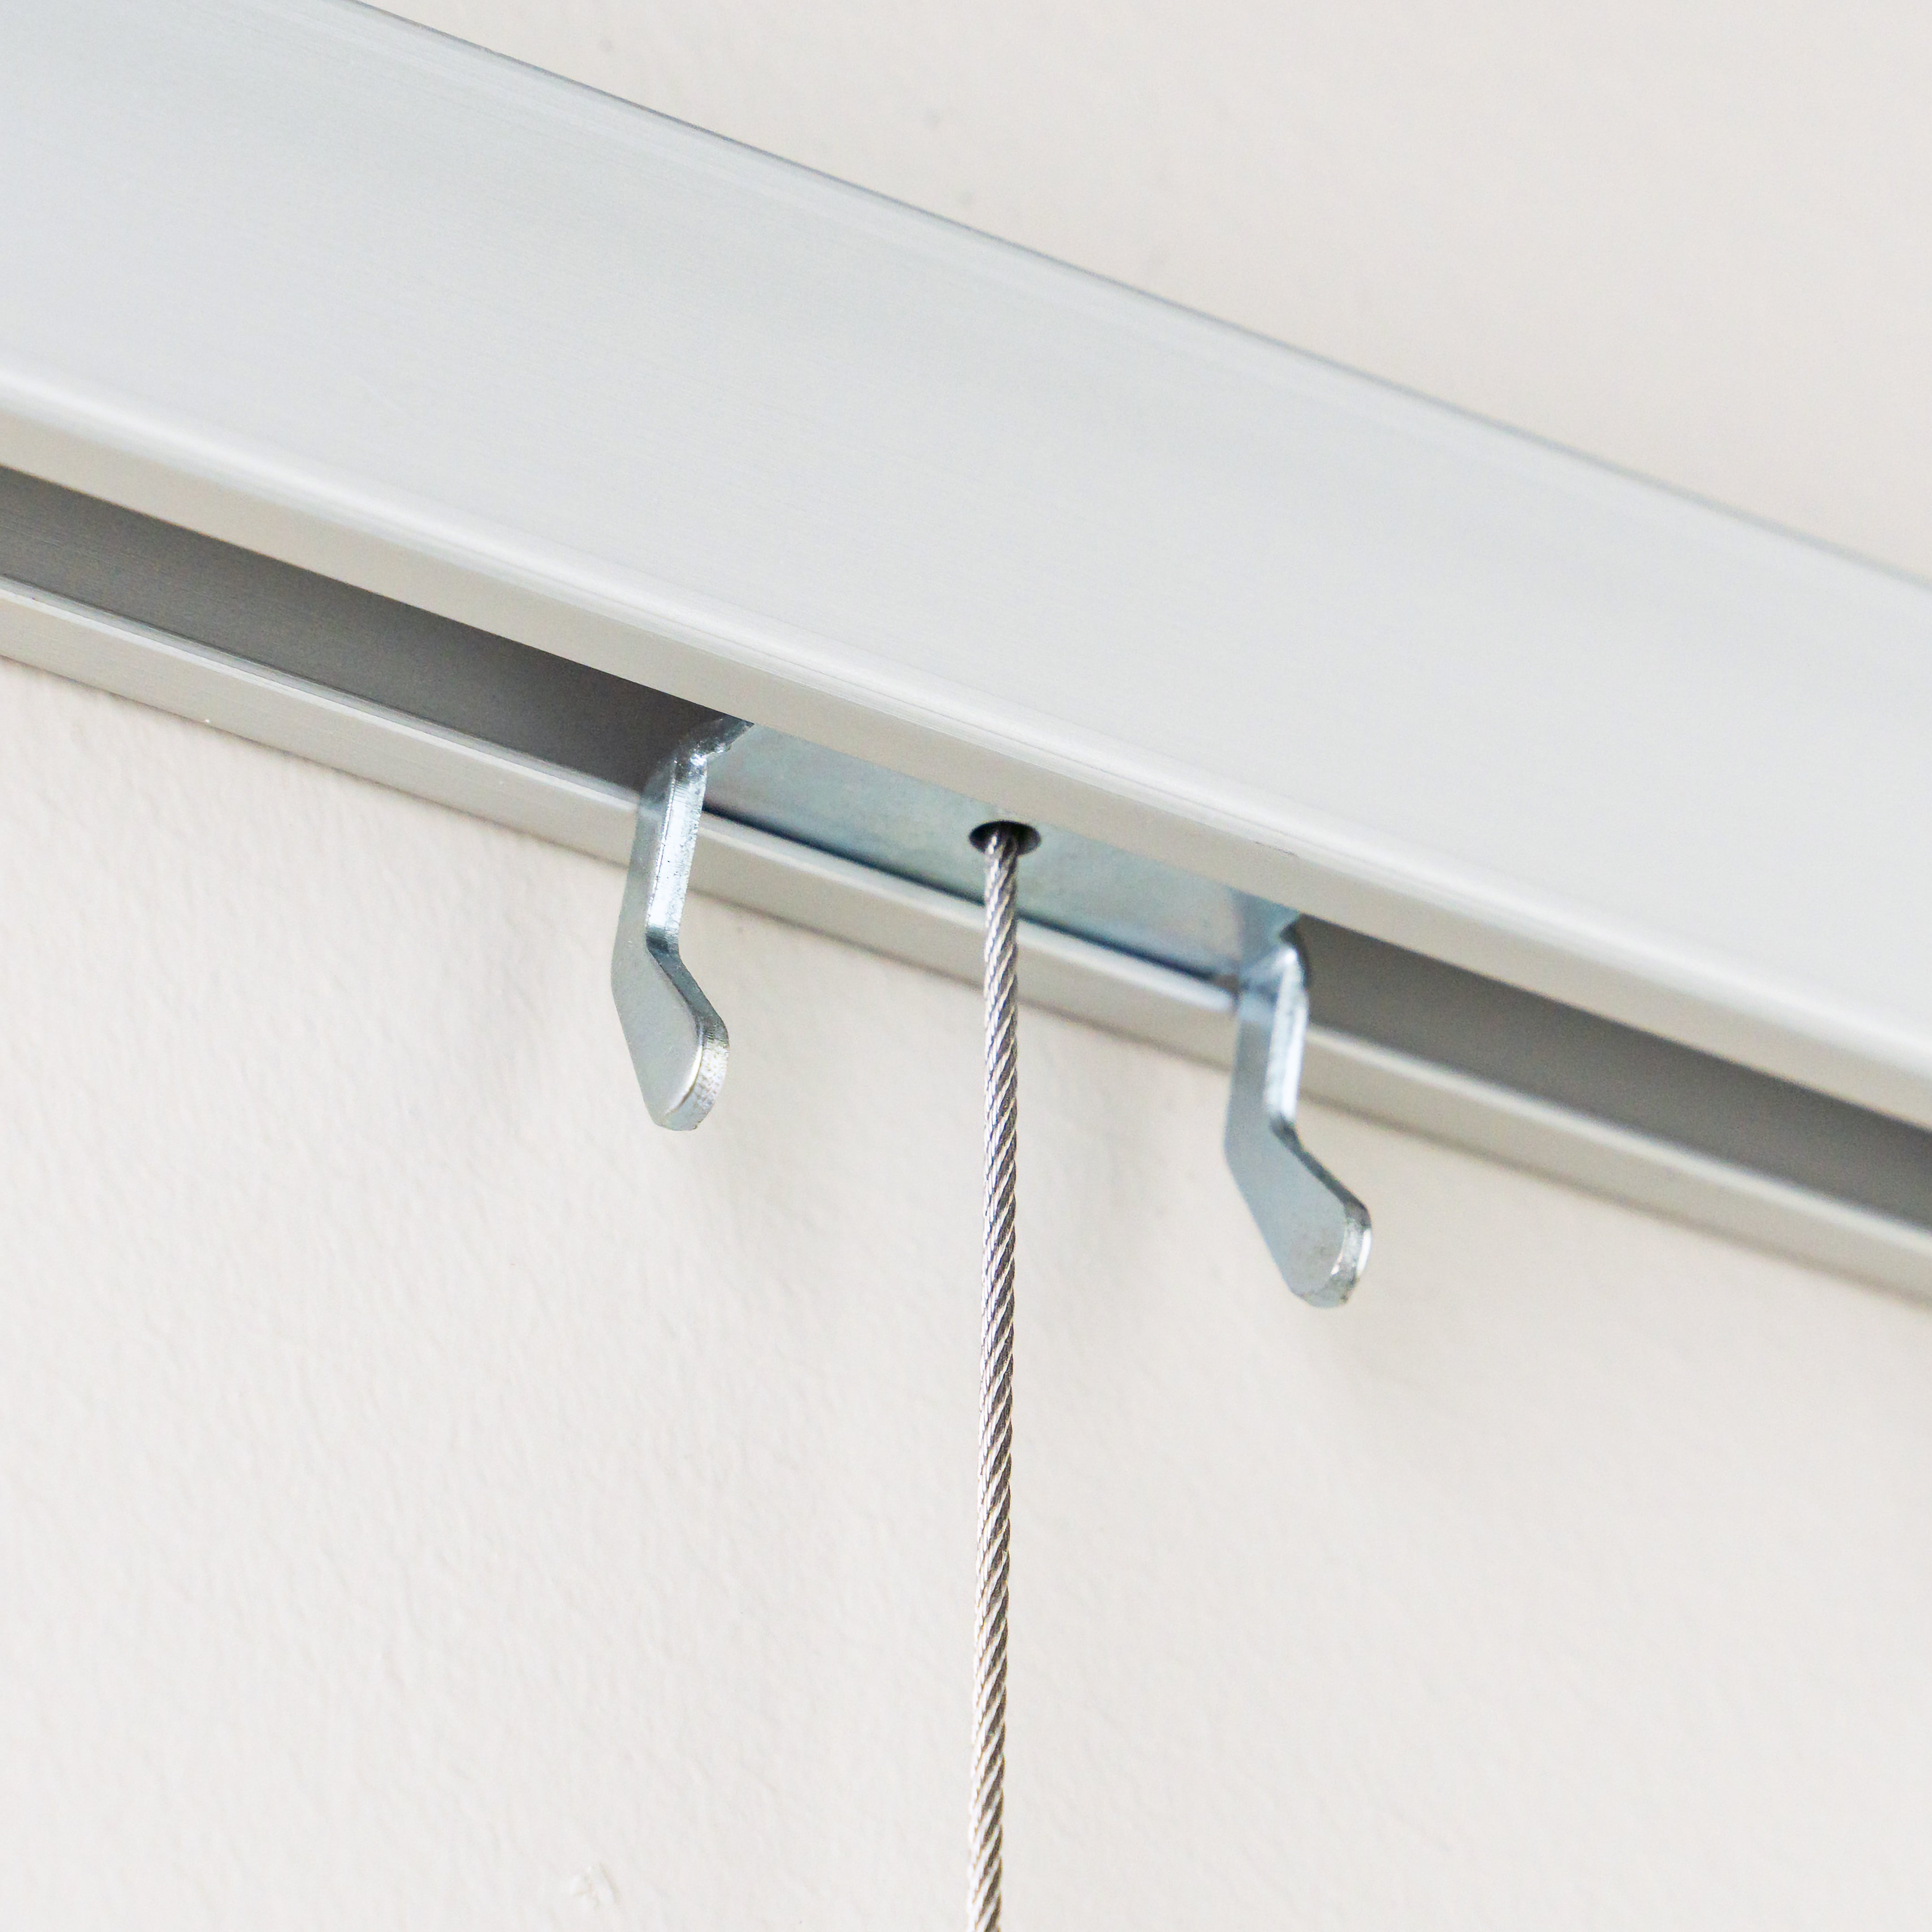
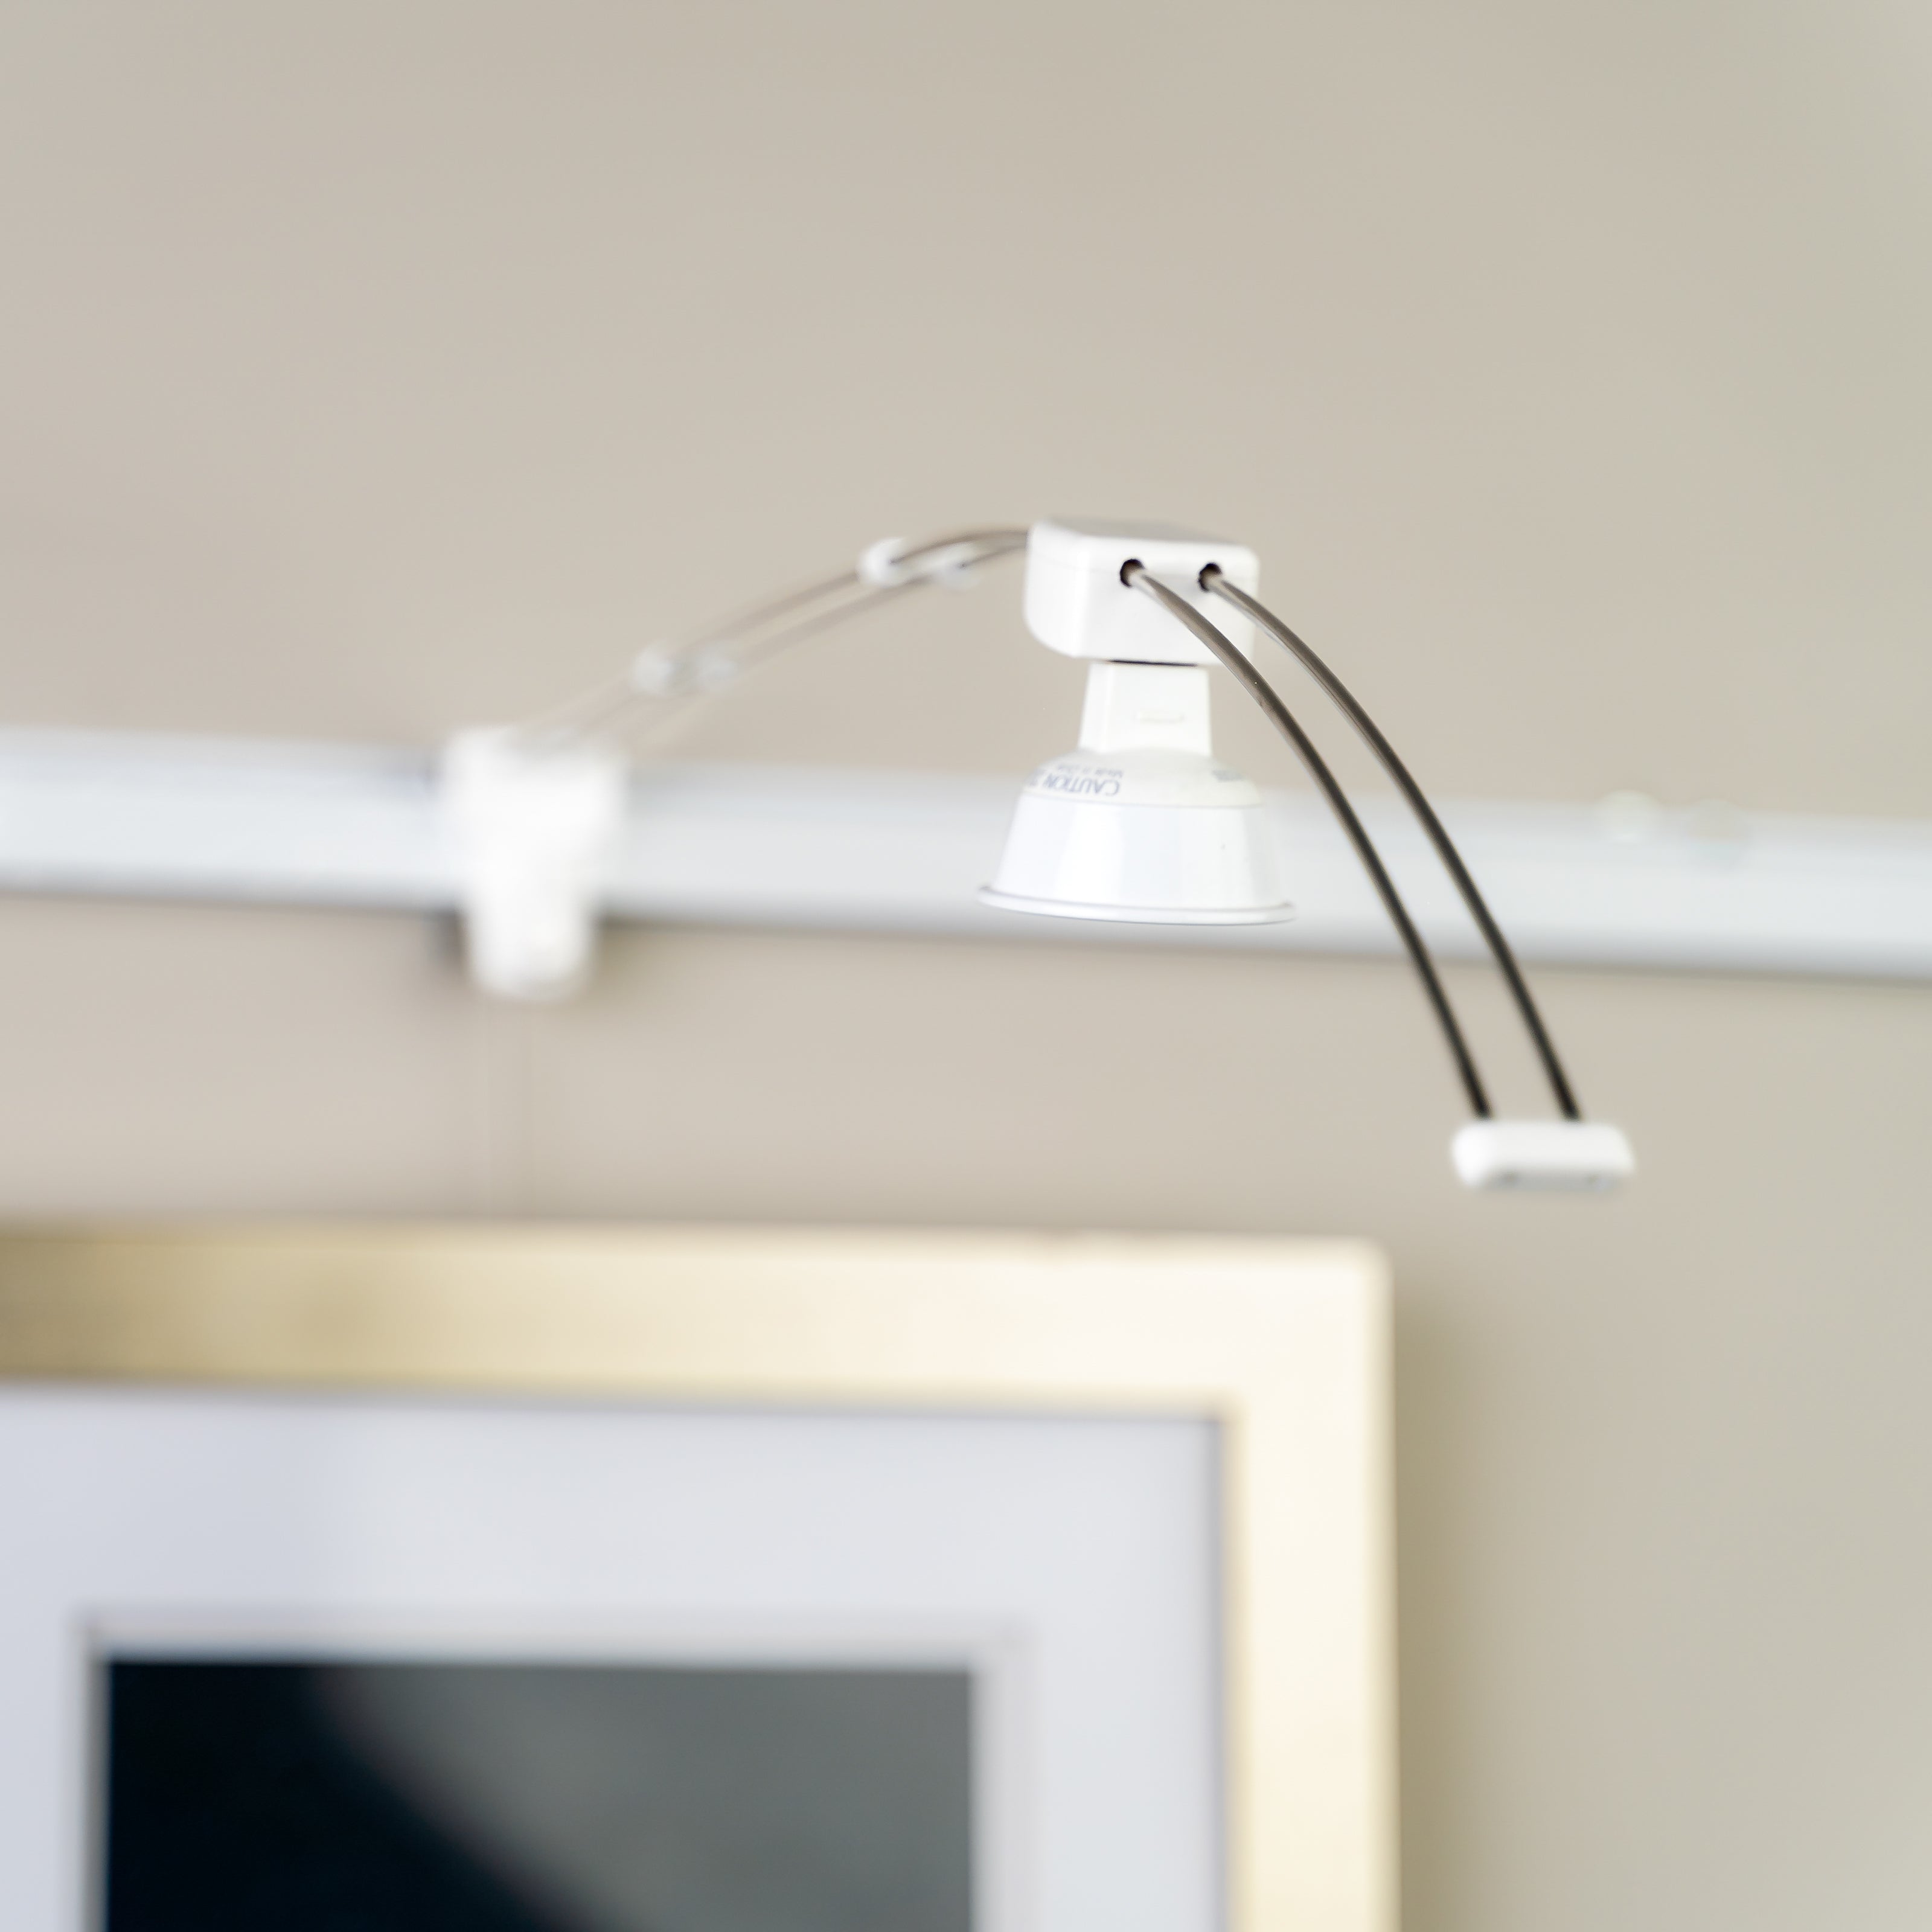
The ability to conveniently create columns and other groupings is one of the great strengths of picture hanging systems like Gallery System, but when items of differing size and weight need to share hangers, the results are almost always better if you pair the hangers rather than using just one, as seen at left. So our first step was to use two cable hangers and pairs of hooks for every column of pictures. This solves the tilting issue, by ensuring that adjustments to one item do not affect others on the same hangers.
In most cases, using paired hangers is enough to solve the problem — the "after" photo at right shows how it improved the appearance of the group display.
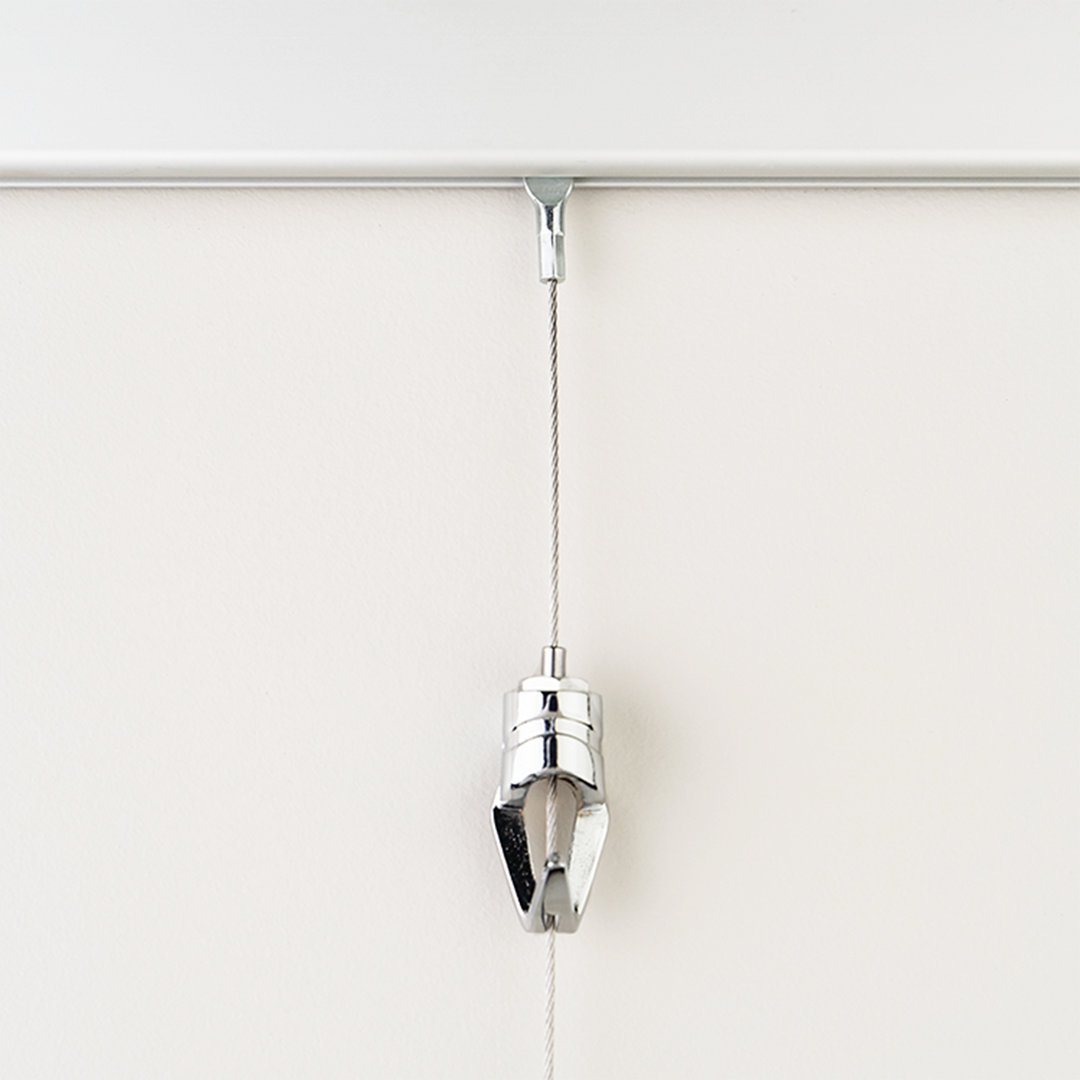
Sometimes, however, especially with smaller and lighter-weight artworks, an extra measure is needed to snug the work against the hanging cables.
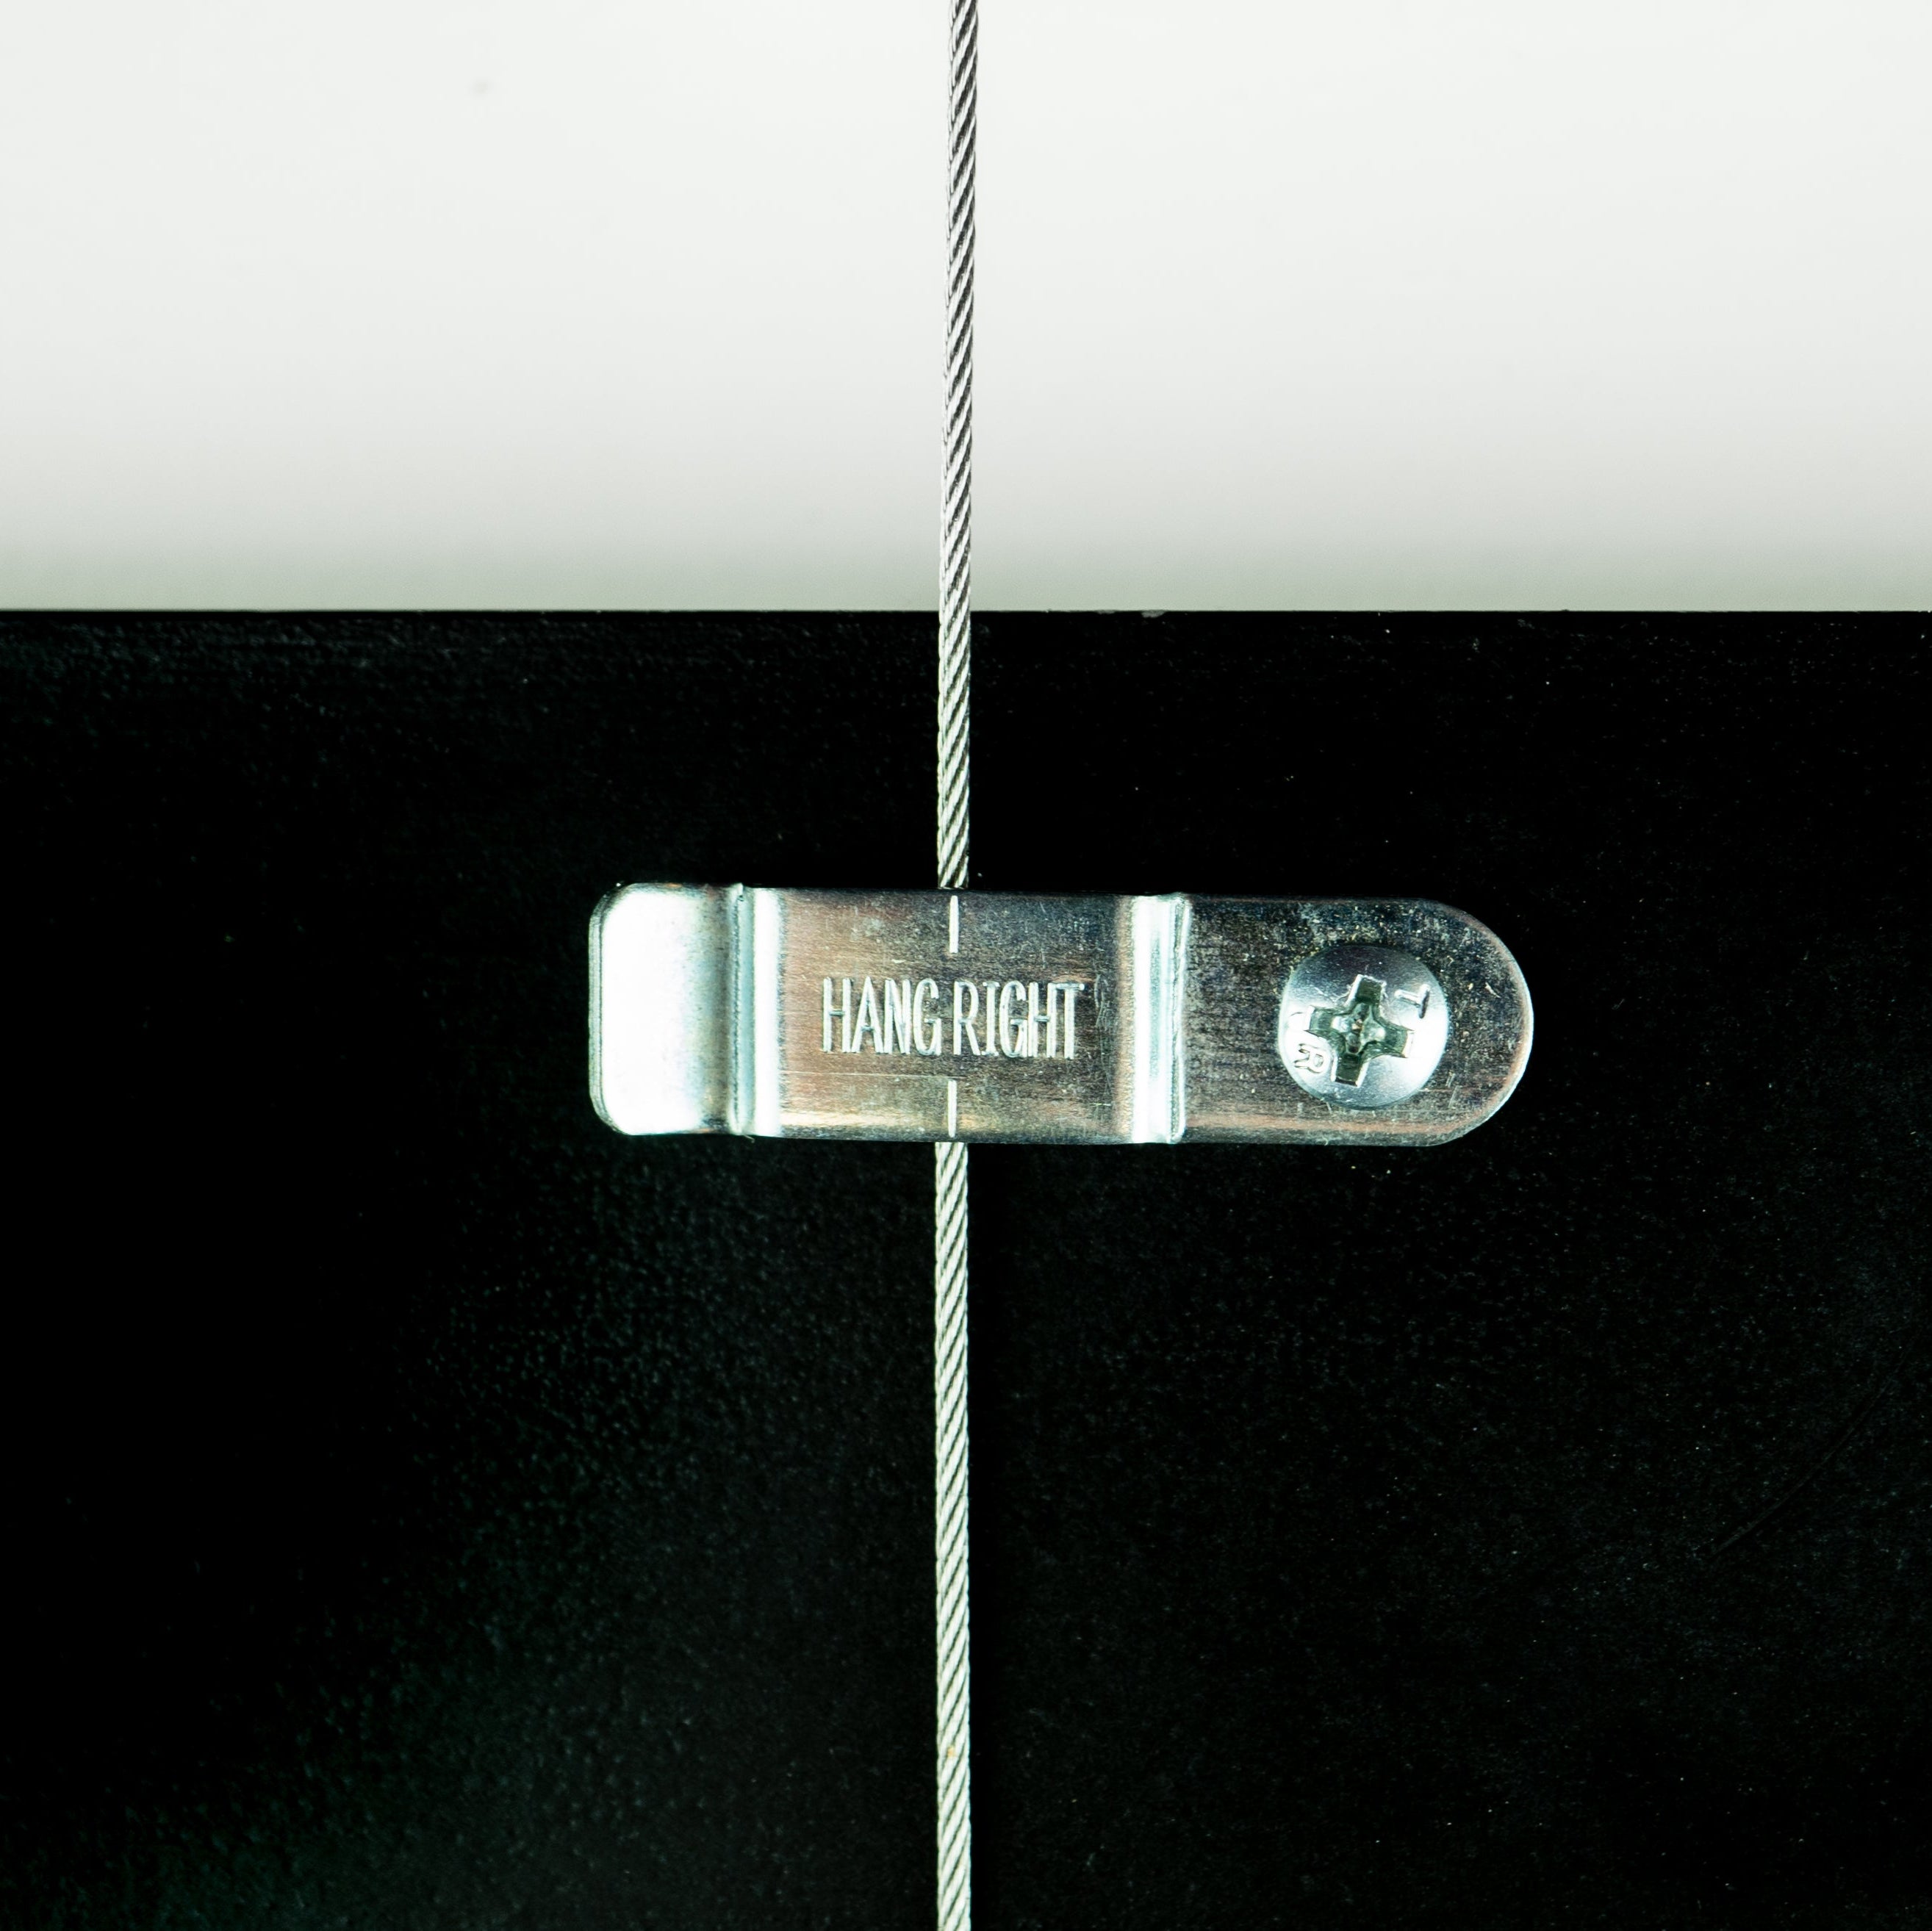
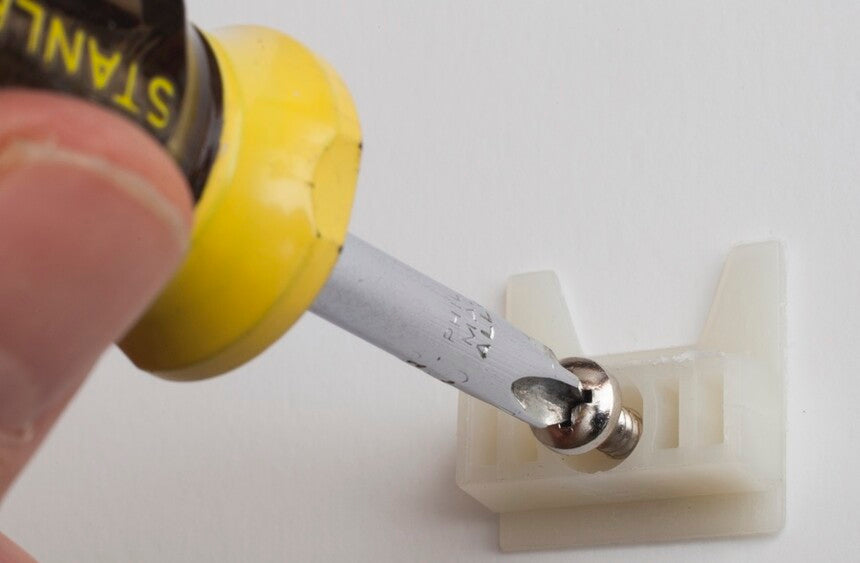
For works with wooden frames, inexpensive HangRight clips are a great option. They attach to the backside of the frame with a single screw, amd hold the Steel Cable, Clearline, or Clear Tape snugly against the artwork to keep it flat against the wall.
Prefer to see the fixes on video? Scroll down!
Another easy method that works on thew same principle is to attach small pieces of hook-and-loop fastening material (such as Velcro) to the back of each frame at the top edge, and sandwich the art hanging system cable between the two layers.
Here's how to do it, using rolls of self-adhesive hook-and-loop fastener (such as Velcro) that can be purchased at hardware, home goods and sewing stores.
Cut pieces about an inch (2 cm) long of both sides (hook and loop).
Remove the backing from the loop (soft) side and affix it at the upper edge of the back of the frame. It should be positioned away from the artwork itself, and centered if using one hanger or symmetrically if using dual hangers.
Leave the backing on the other (hook) piece of the Velcro, so nothing sticky will be facing the wall, and sandwich the clear tape or cable between the two pieces of the Velcro. This should ensure straight, vertical positioning.
Pre-Bundled Kits
It's never been easier to start hanging like a pro, and the shipping is on us!