


Hanging System How To:
The Wireless Approach to Hanging Your Artworks
When using an art hanging system or picture rail molding hangers, skip the picture wire and place your hanging hooks directly into frame-mounted D-rings or brackets
While many artworks are hung using picture wire, it’s not always the best or simplest approach, especially when using an art hanging system or picture rail hangers.
The process of placing the hanging wire and achieving the correct length can be fussy and time-consuming, and pictures often end up leaning away from the wall. And when hanging multiple works in a group, any variation in wire length or placement can make it difficult to achieve a crisp, uniform arrangement.
Instead, when using a hanging system or picture rail hooks, it’s often advantageous to go wireless by simply inserting a pair of the system’s hanging hooks directly into the D-rings or small brackets that typically provide attachment points for the picture wire.

This accelerates the hanging process and provides better and more accurate results — and the use of paired hangers ensures that works will hang straight and likely never need adjustment.
Here’s how you can take advantage of the wireless approach:

Step 1: Assess the piece you’re hanging and its attached hardware
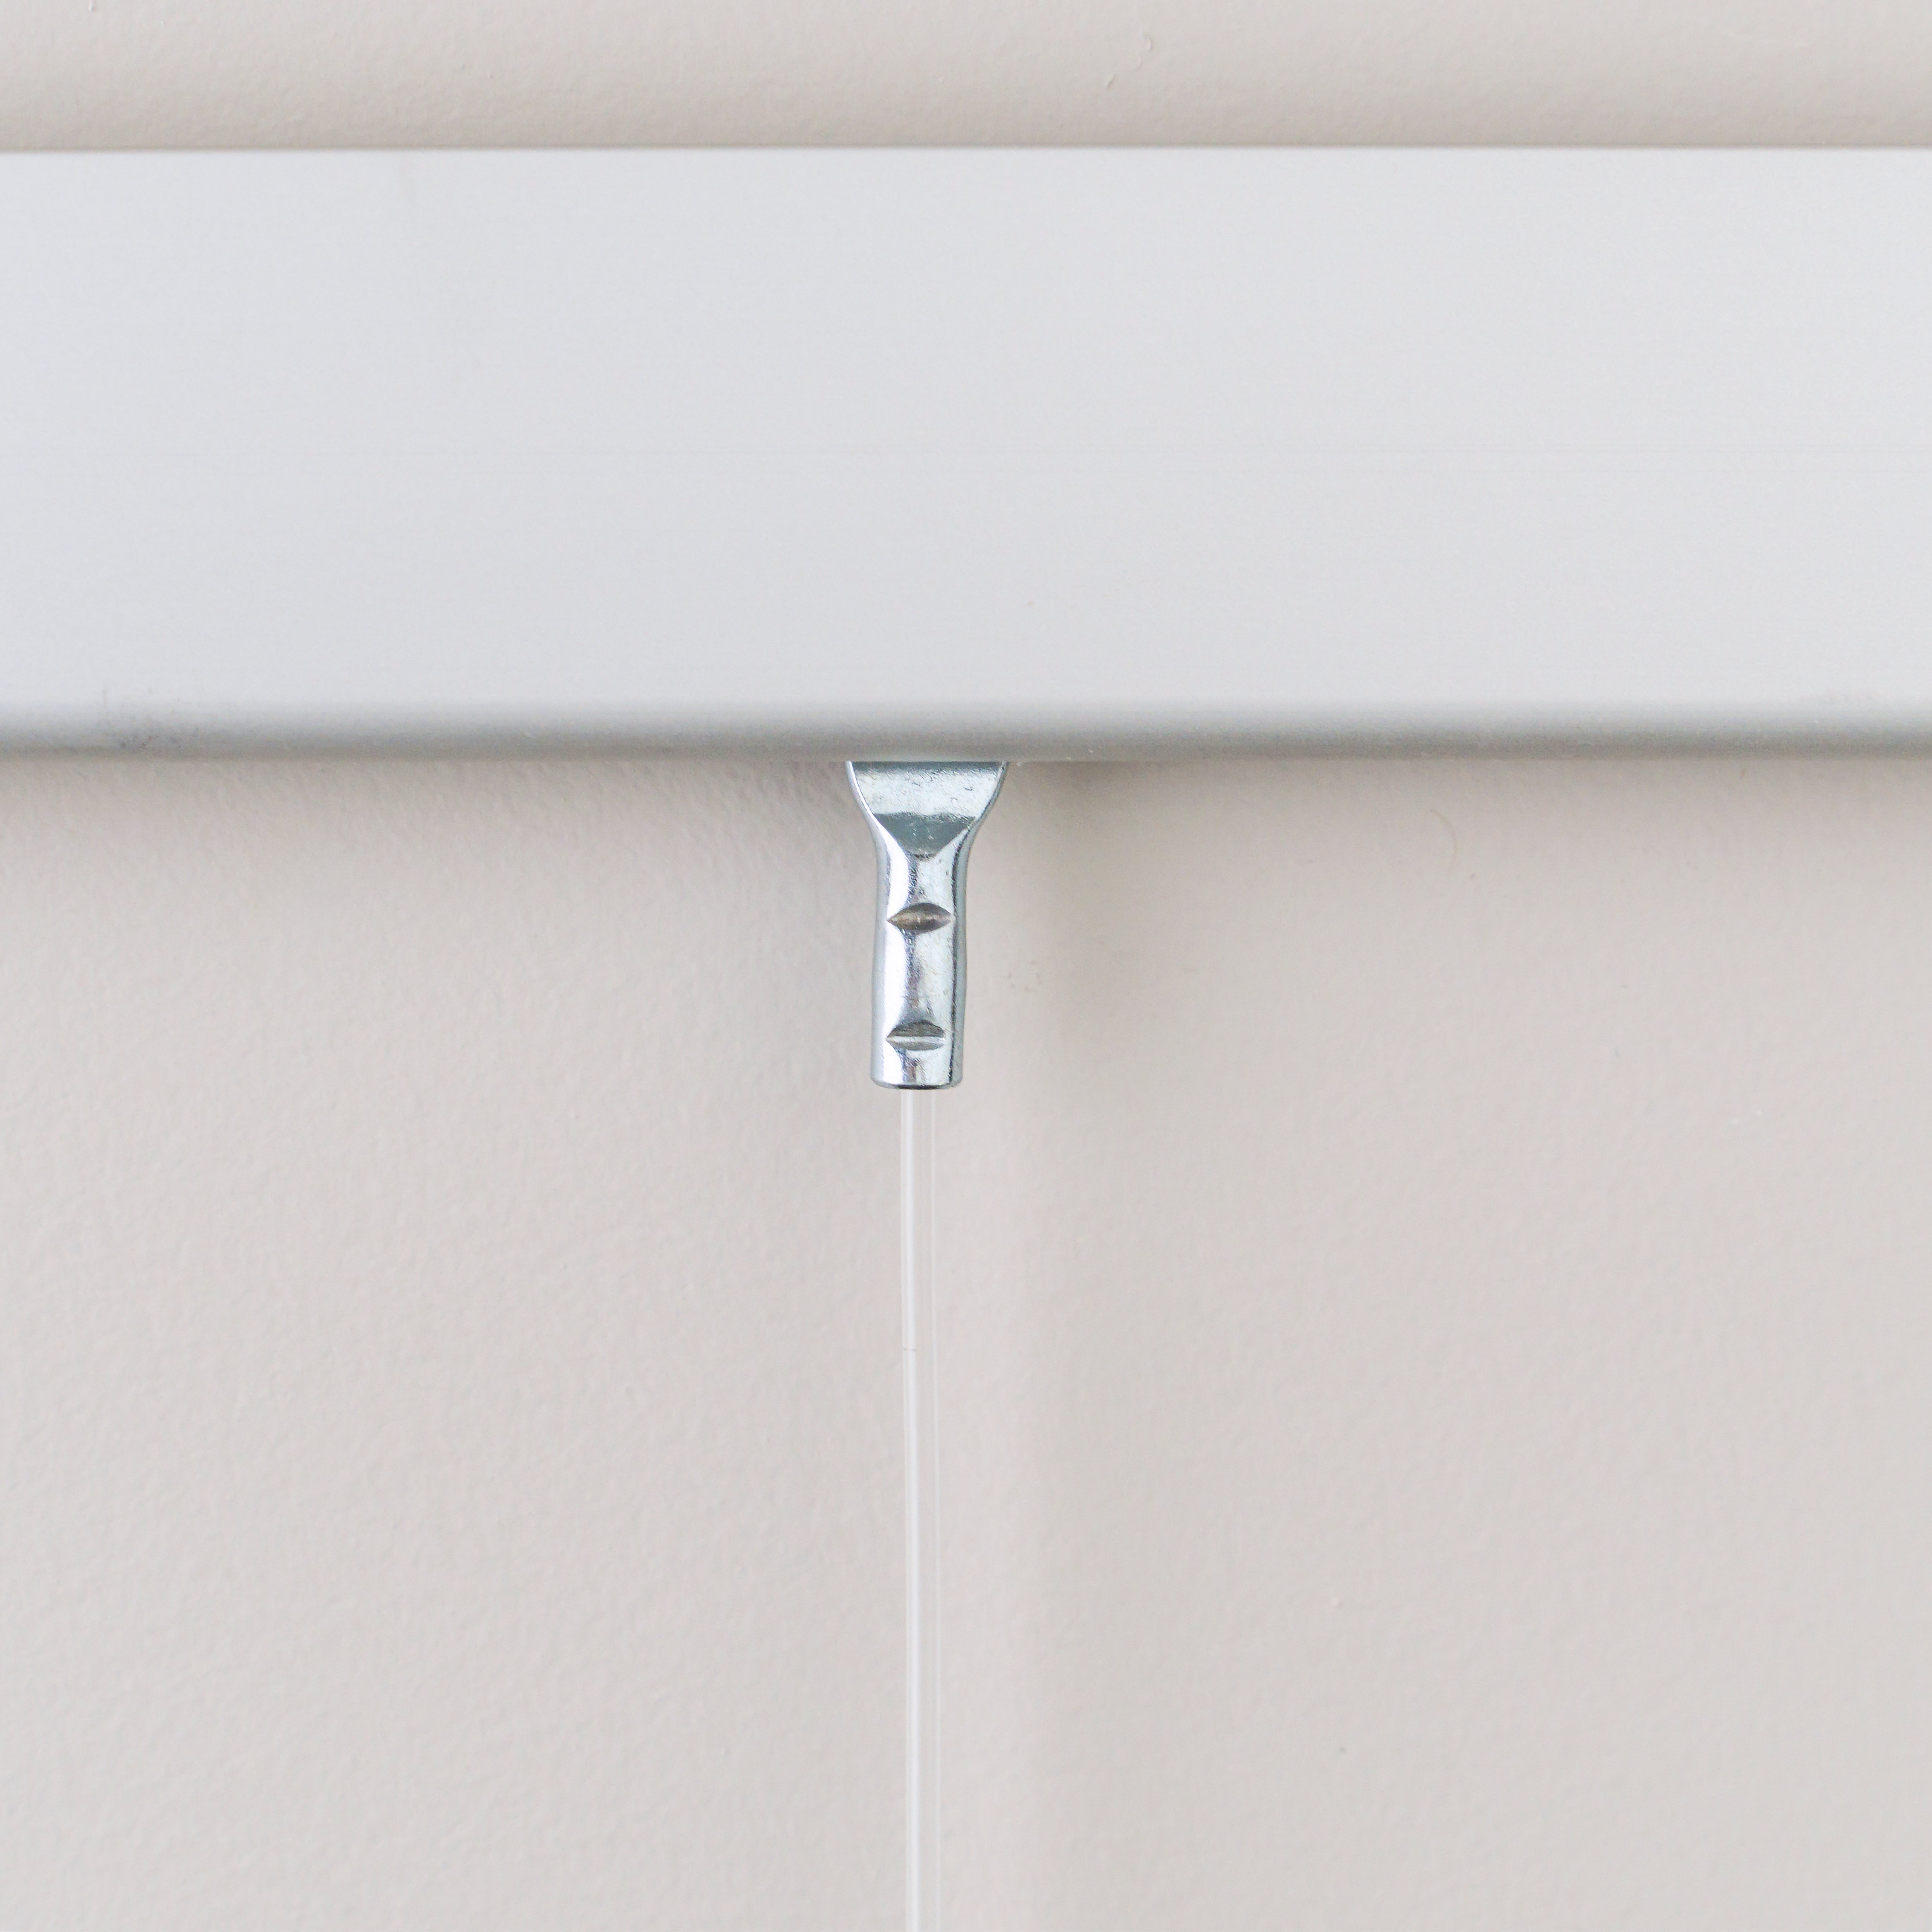
Artworks in wood frames often have D-rings attached to the back of the frame’s vertical side pieces (top image at left).
While these can be used for attachment of picture wire, the rings are usually large enough (at least 3/8 inch or 10mm) to accommodate a hanging hook. If the D-ring is mounted at an angle, consider reattaching it in a vertical position as shown to give the hanging hook a better grip.
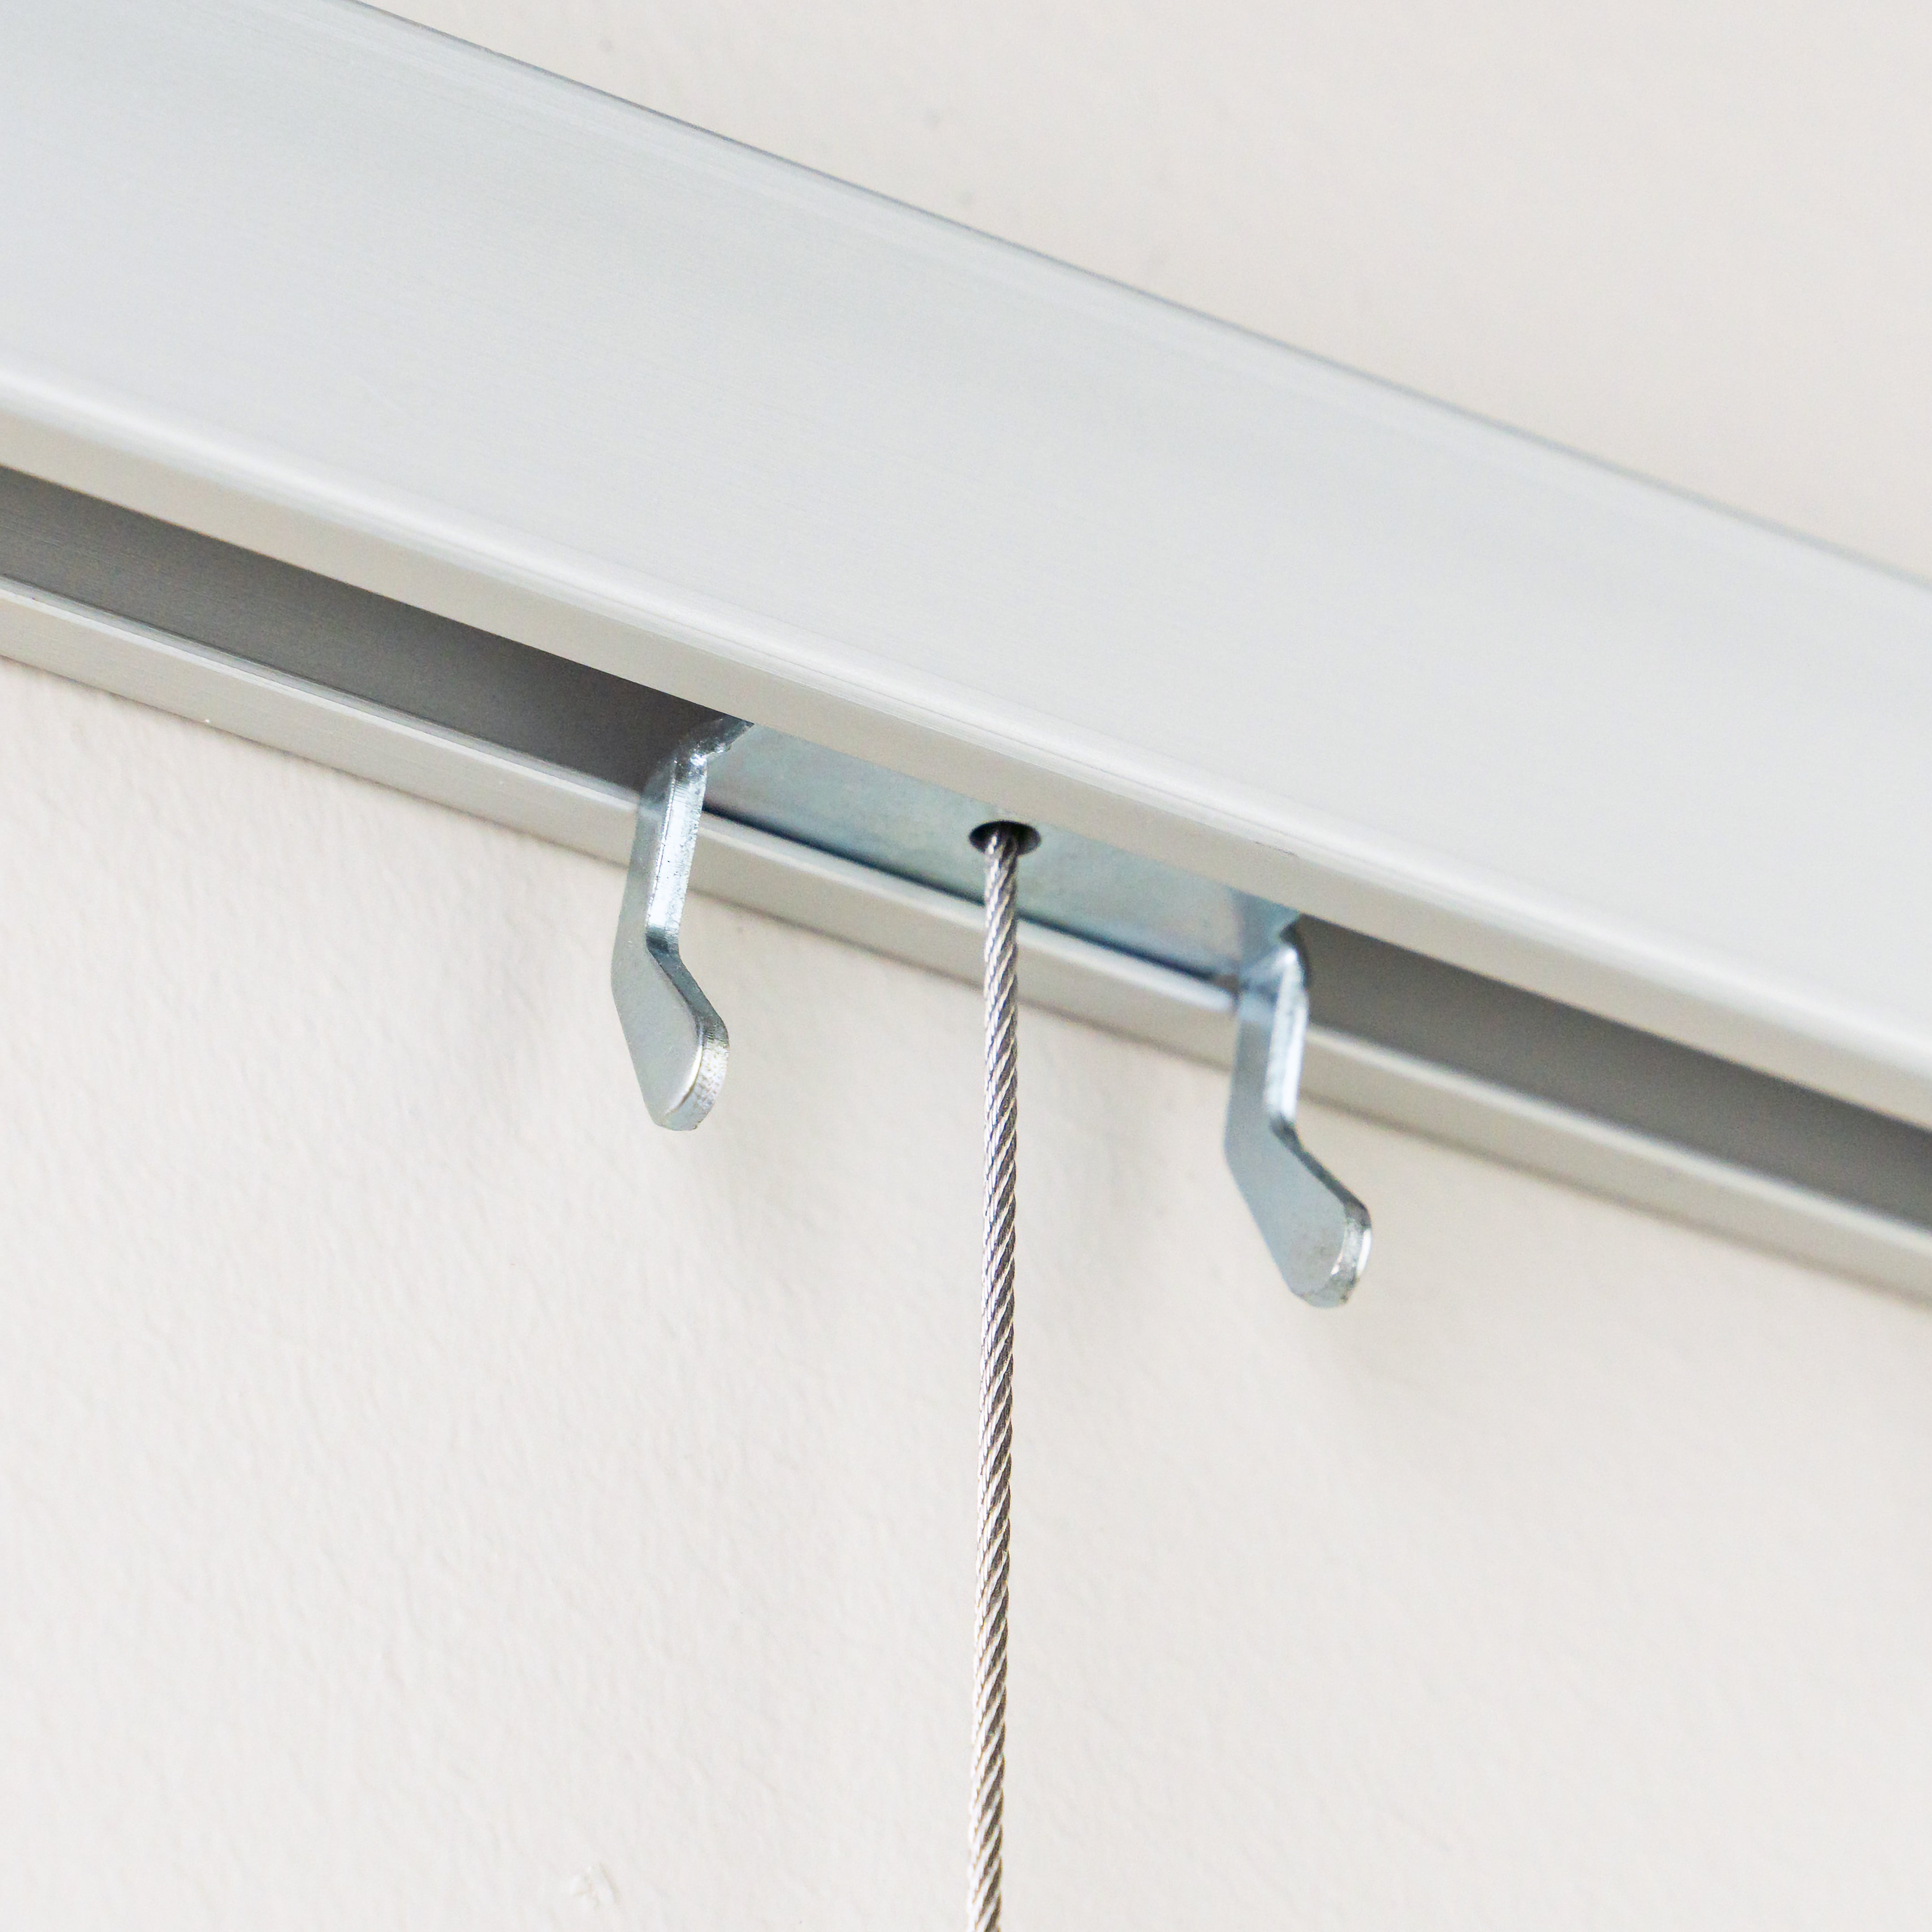
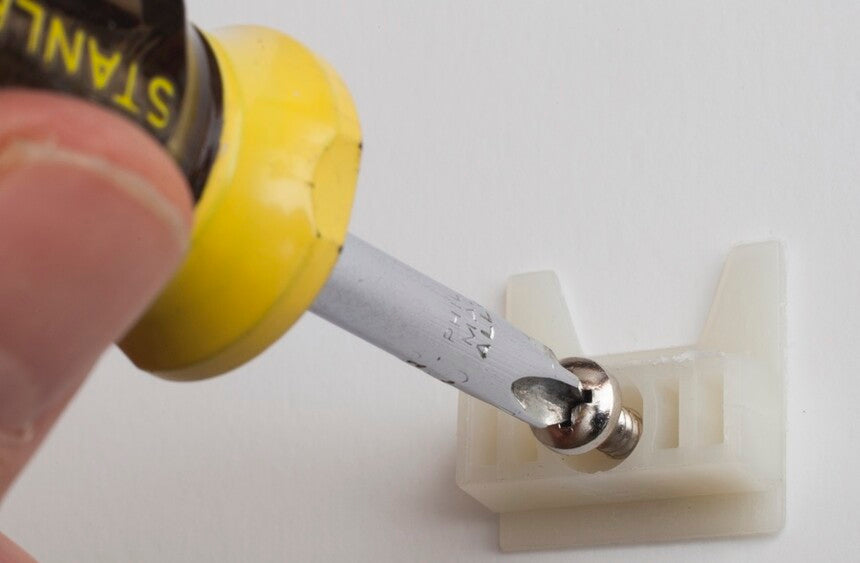
Metal-framed artworks generally have brackets on their backside (bottom image at left), mounted in the frame’s channel with a set screw that can be loosened for repositioning. Again, these are often used for picture wire, but in most cases have holes large enough (3/8 inch or 10mm) to serve as direct attachment points for hanging hooks.
If you need to add or change fittings, check weight capacities carefully to make sure they are strong enough to support the piece you’re hanging. For wood frames, D-rings with a curved rather than a pointed shape will give the hanging hook a better grip. Most hardware for metal frames is compatible with the commonly used Profile #11 shape, but double-check your frame and hardware to be sure, especially if the work in question is more than 40 inches wide.
Step 2: Position the D-rings or brackets
Locate the point of contact for the hanging hook roughly 2 to 3 inches below the top edge of the artwork. This ensures straight, close-to-the-wall hanging, keeps the hanging hooks fully hidden, and (on metal frames) ensures adequate space for the hook once it’s in position.
There are a few additional considerations:
On smaller pieces (under 10 – 12 inches high) it might be necessary to go closer to the top.
If you want the artwork to lean forward off the wall (as when hanging salon-style or in an area where people will be seated), the mounting points can be lower.
Measure carefully to ensure that both mounting points are the same distance from the top of the work.
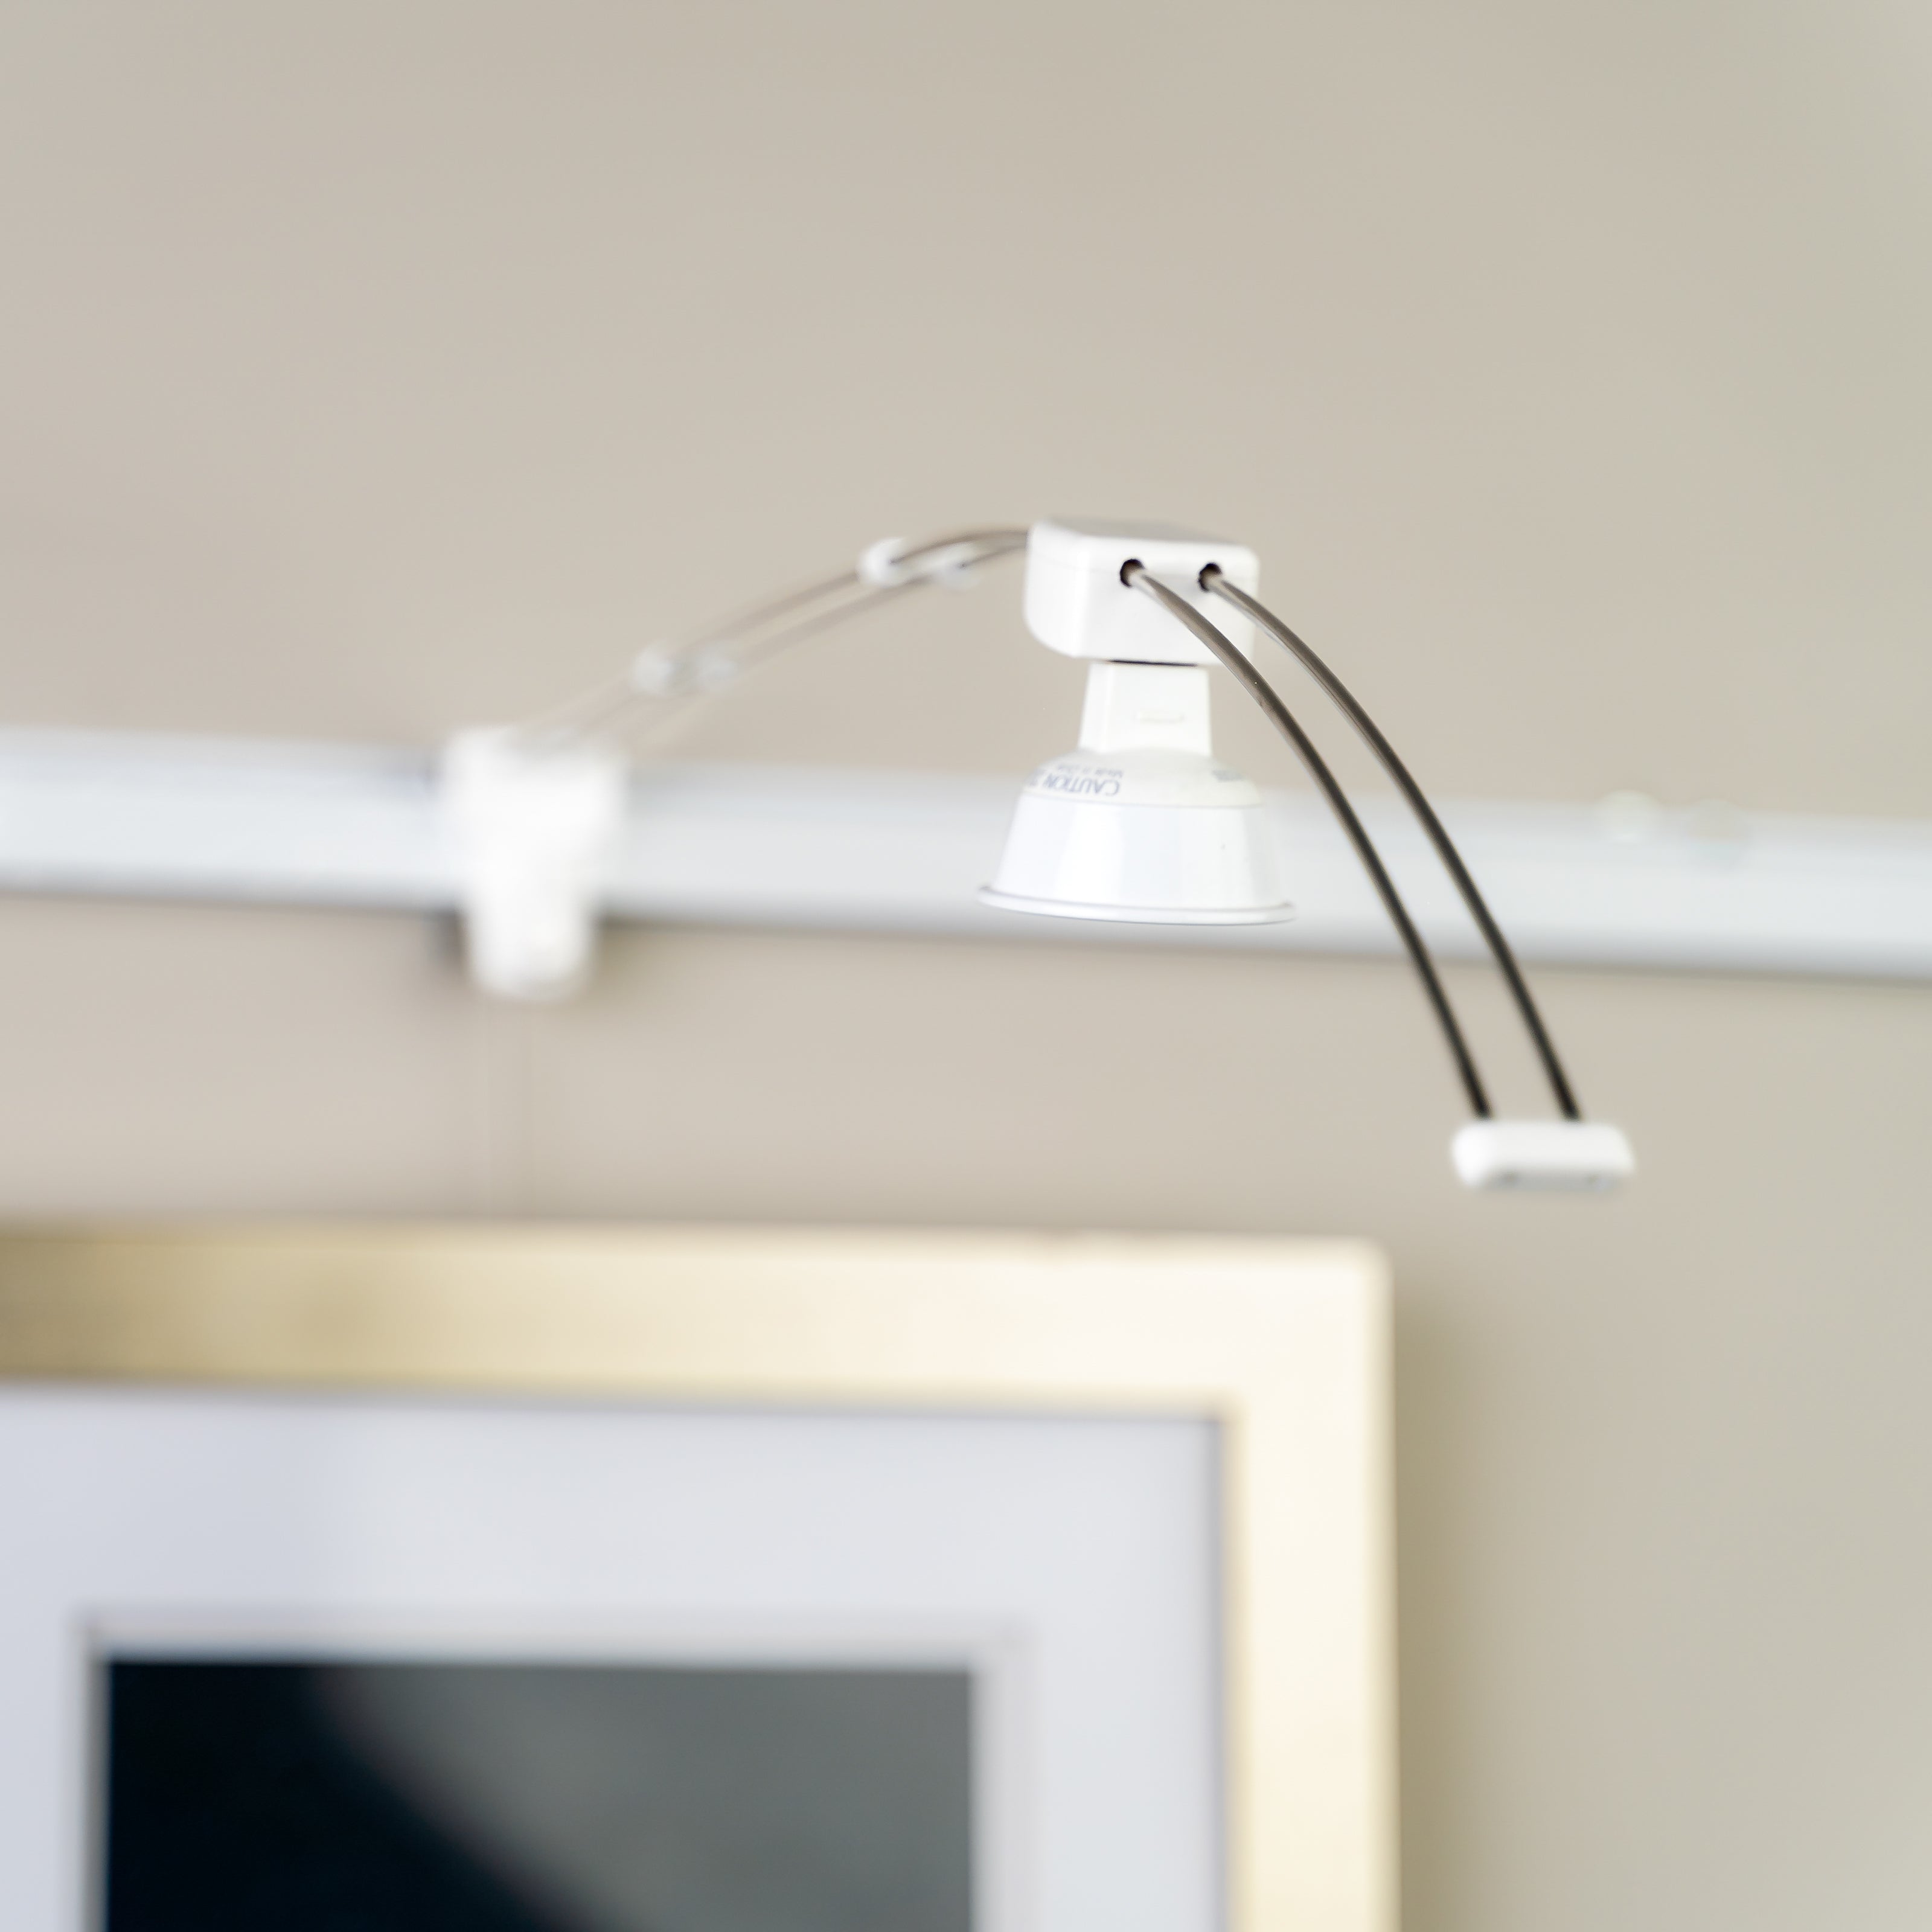
On metal-framed works, ensure that there is at least 1-3/4 inches (4.5 cm) of space between the underside of the frame’s top rail and the point of contact between bracket and hook (as seen at right) to provide space for and access to the hanging hooks.

Step 3: Hang your art!
Start by measuring the center-to-center distance between mounting points on your two D-rings or brackets. Position a pair of hangers on your picture hanging system or picture rail molding so that their cables or Clearline are the same distance apart.
Then, simply insert a hanging hook into each of the two brackets and adjust until the work is level.
With Gallery System Pushbutton hooks, position the work a little low and slide the hook upward (without pushing the button) to proper height.
If hanging a group, start by ensuring that one of the topmost pieces is in the desired position and level. Use it as a guide for positioning an adjacent piece and repeat the process until the full group is in place.
GalleryOne Hanging Kits
The fastest way to easy art hanging — our GalleryOne kits include everything you need to create great displays. Efficient, economical, and they ship free in the Continental US!
