


Hanging System How To:
Hang Pictures on a Curved Wall
Curved walls are an increasingly popular design trend, but they make it challenging to hang pictures and other artworks. Many of our customers have solved the problem of curved wall art hanging with Gallery System art hanging systems — here's how you can, too.
Curved wall installations of our art hanging systems aren’t much different from flat-wall installations, but there are two important considerations to keep in mind:
• Make sure the amount of curvature isn’t too great — Gallery System wall-mounted tracks are quite flexible, but there are limits.
• Use extra fasteners when installing the wall tracks, to ensure full hanging capacity.
When planning your installation, you can easily assess the curvature of the wall under consideration using a yardstick (or meter stick) and a tape measure, as shown below.
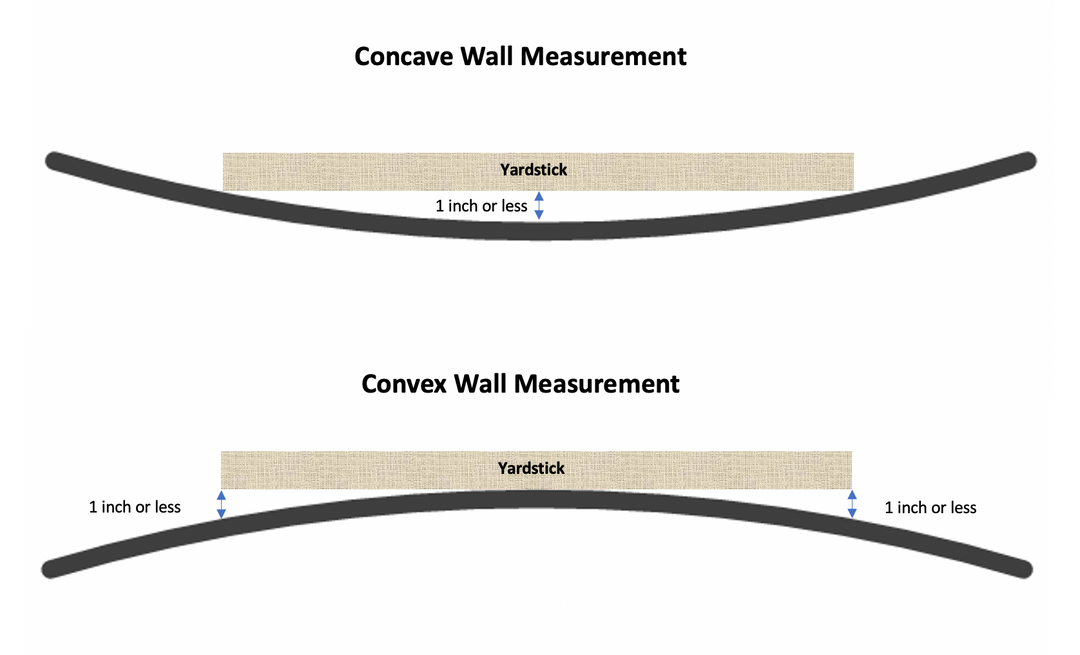
For concave (inward-curving) walls, place the yardstick so the ends touch the wall and measure the distance between the middle of the yardstick (the 18-inch mark) and the wall. If there’s an inch or less of space, you’ll be able to install the tracks. (If you’re using a meter stick, the space at the 50cm mark should be 28 mm or less.)
For convex (outward-curving) walls, place the yardstick with its midpoint (the 18-inch mark) touching the wall and the ends equally distant from the wall’s surface. If the space at each end is an inch or less (28mm or less with a meter stick), you’re good to go.
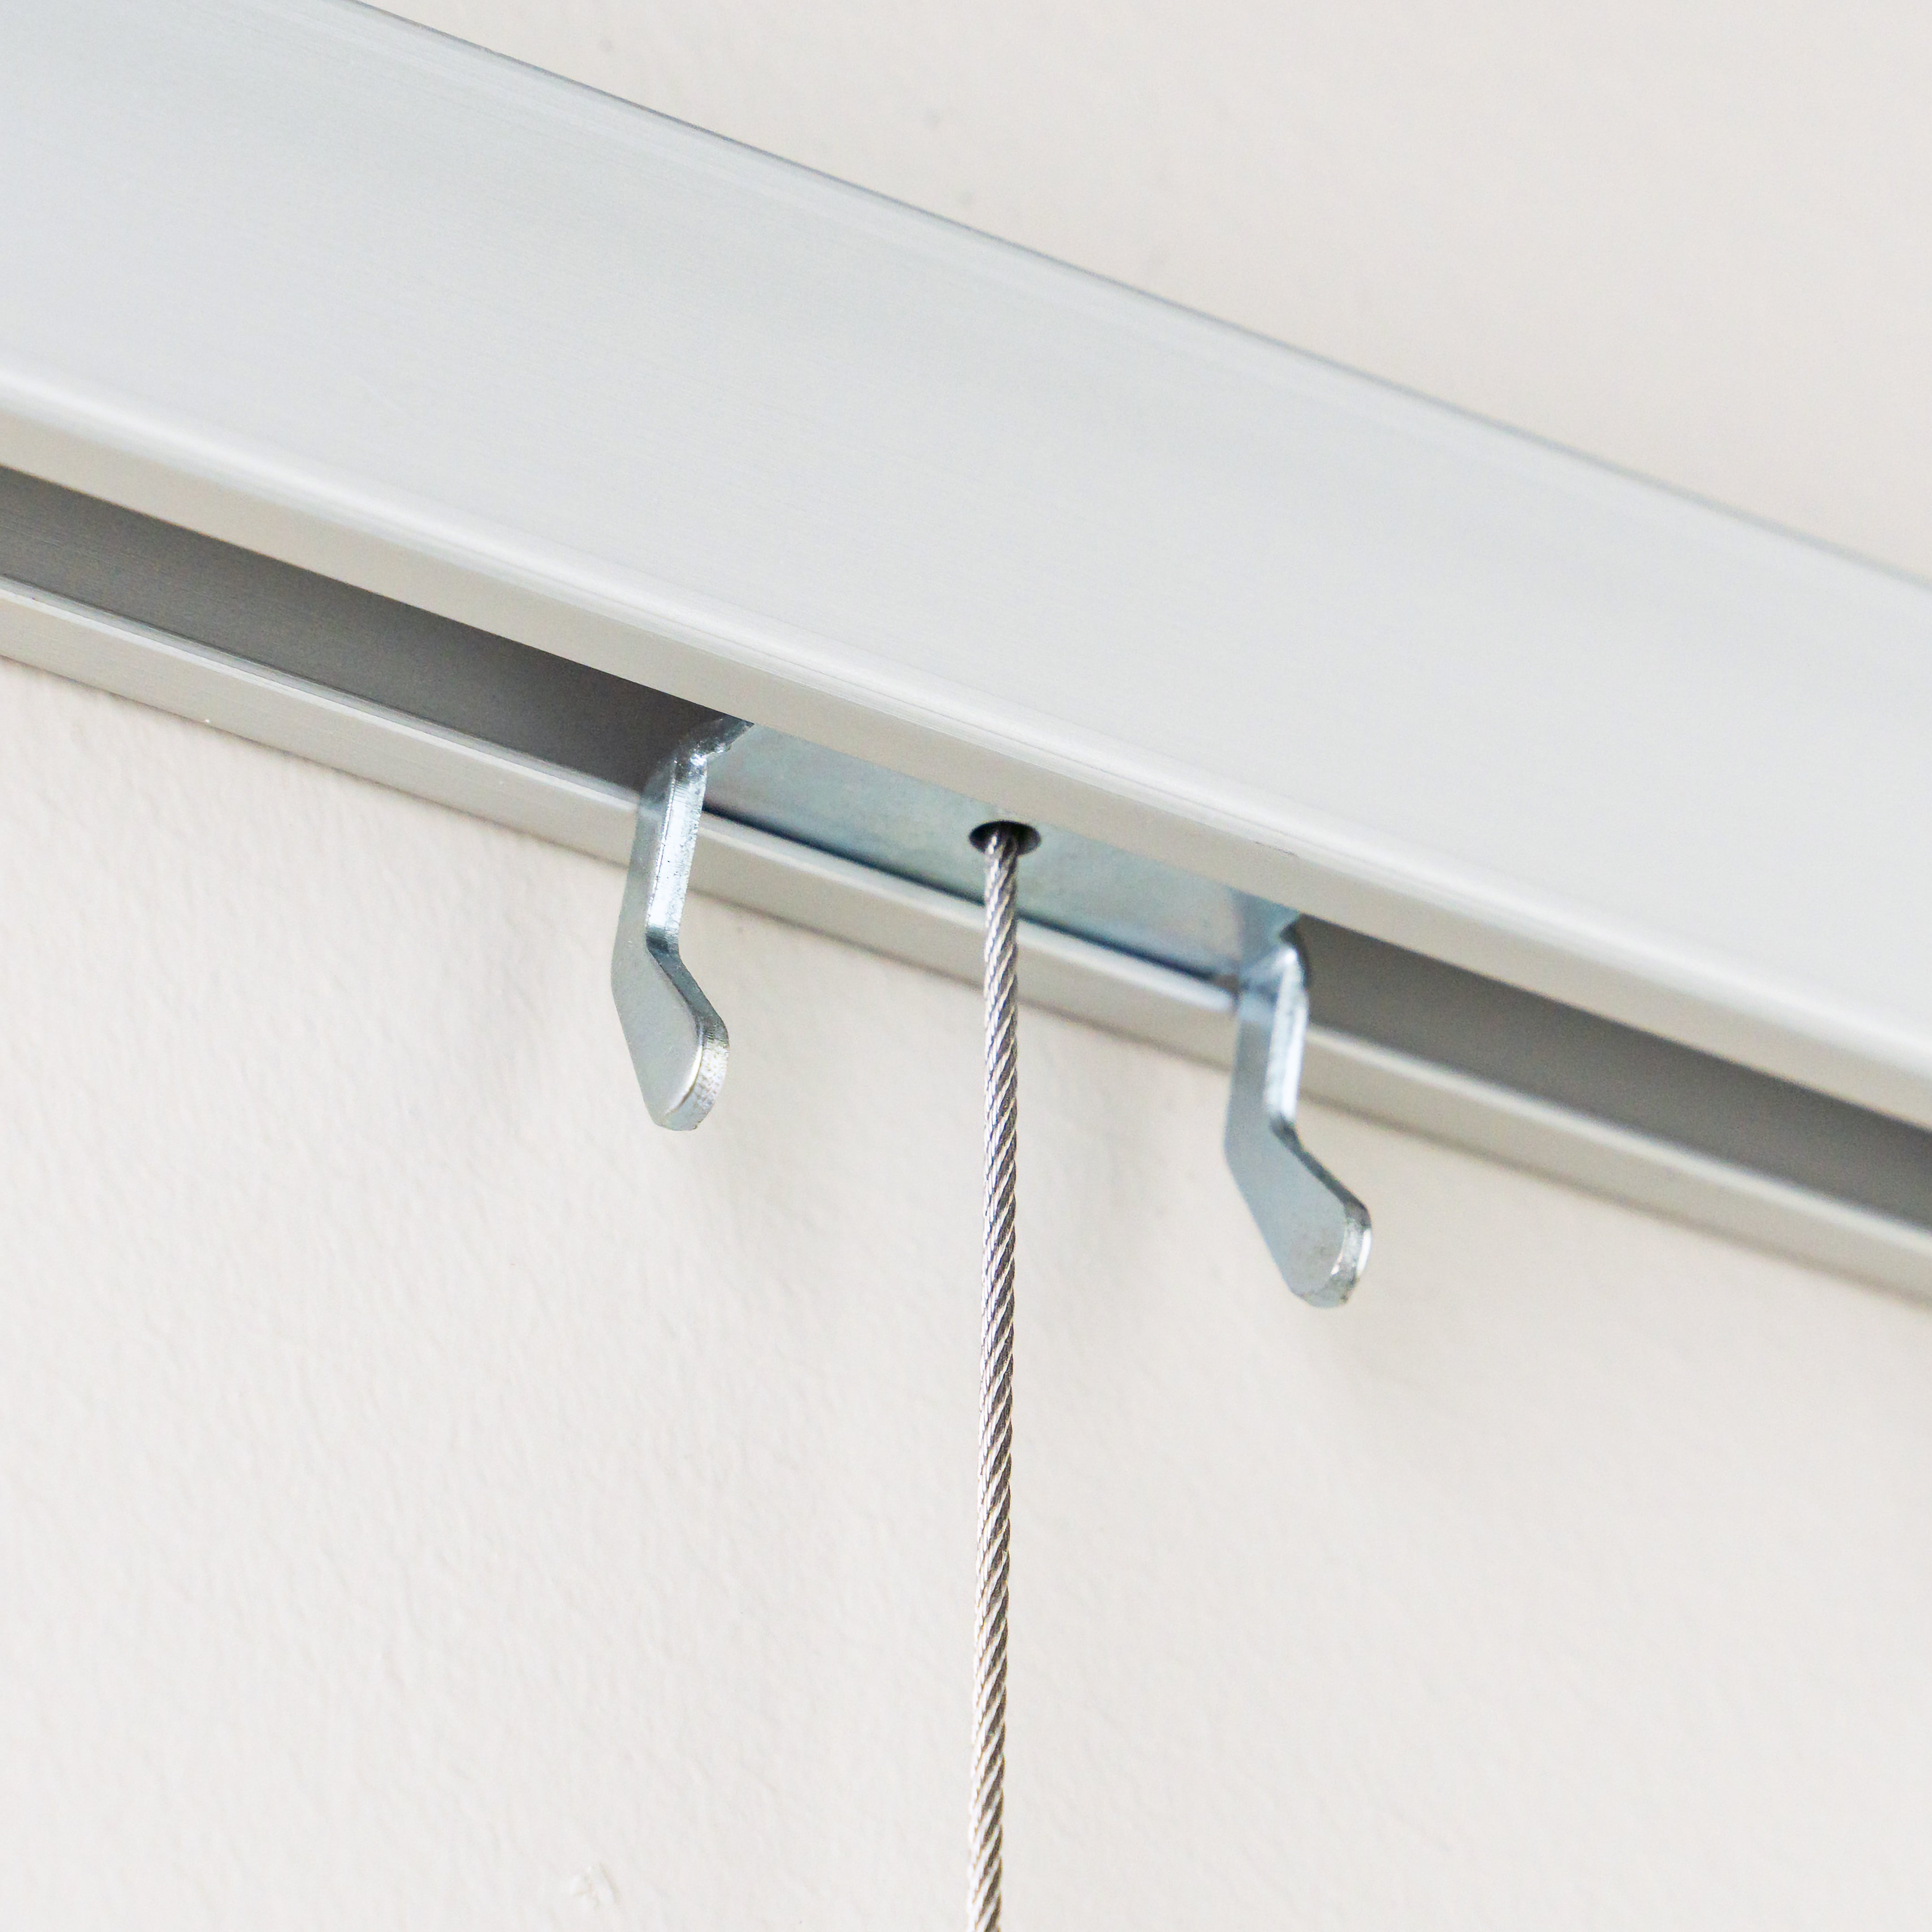
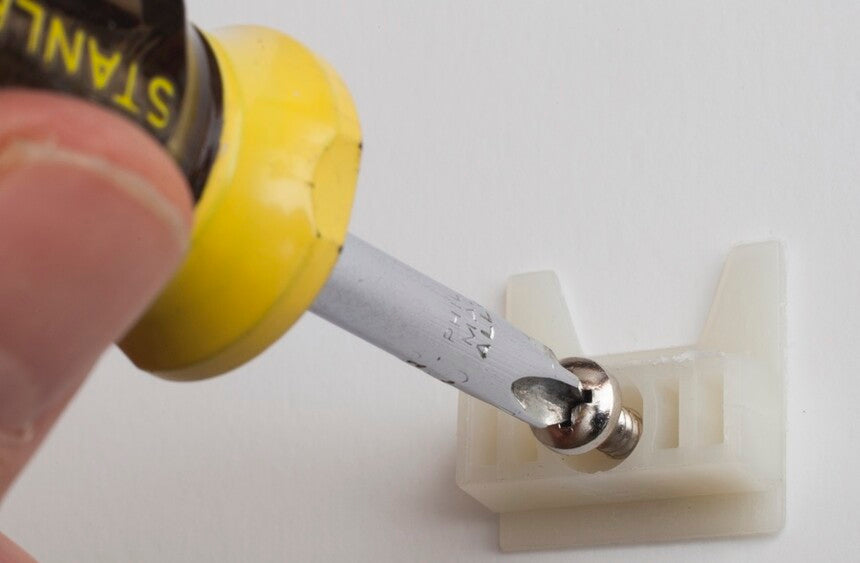
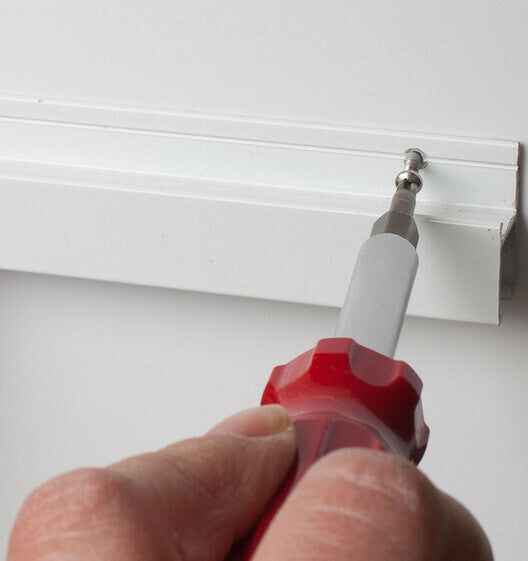
The next step is to plan the number of fasteners you’ll use to mount the wall tracks. While on flat walls we recommend one fastener every 16-18 inches, curved-wall installations should have one fastener every 12 inches.
If you’re installing our GalleryOne art hanging system, this means each full section of track should have five wall mounts — one at each end and three evenly spaced in the middle.
For Original Gallery System installations, each full section of track should have seven fasteners spaced evenly along its length.
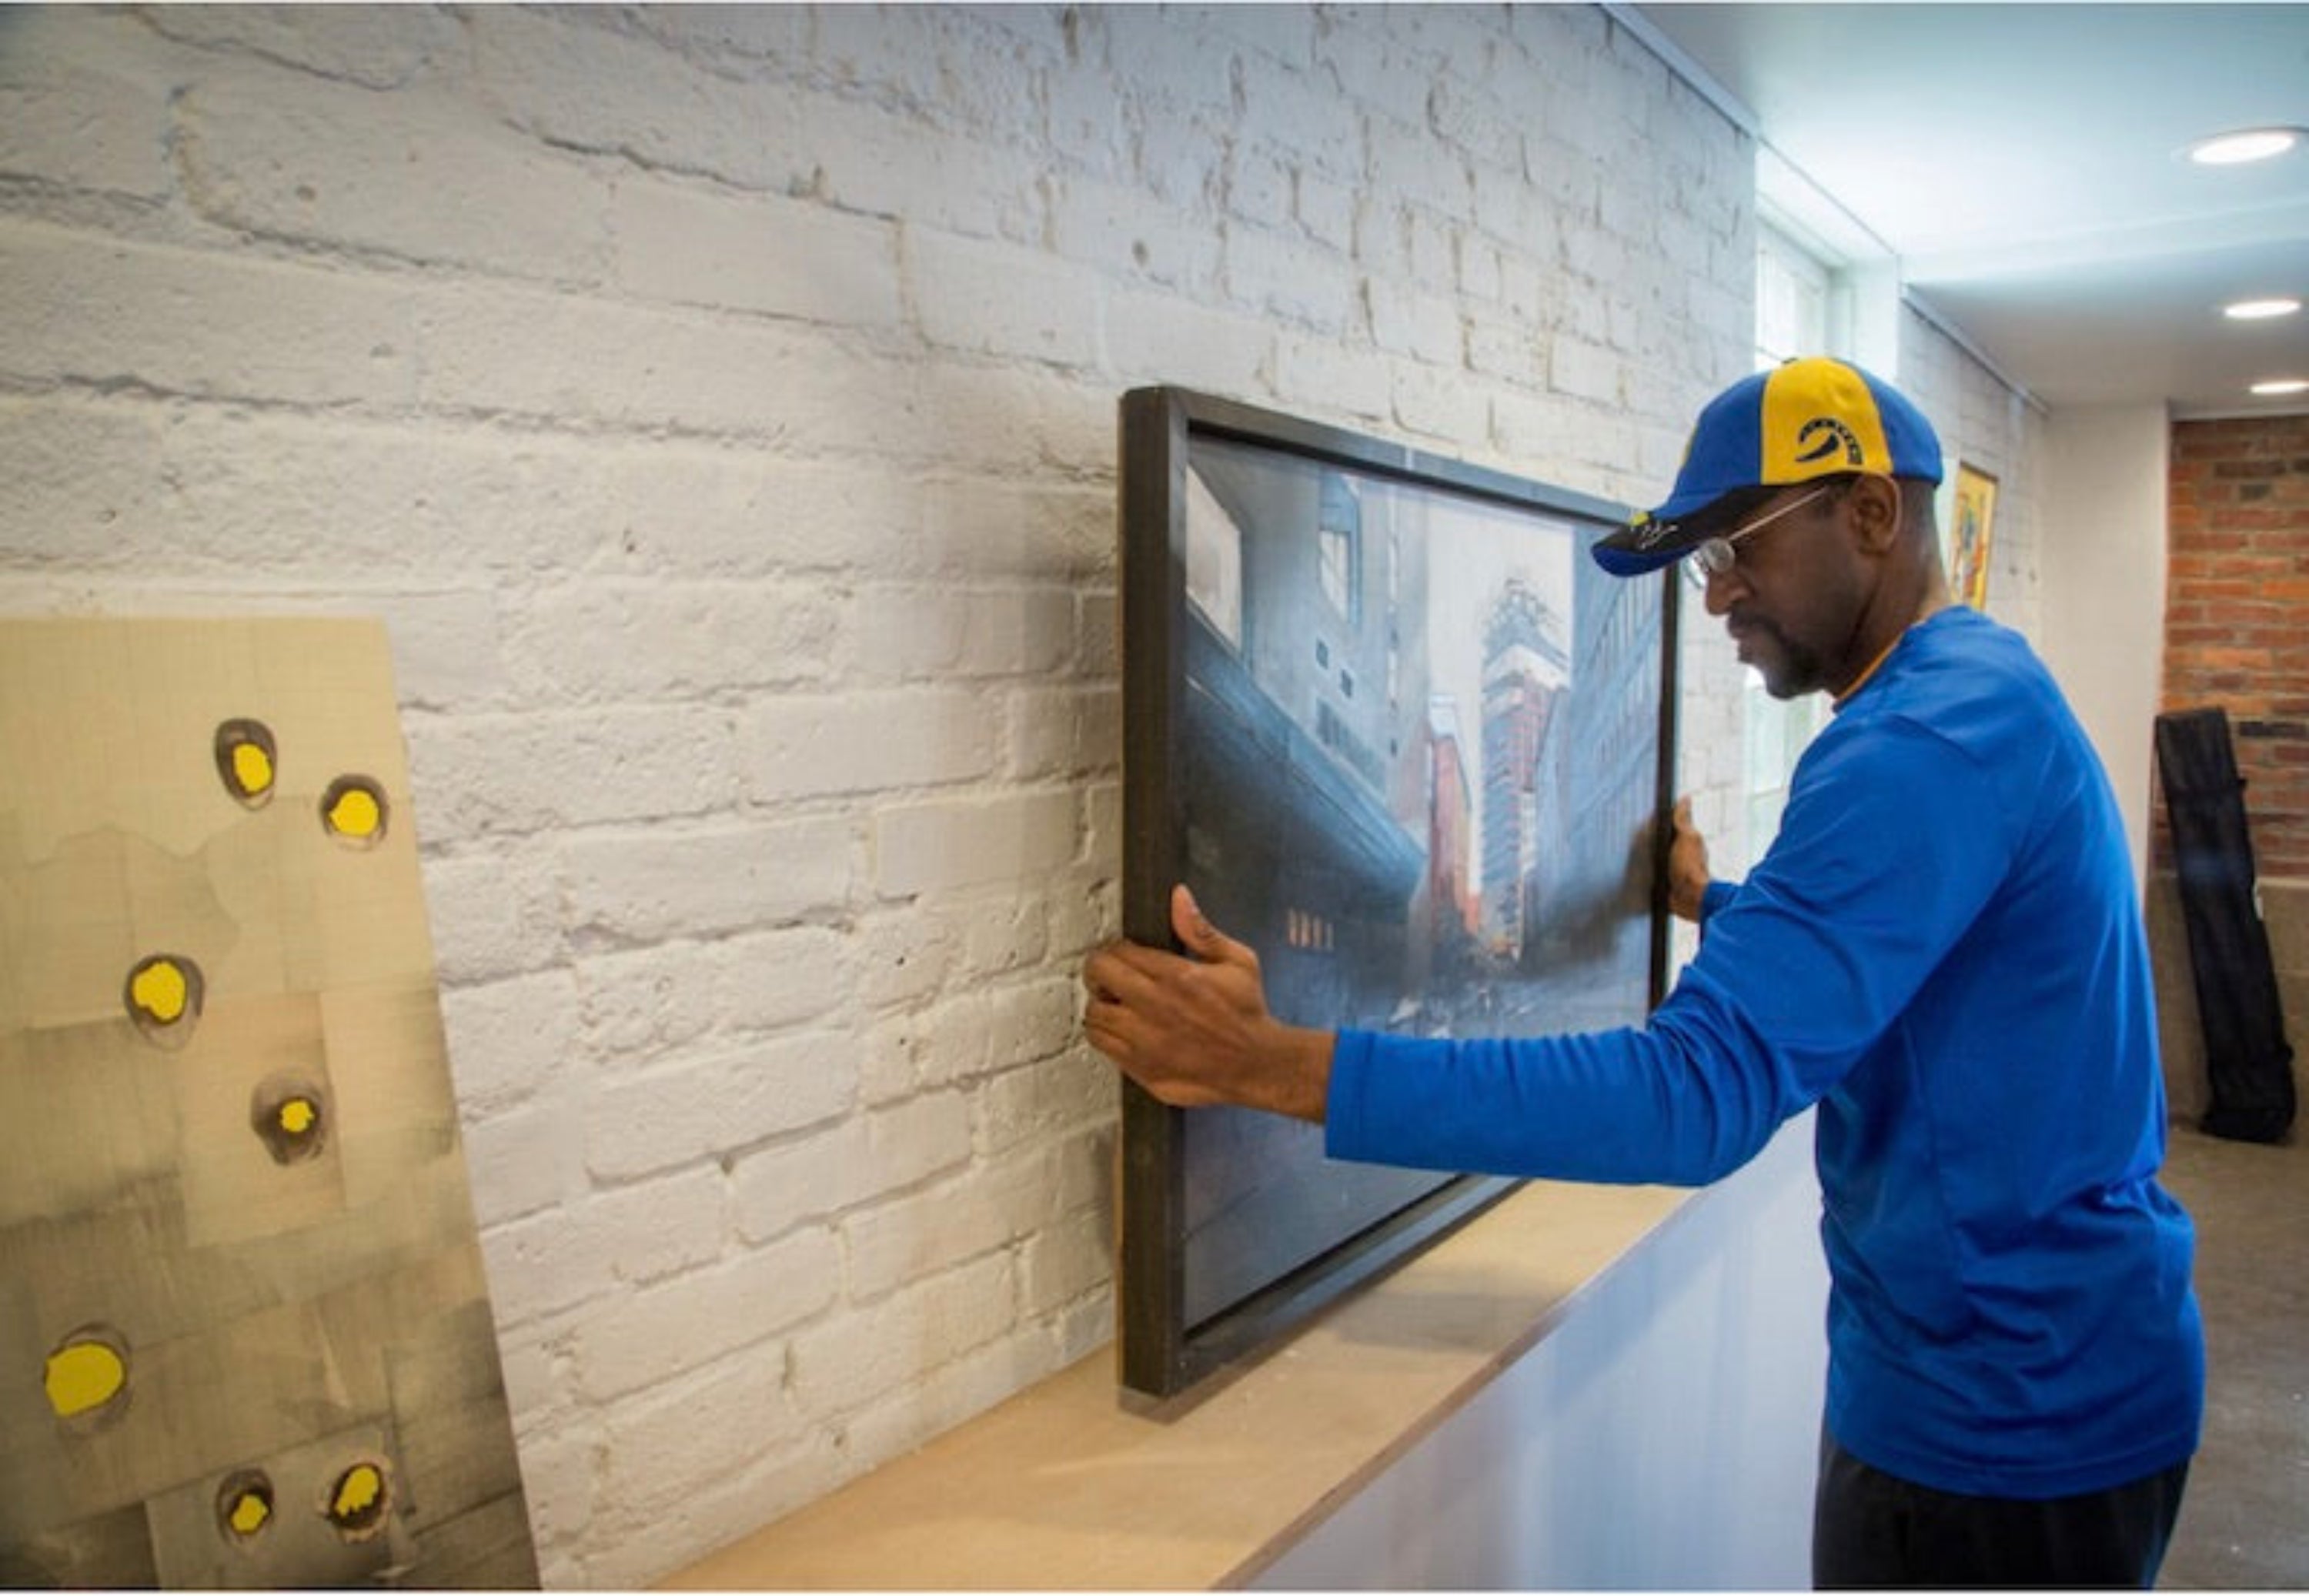
It’s generally best to start at one end of the installation, mounting the outer end of the first section of track and working your way along its length to the other end. Then install the adjacent section of track in the same way and repeat for additional sections. This will help ensure a smooth fit against the wall and tight, discreet joints between sections of track.
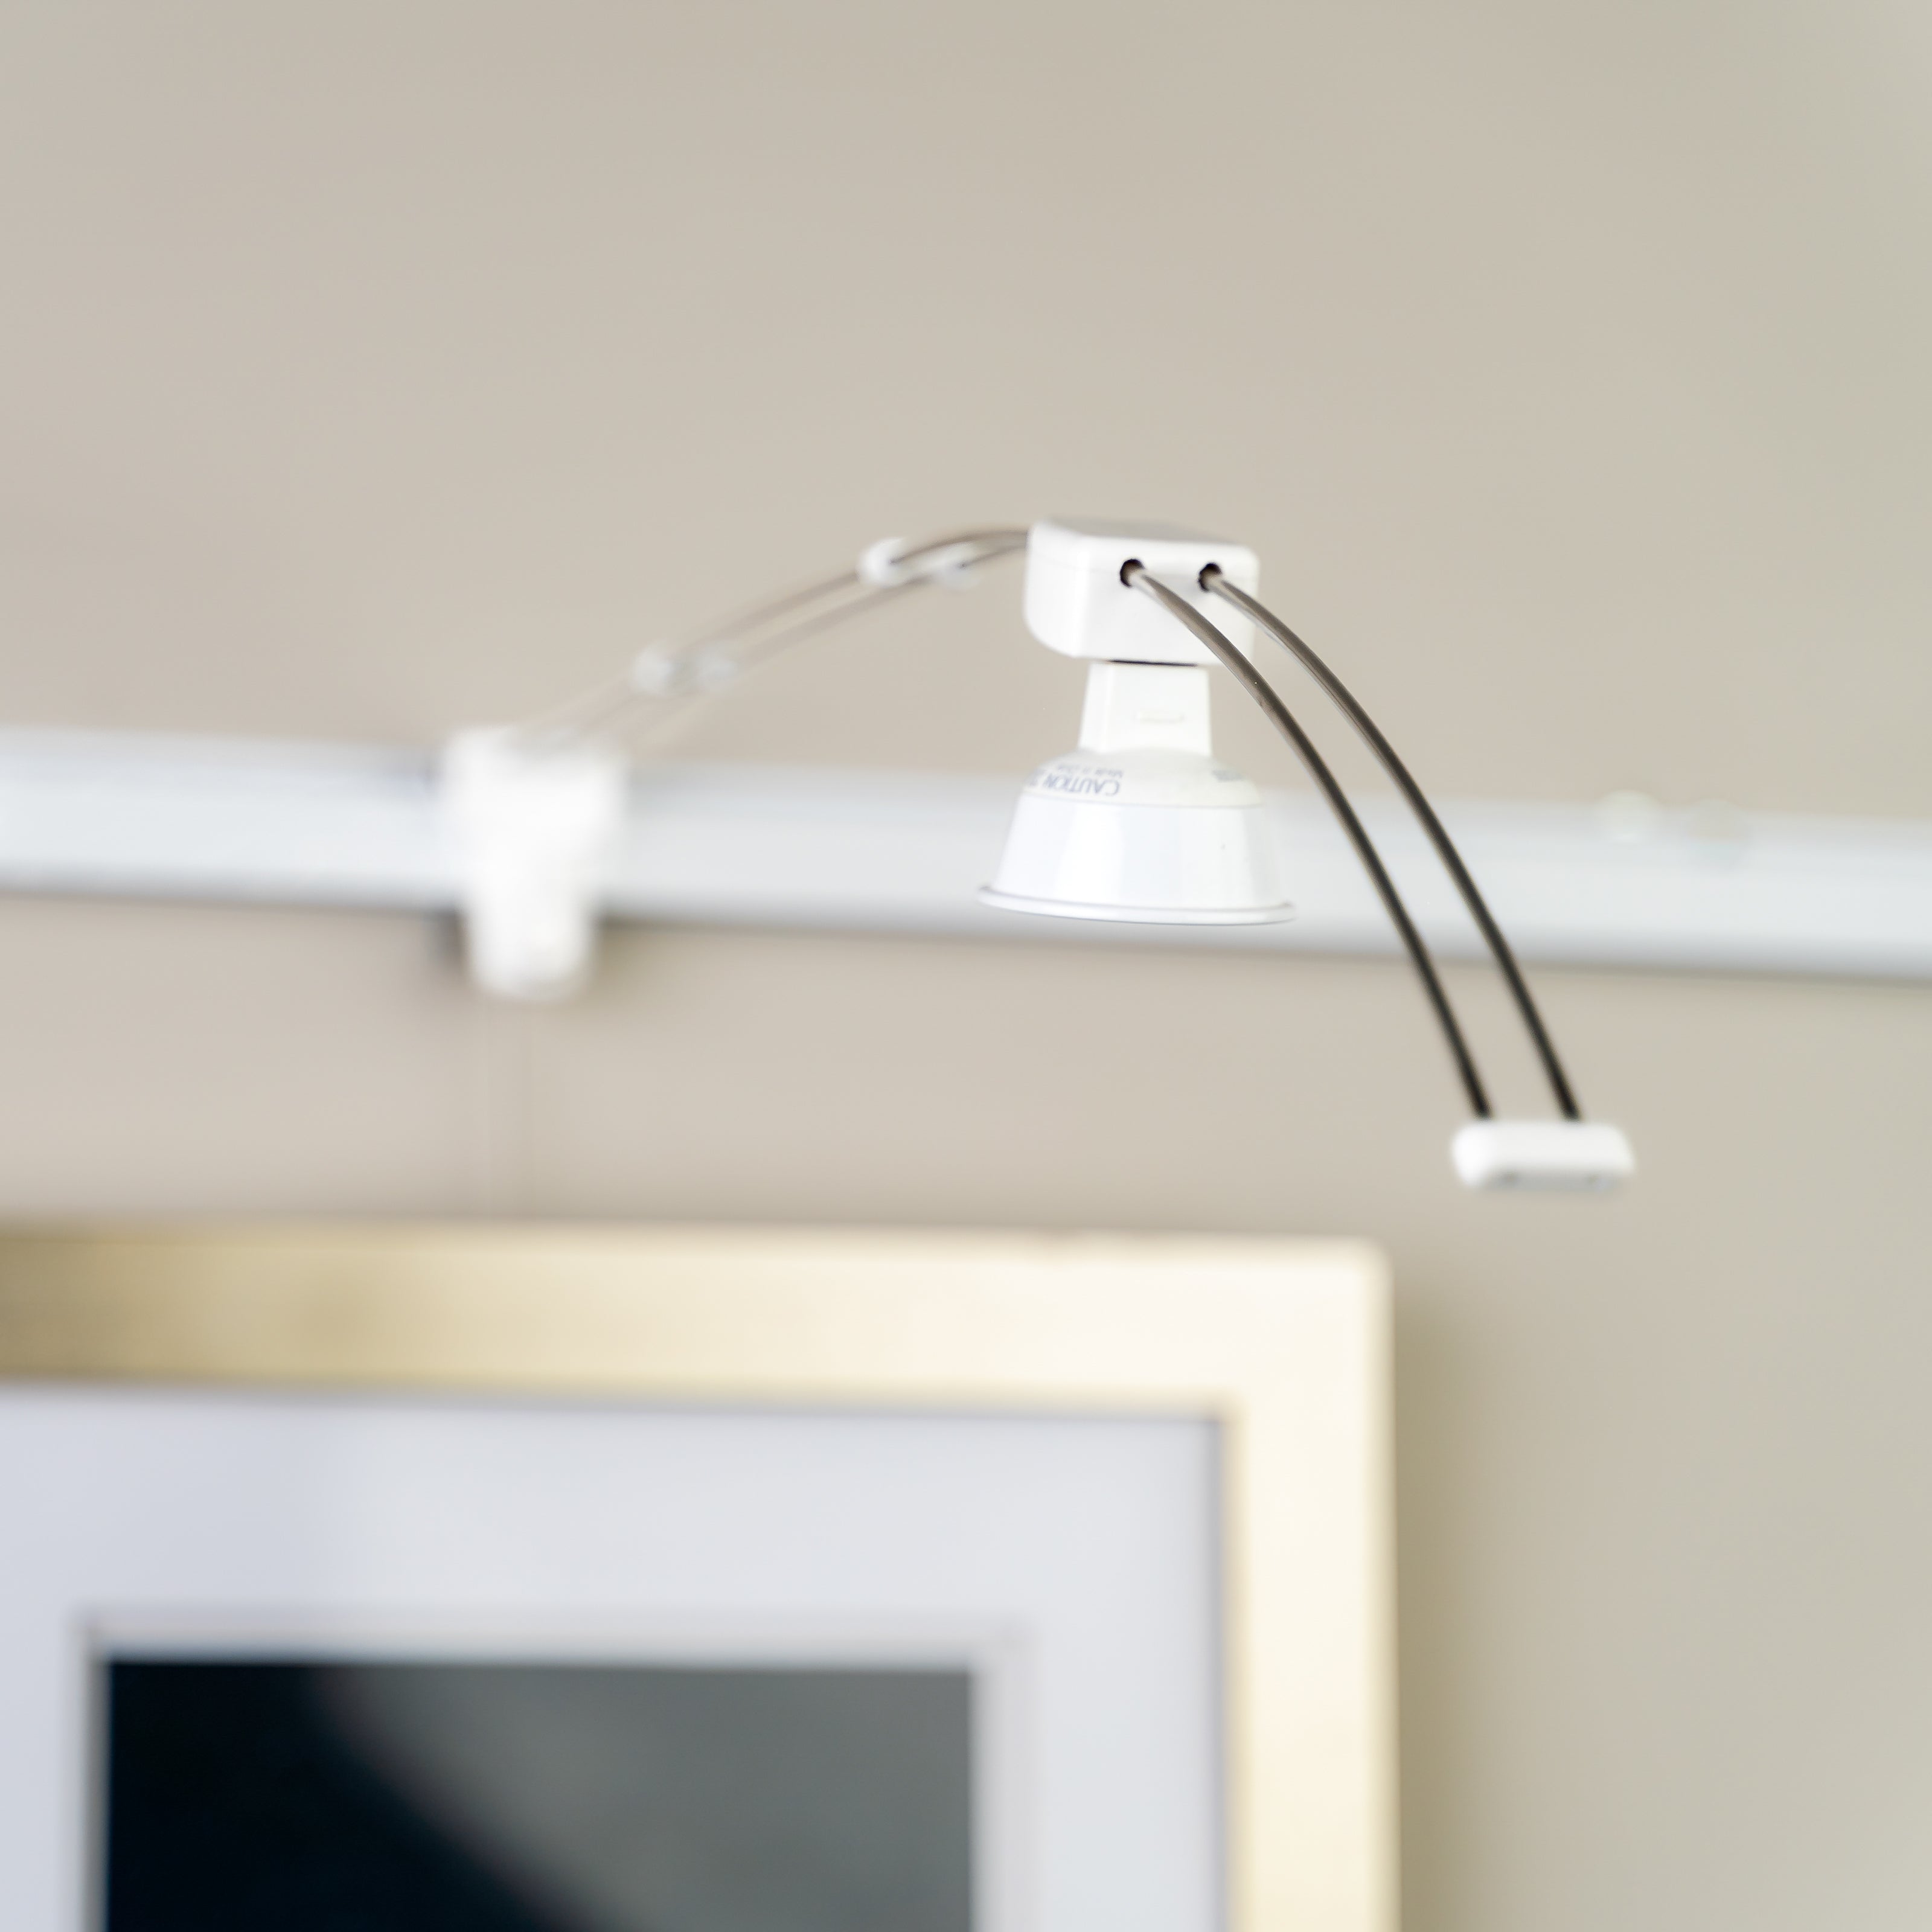
While both Original Gallery and GalleryOne art hanging systems are compatible with curved-wall installations, we generally recommend using the GalleryOne unless you want to take advantage of the Original Gallery System’s optional lighting. And, while the Original Gallery System’s optional lighting can be used on curved-wall installations, the optional wood molding cannot.
Pre-Bundled Kits
It's never been easier to start hanging like a pro, and the shipping is on us!